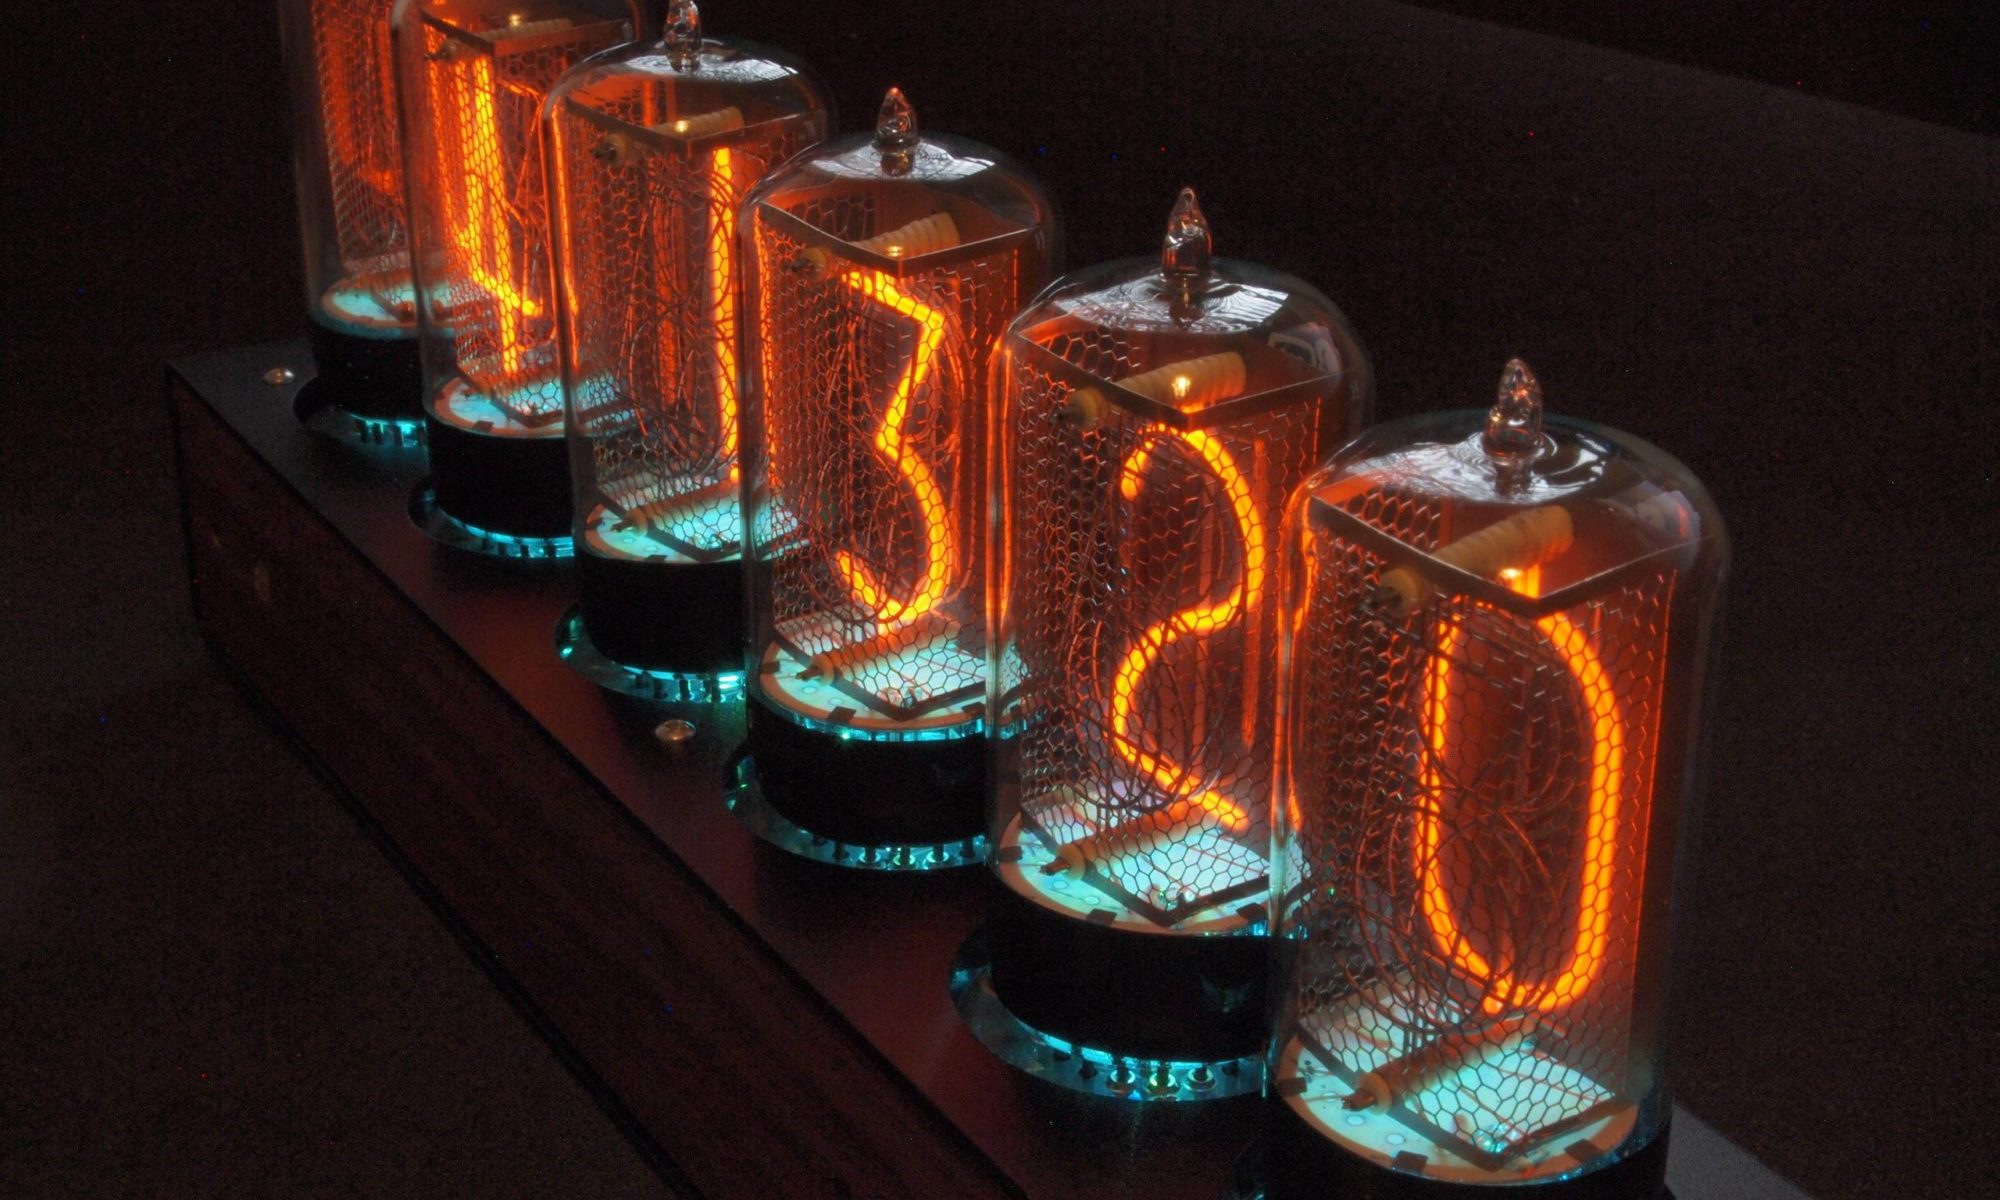
Sometime after I’d designed and built my one tube clock, I managed to get my hands on a Rodan CD47 nixie tube. Now one of the main points of my one tube nixie clock was that it allowed me to display tubes from my collection, rather than have them sit in boxes and drawers, but the CD47 presented a bit of a problem.
- Firstly it is just too big to plug into my clock hardware – it would be top heavy and unstable.
- Secondly there is no good way to build a socket for this, so I had to use a real socket.
- Thirdly, the tube needs 25mA, which would be right at the edge of my regular hardware.
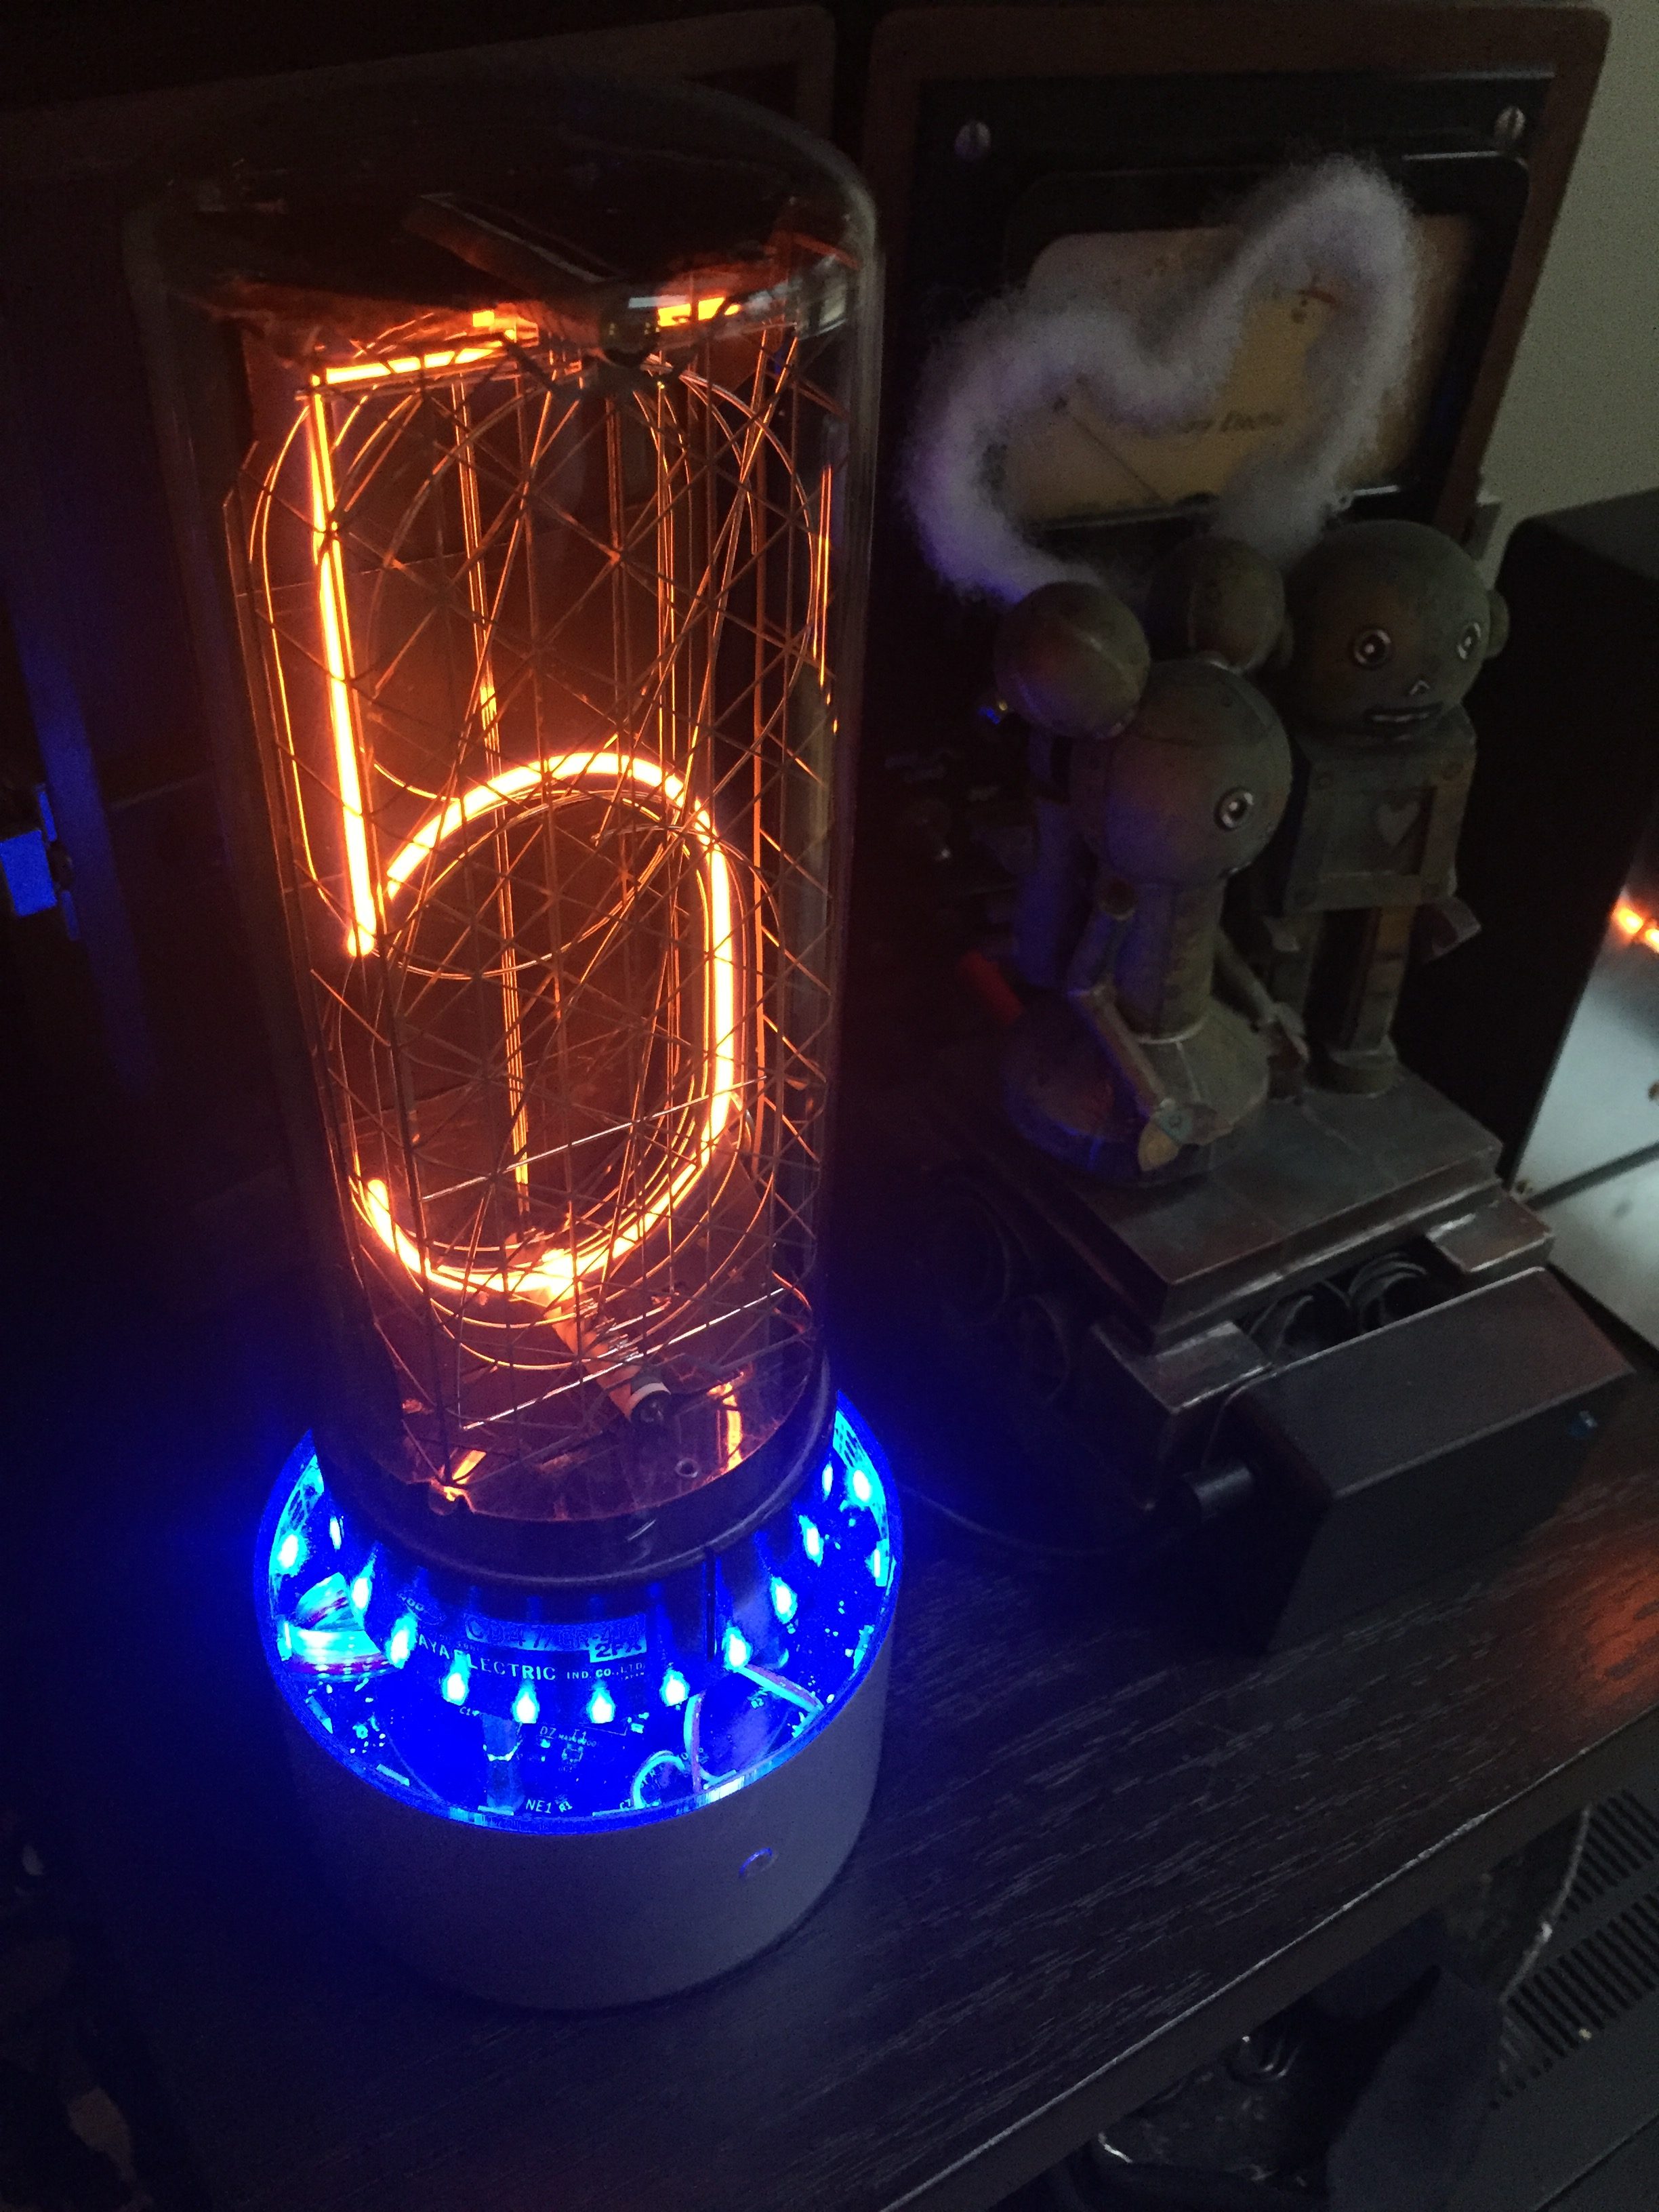
Before I get into the whole process of designing and building this clock, here is a picture of the finished thing:
So first of all, I had to modify the power supply to be able to provide that current, still from a 5V input. Basically I needed bigger transformer, and I found this one. It has a ratio of 1:10 when correctly wired. I got a few as samples, but was disappointed to discover that they could not be bought from the usual re-sellers, so I ordered some direct from Wurth. First I made a dedicated power supply PCB to test that it worked, then I modified my clock hardware to incorporate the new transformer.
Then I had to build a case that would make the clock stable and that I could mount the socket in. I thought about using a lamp base, but I couldn’t find anything that I thought would work. While I was looking at lamps I realized that quite a few had weighted bases, so I tried to figure out how I could incorporate a weight into whatever design I came up. As chance would have it, I had been discussing the periodic table with my son, and the subject of the densest element had come up, so I quickly realized that lead would be the best material for this! But what to put it in and how? Again, as I had been searching for lamps I had come across this battery-powered LED lamp (which is a great lamp by the way). The base seemed to be big enough, and it was cheap so I ordered one to play with.
I was pleasantly surprised. The base is an aluminum extrusion – essentially an aluminum pipe. It had a couple of openings on the back for power and reset, and a logo on the front. The logo was laser-etched so it couldn’t be removed, but both the holes and the logo could be hidden around the back. The base was also big enough to fit my clock hardware inside, and deep enough that I could fit a socket on top. Now all I had to do was figure out how to put it all together, and add the lead weight.
In the end I designed some acrylic disks – one for the bottom with holes for standoffs, and one for the top with holes for the socket. I made up a jig to hold everything square and glued the aluminum tube to the bottom disk with epoxy. I counter-sunk the bottom mounting holes and screwed the clock standoffs to it. Then I placed some tape over the top of the standoffs to seal them and filled the base with lead shot and epoxy to just below the top of the standoffs:
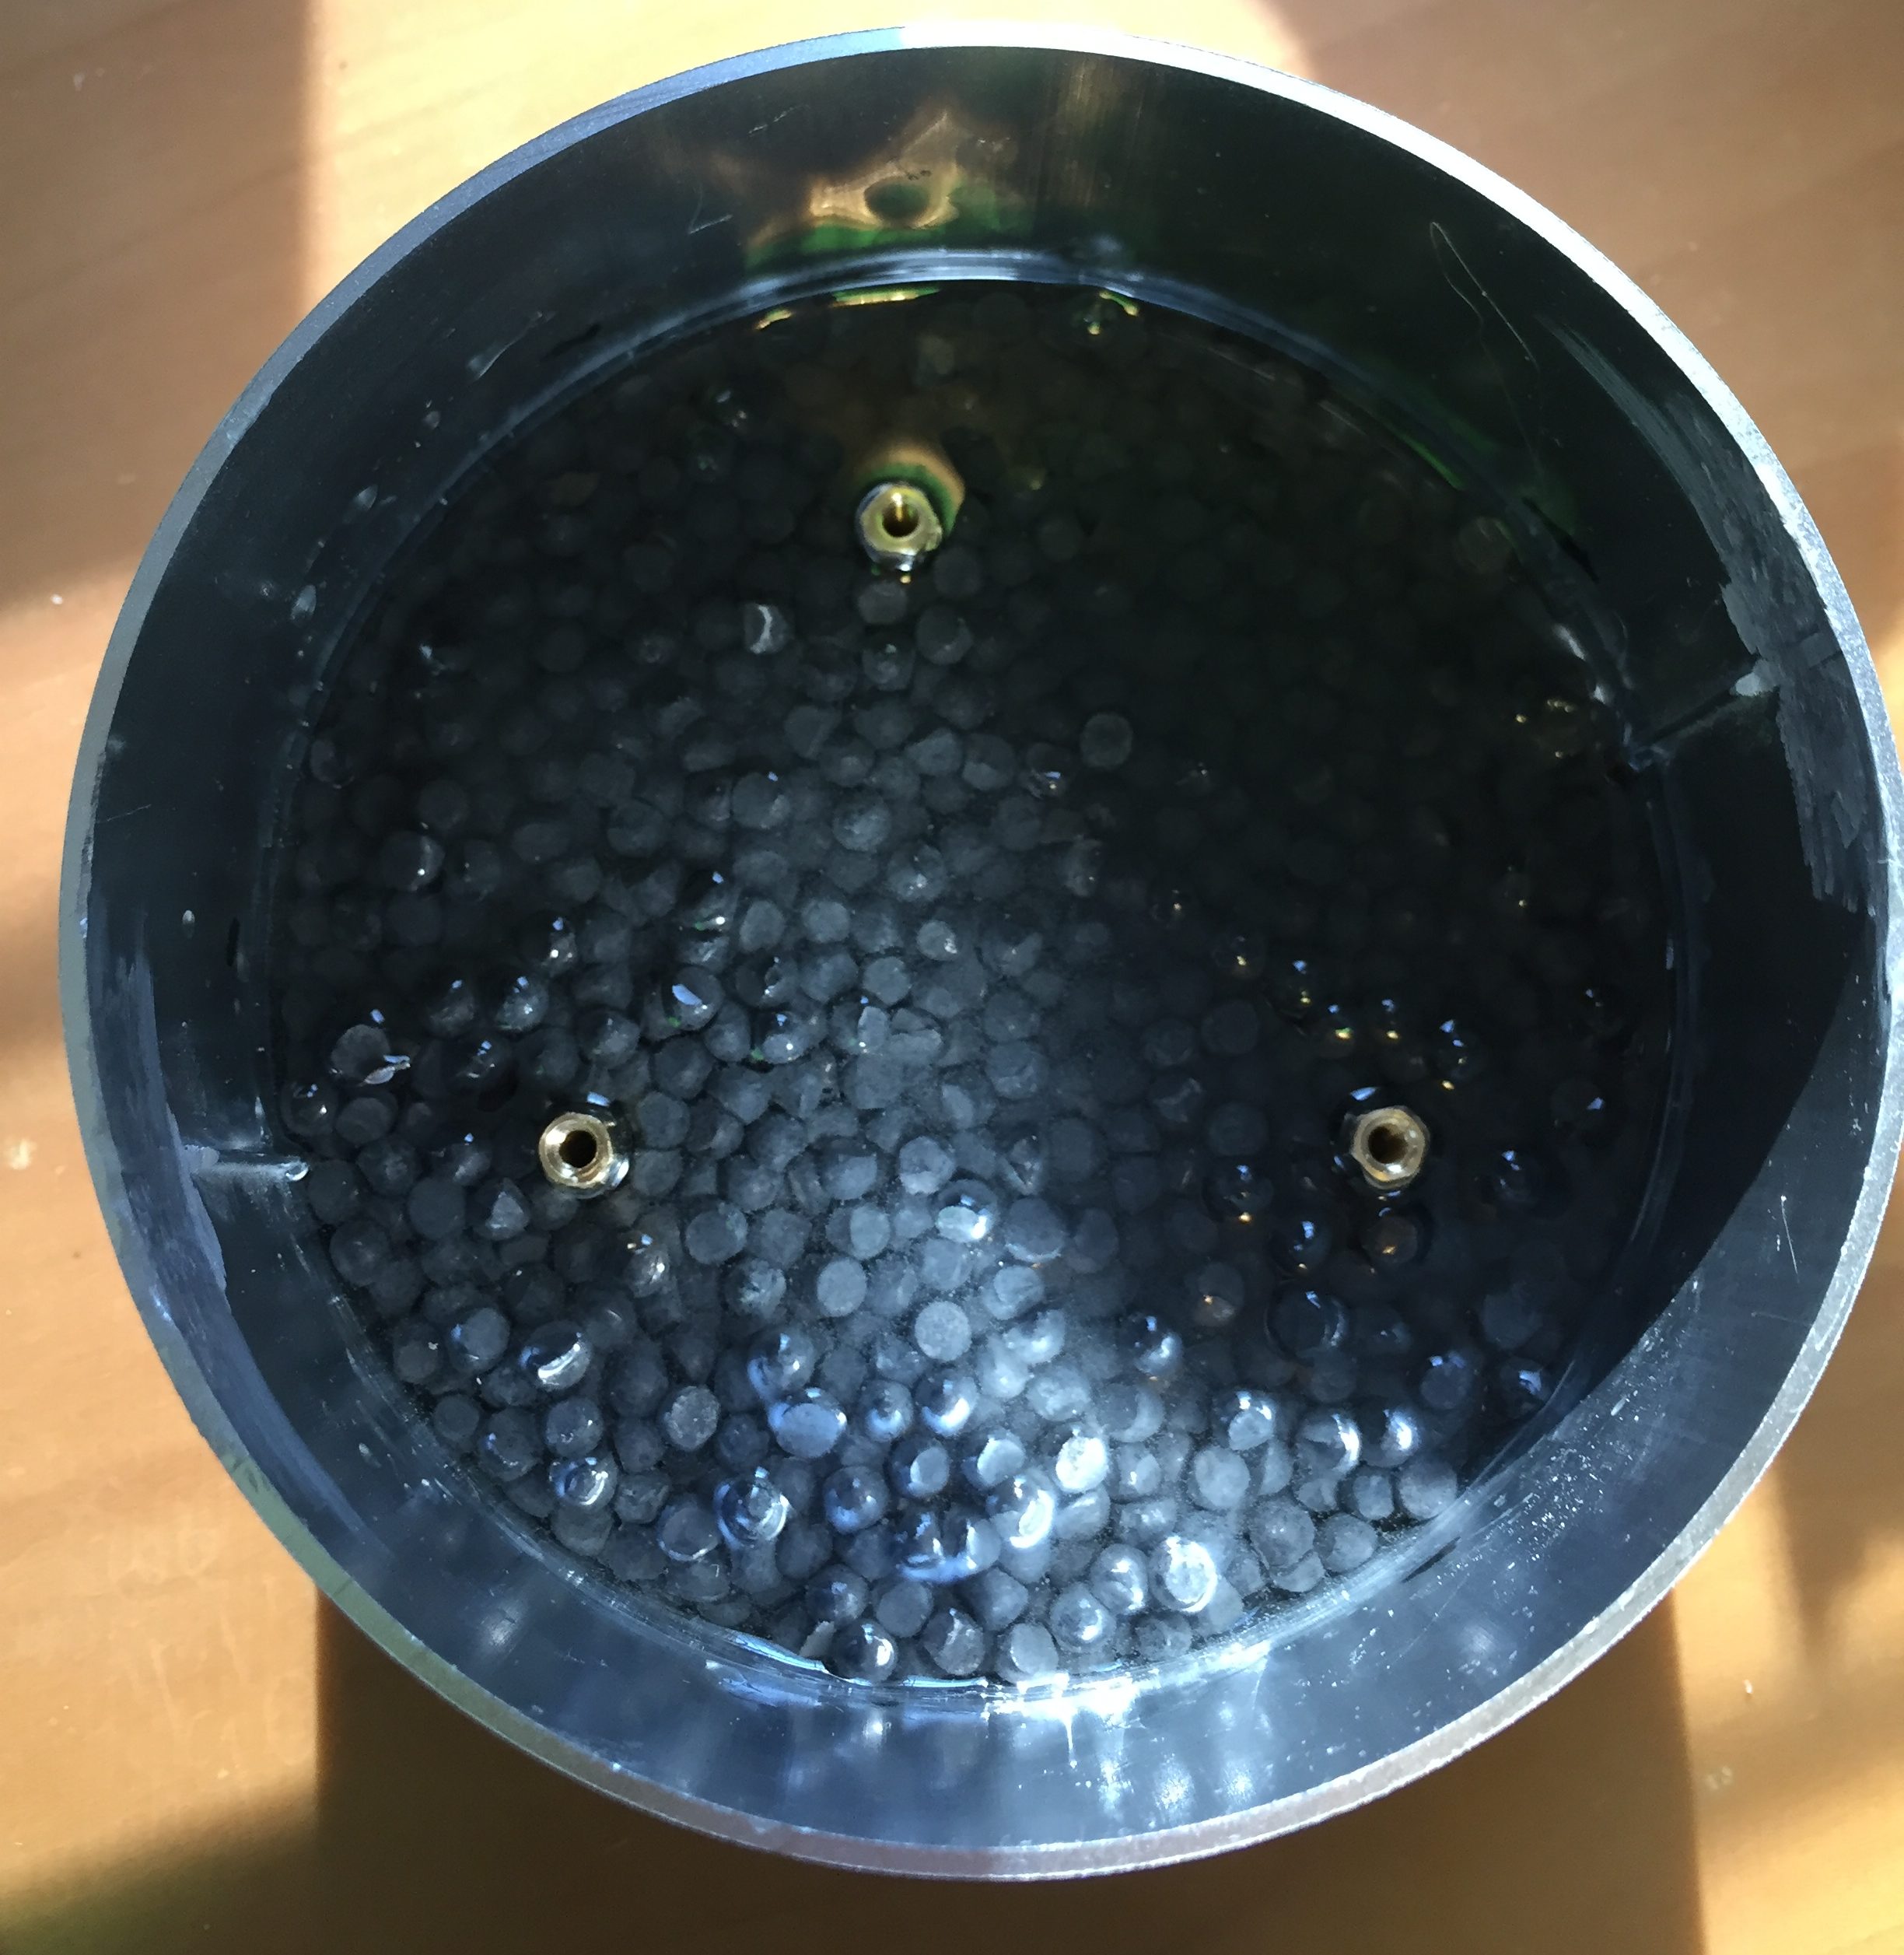
All together, the base now weighed over 2lbs.
While I was working through this whole design in my head, I was also trying to figure out how to provide backlighting. The base of CD47 is solid, so regular backlighting wasn’t going to work. I was also wondering how I might indicate hours and minute display, then eventually it hit me that I could do both using a ring of neopixels glued around the inside of the tube. There are quite a few that are easy to get on a self-adhesive strip, I just had to pick the right ones, with the densest placement of LEDs and the right voltage.
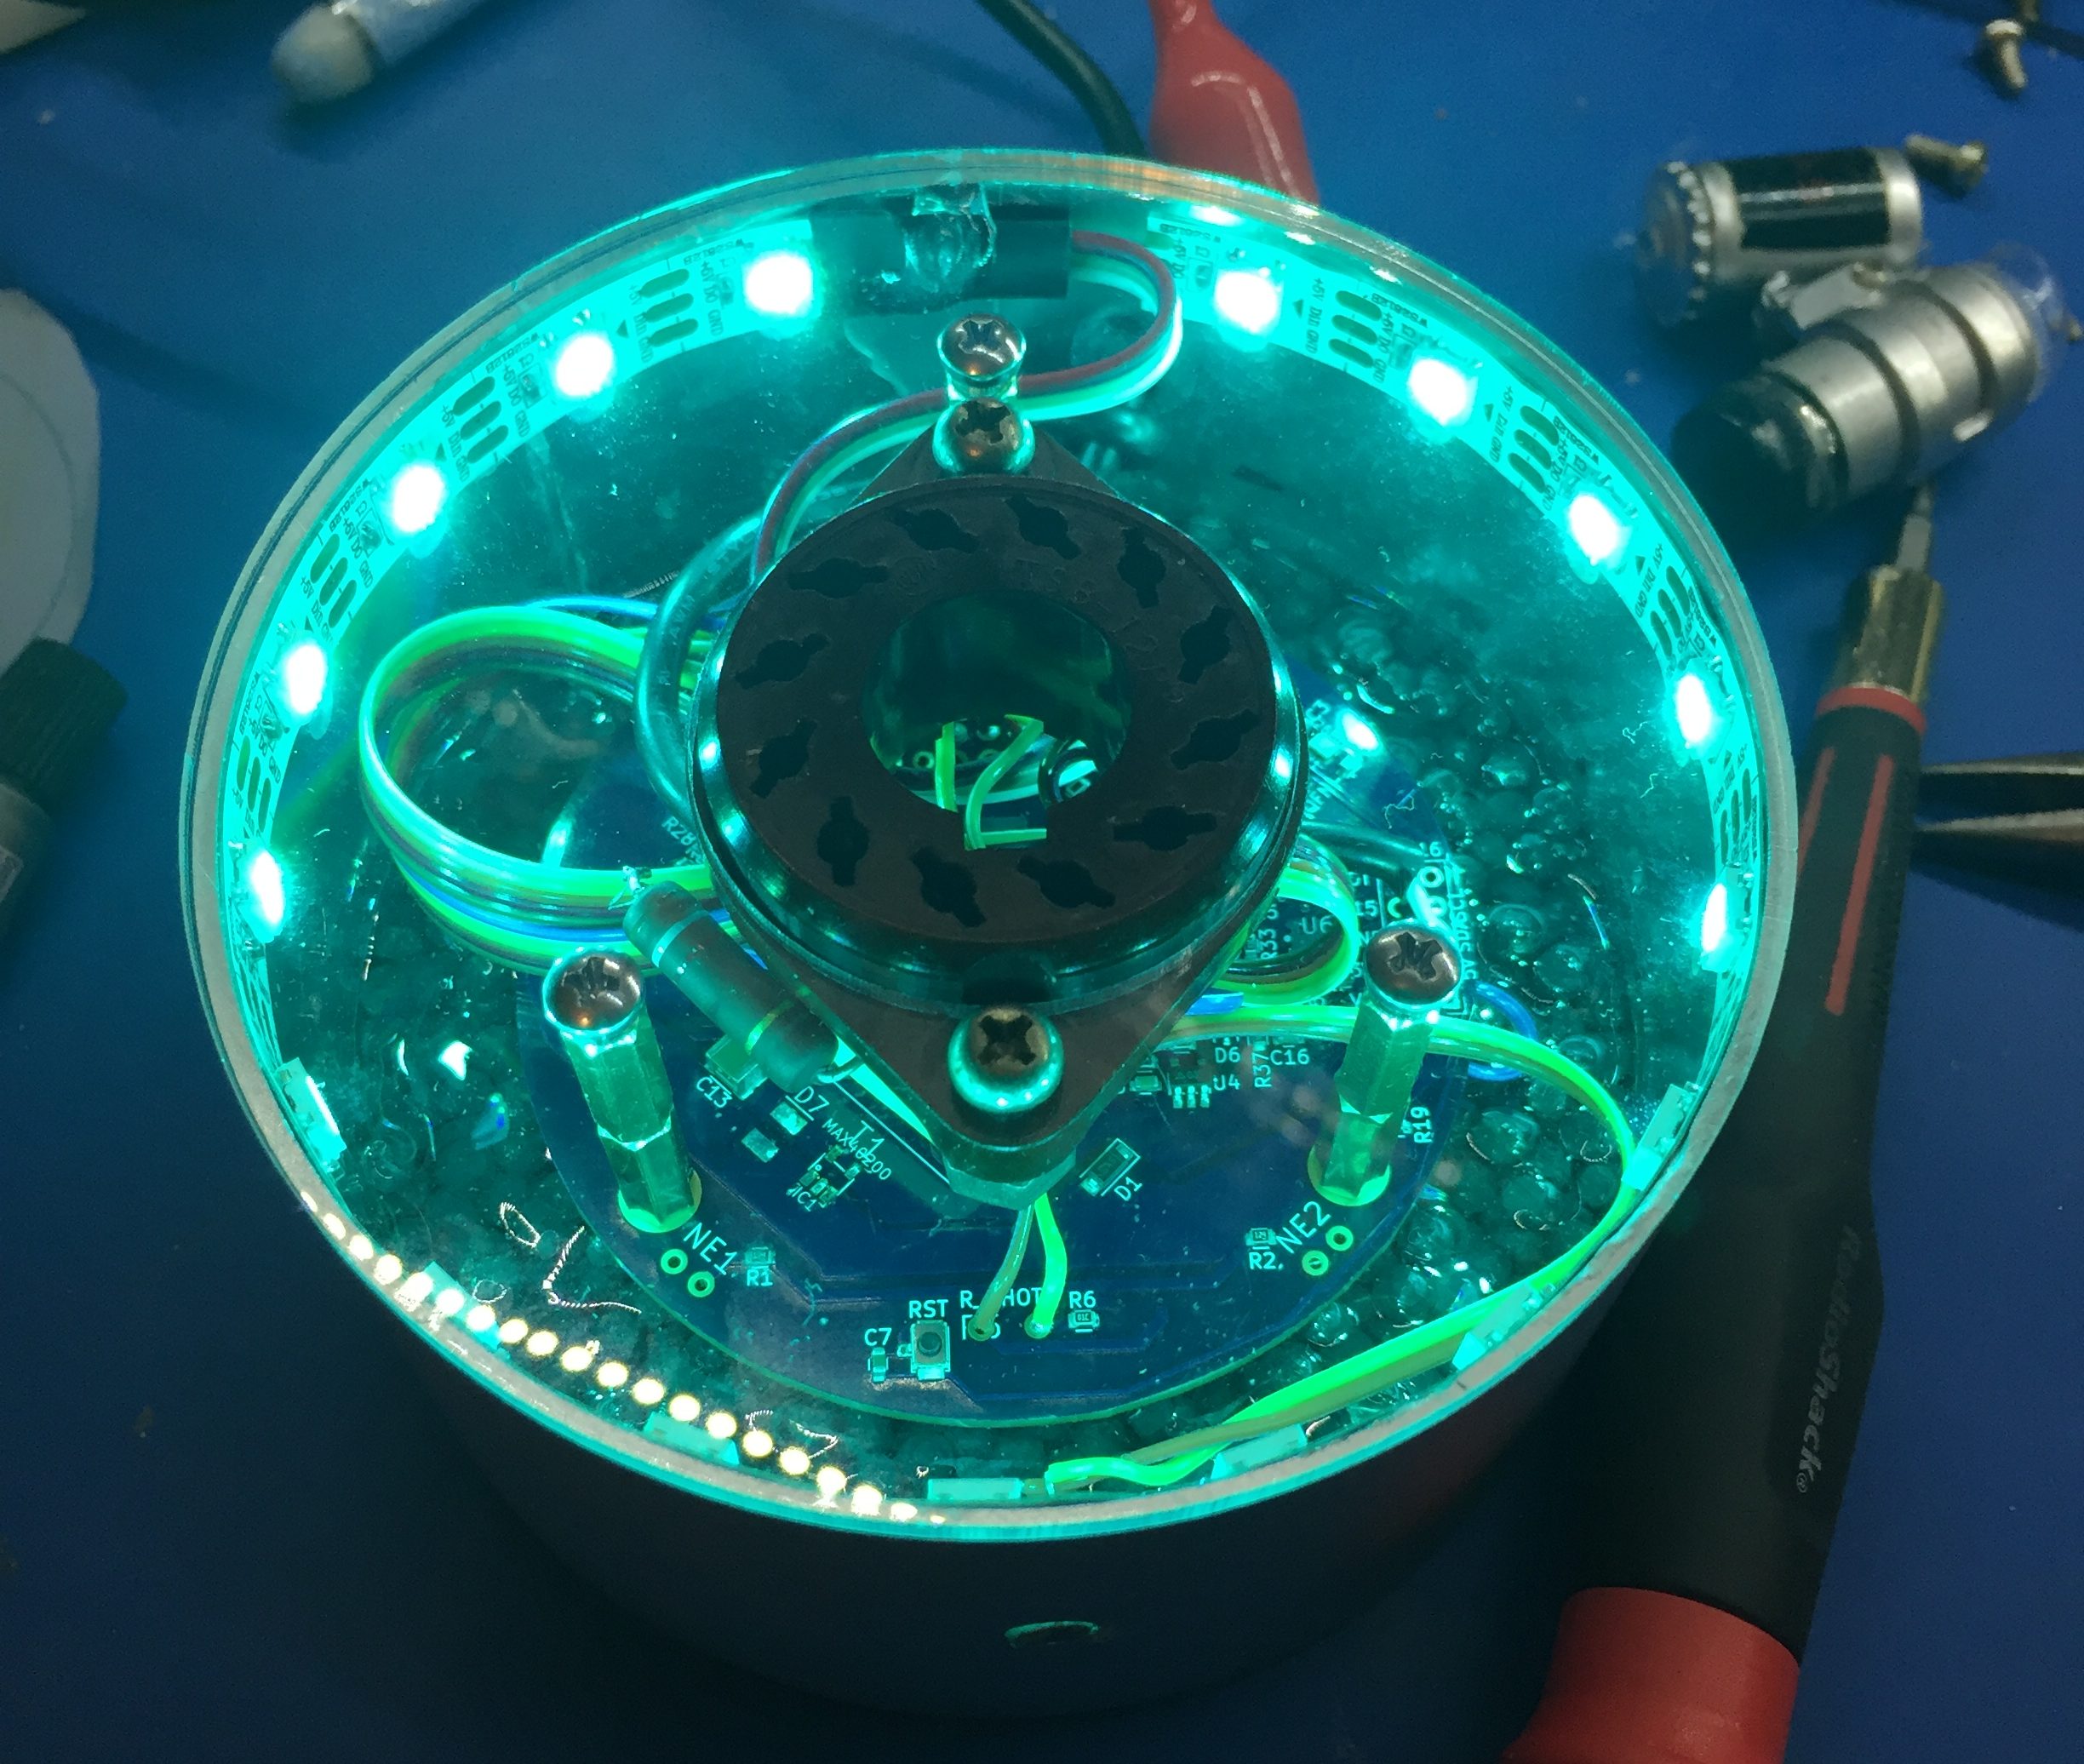
This is the base with the hardware attached:

When I calculated the total power requirements for neopixels + tube + assorted harware, it came to over 10 watts. Most USB chargers won’t provide this kind of power, so I bought a 3A 5V supply used for Raspberry Pi’s. I cut off the power plug and wired it straight to the board through a hole I drilled in the back. I also had to drill a hole in the front for the light sensor.
Another issue I thought I would have to deal with was getting a WiFi signal through the enclosure. As it turned out, this wasn’t a problem – I’m not sure I understand why, but it saved me having to use an external antenna.
All that was left to do before plugging the CD47 into the clock was power test it:
Success! Finally I put it all together:
One issue I discovered on a quiet day, is that the tube sang if I used PWM to dim the display. In fact the CD47 is a bit like a tuning fork – if you tap it, it sings. I assume that this is because the digits are big enough that the fundamental frequency is below the PWM frequency. I tried reducing the PWM frequency, but even at the point where there was visible flicker, it still sang. I went the other way and increased the frequency – in fact I added a control the clock GUI to let me adjust it to a wide range of frequencies on a sliding scale. The result is that I can minimize the singing, but I can’t really get rid of it. Another possibility here is that it isn’t the mechanical digits themselves that are vibrating, it could just be that the repeated firing of the neon is itself generating the sound.
Anyway, the singing, and the fact that this is a very expensive and rare tube, made me want to add a movement sensor so that it would only be on when there was someone to see it. I experimented with a few and settled on this one. It is omni-directional and has good range. I had to modify the software yet again, and wire the sensor to the clock board. I made a little box to put it in and connected it with a 3.5mm barrel connector, so I could swap in other sensor hardware if I wanted to without having to disassemble the clock (again). You can just make it out beneath the robots in the picture above.
Finally, here is a video of it in action:
This clock is a real master piece, wonderful clock. The singing does it bother you, or is it a more pleasant sound? Very talented to put this altogether.
Thanks for the kind words. I can only hear the singing if I am next to it.