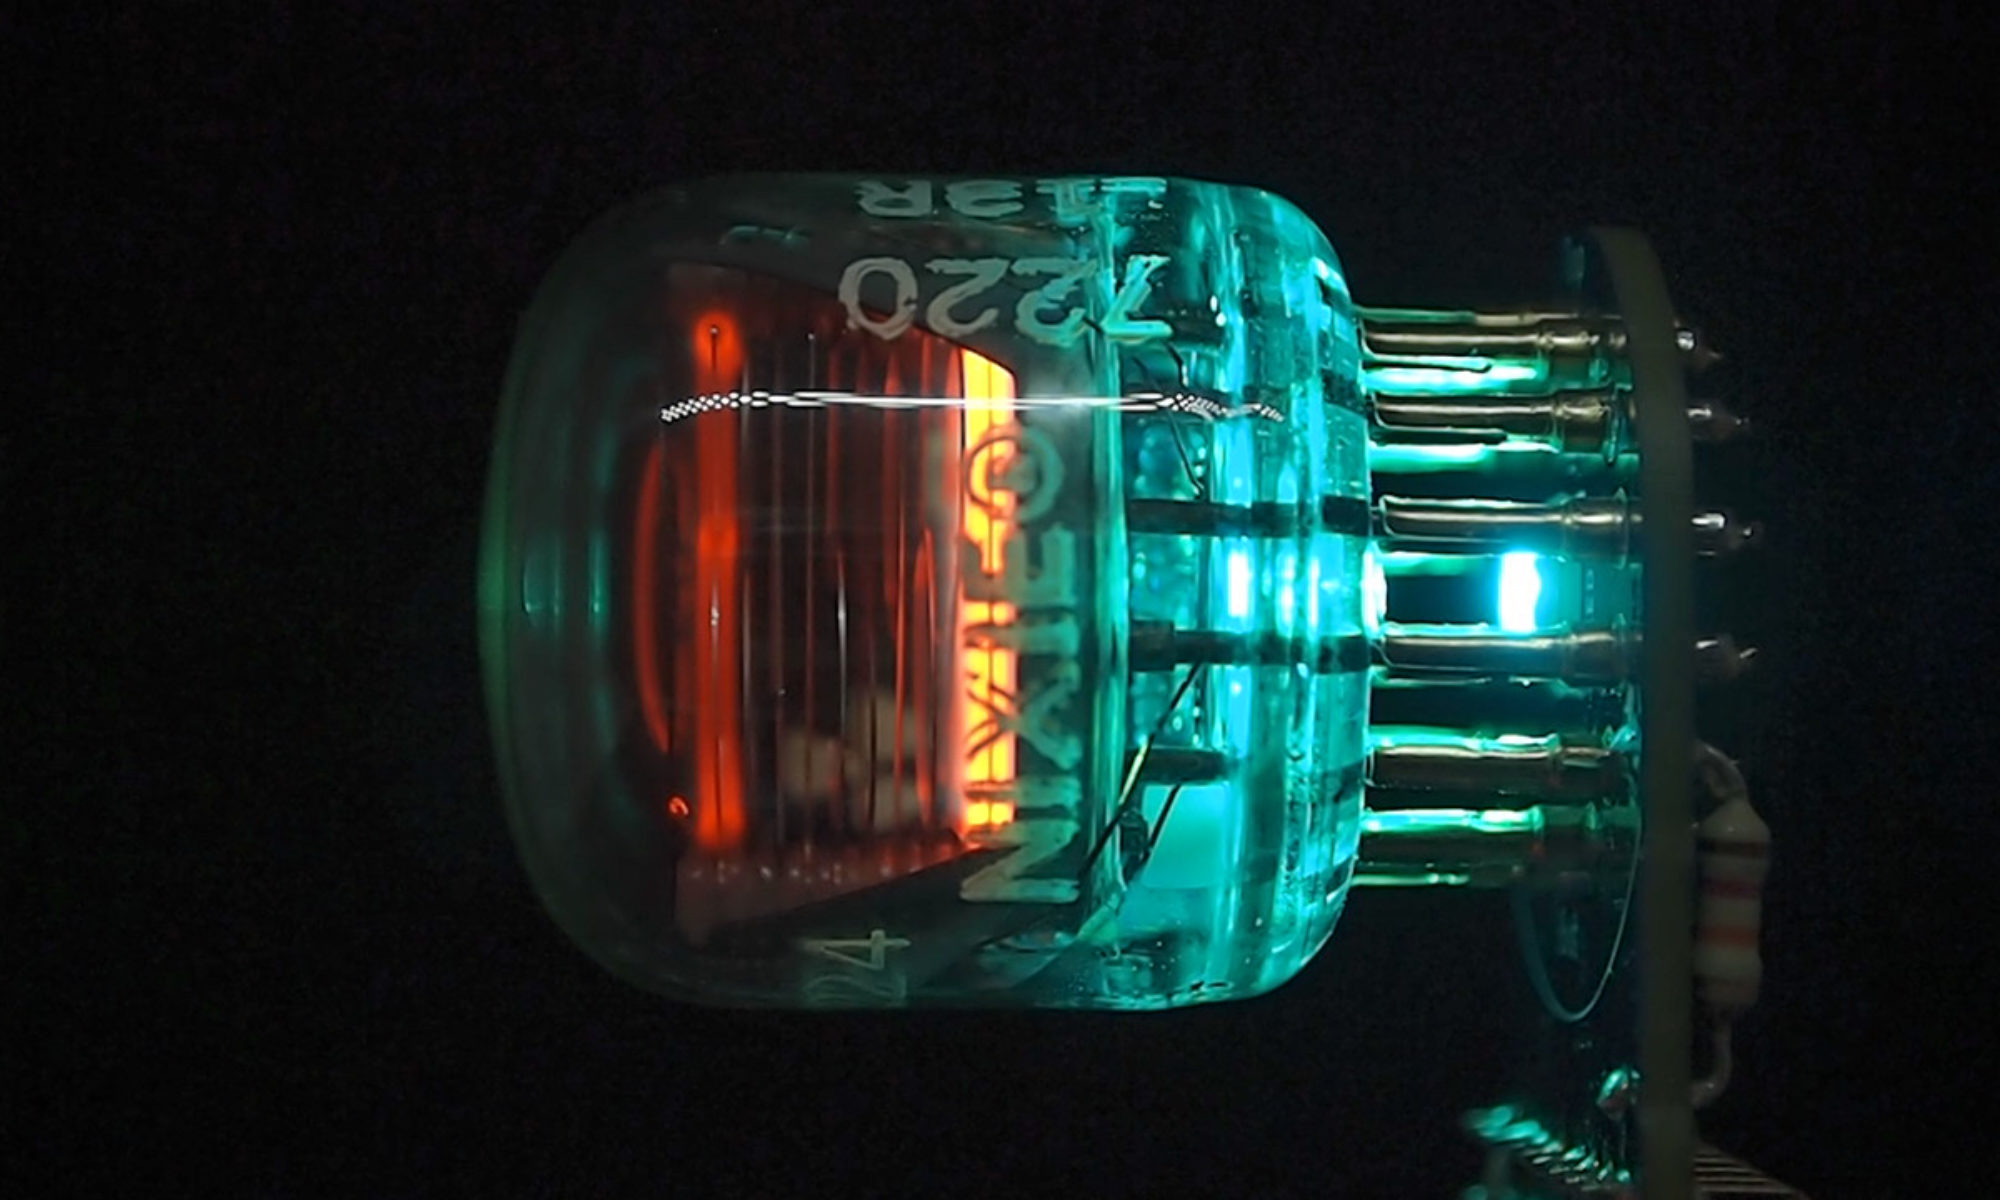
A while back, I discovered that Rodan had made a nixie tube that showed the days of the week in Kanji – the GR-524. It seemed obvious that this was meant to be used in a clock, but it seemed like it would be impossible to find one – I couldn’t find any images of it on the internet.
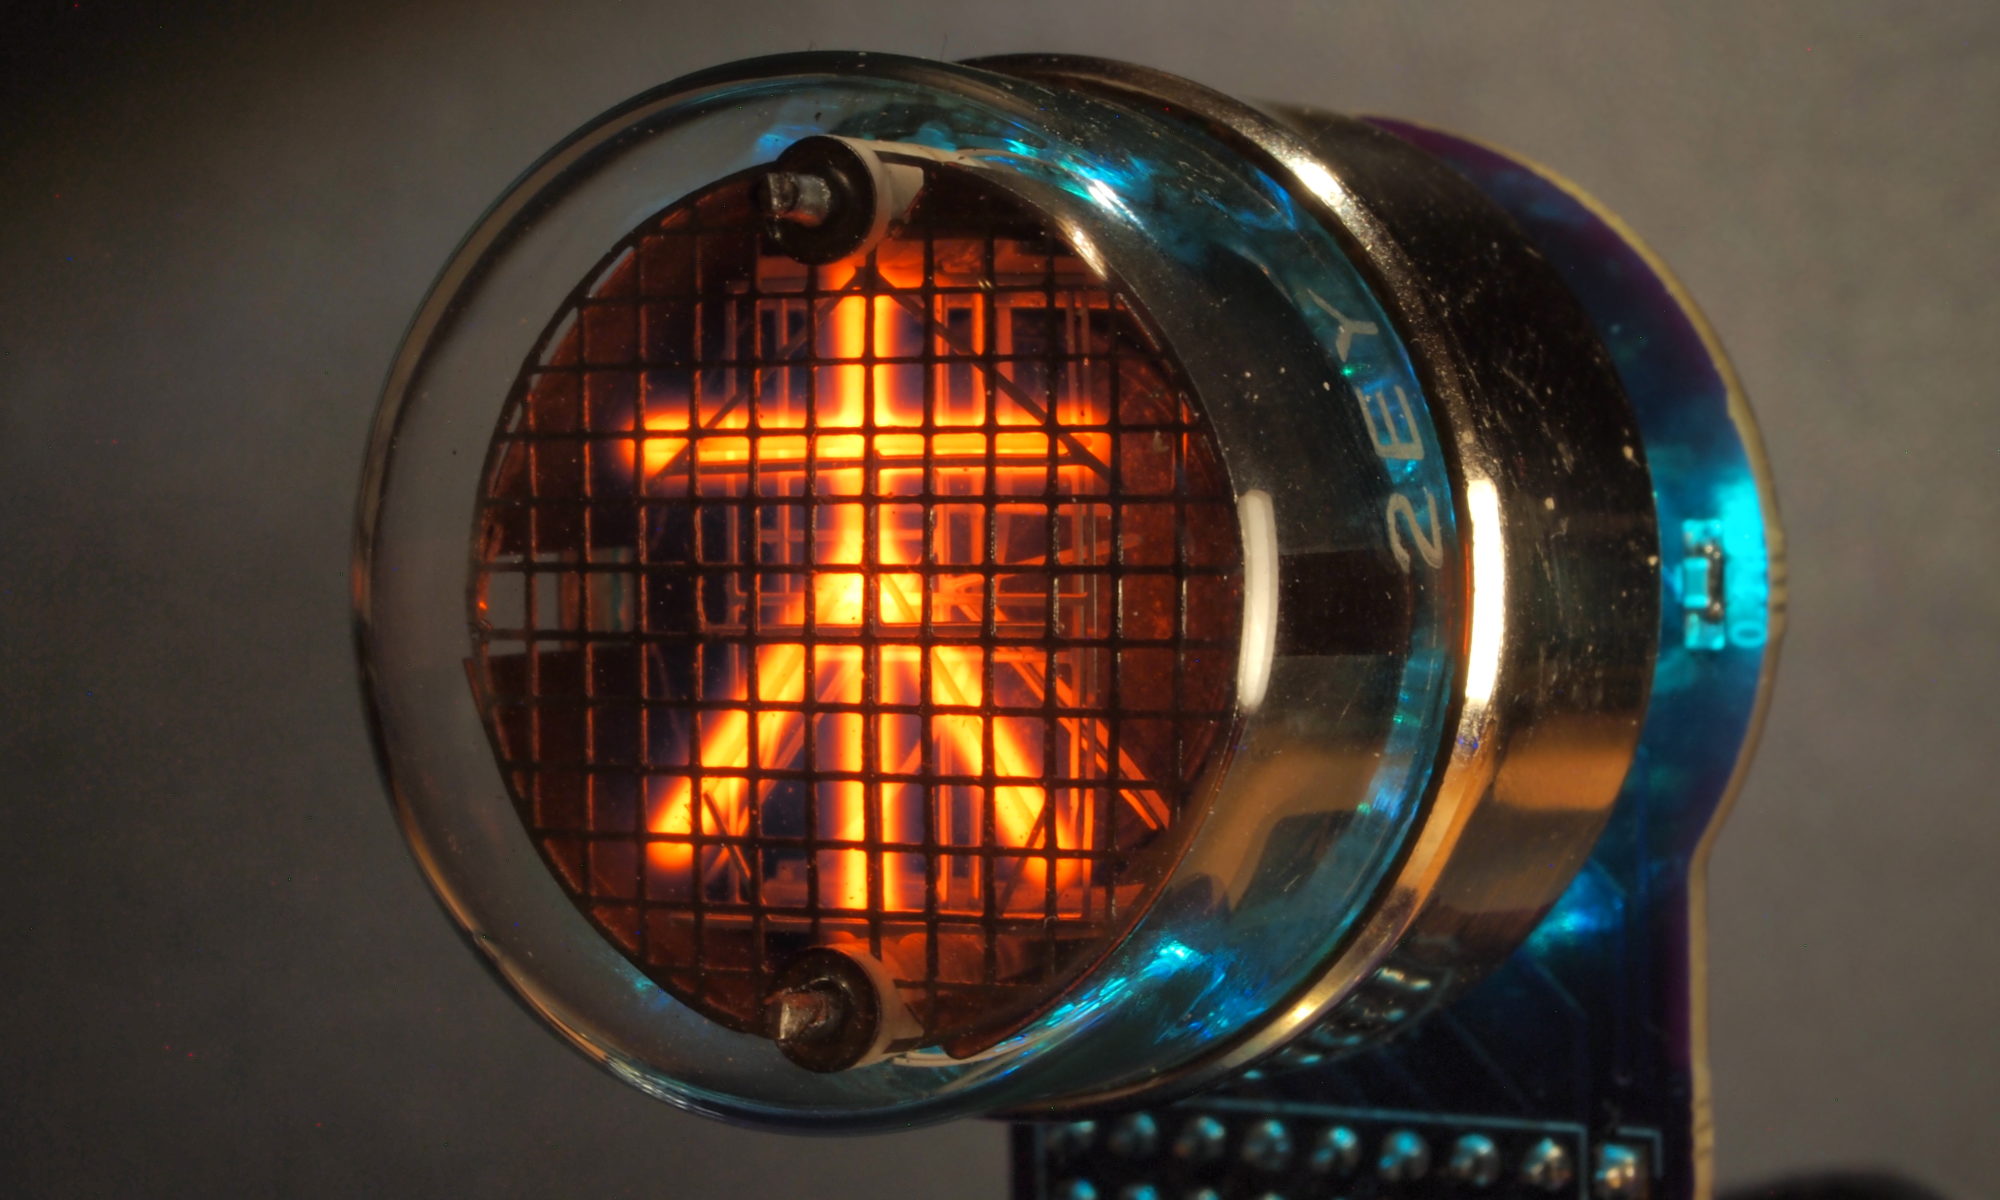
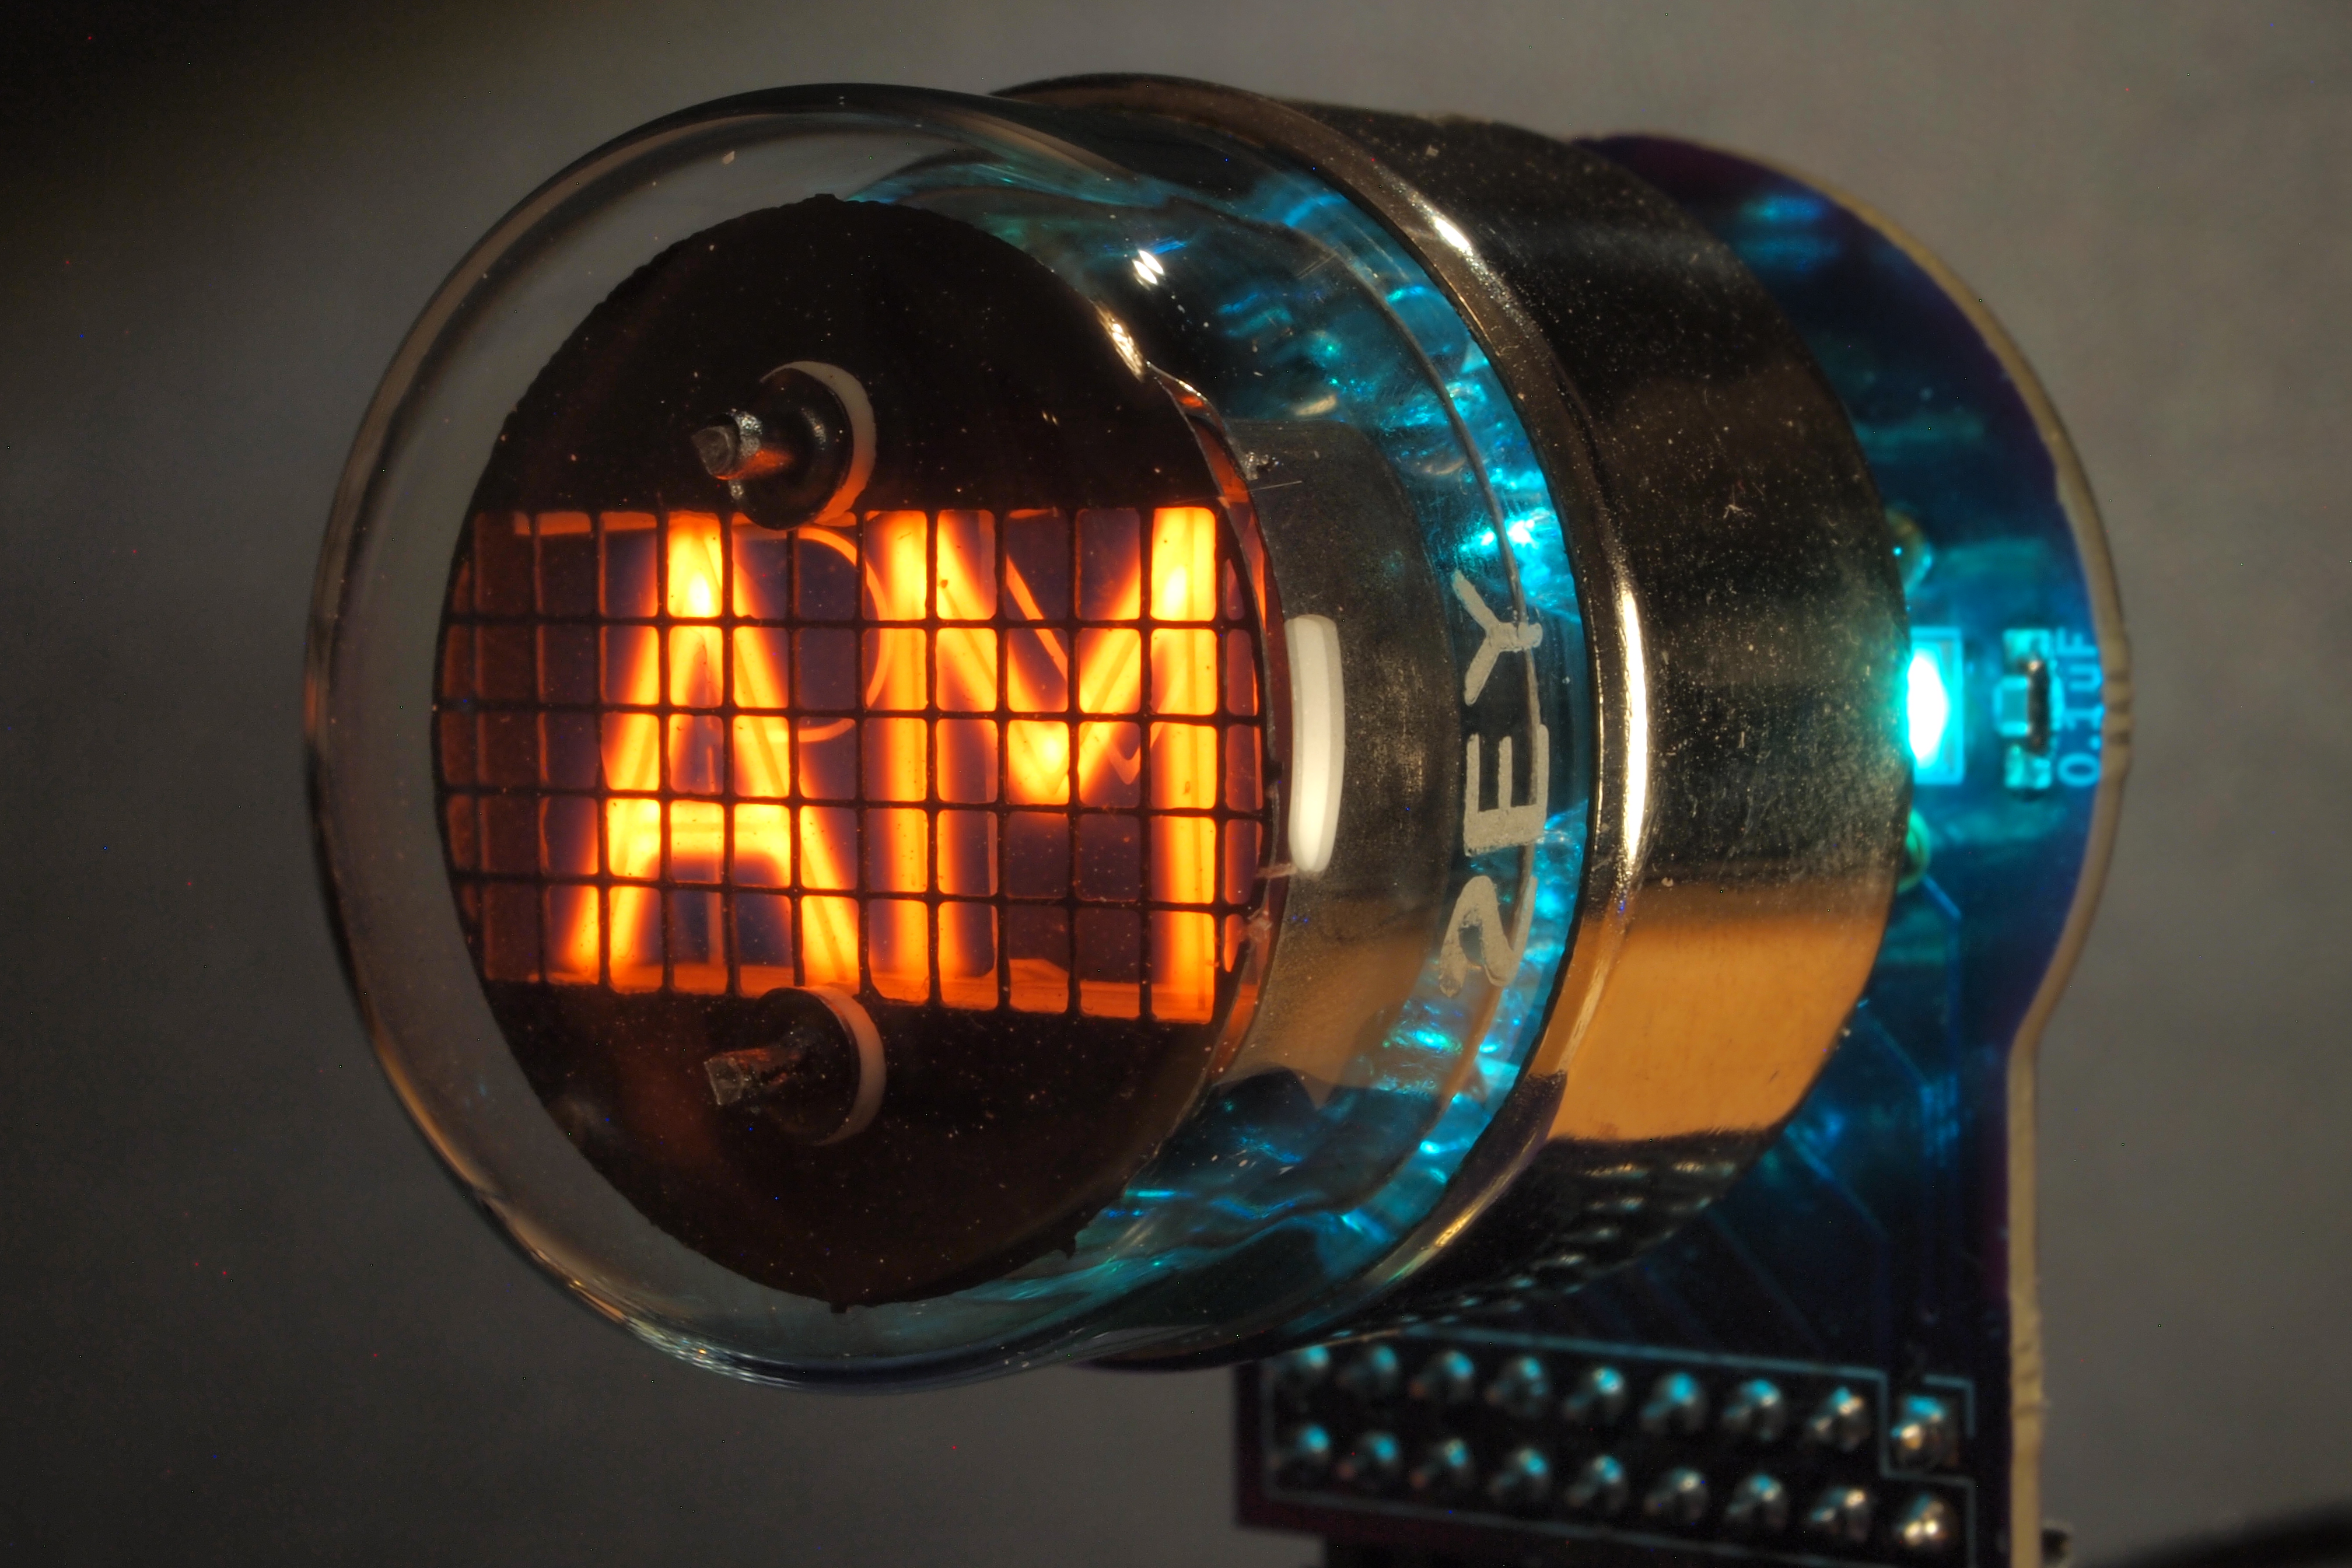
Finally, I spotted what looked like one in a box of mixed electronics components and leapt on the chance to buy it. When I received the package (with the nixie tubes just loose inside the box with everything else), I discovered not just the GR-524 tubes, but also one that I had no idea existed – the GR-574 – an AM/PM nixie tube. Obviously, I had to make a clock with them, but it was several years before I got around to it.
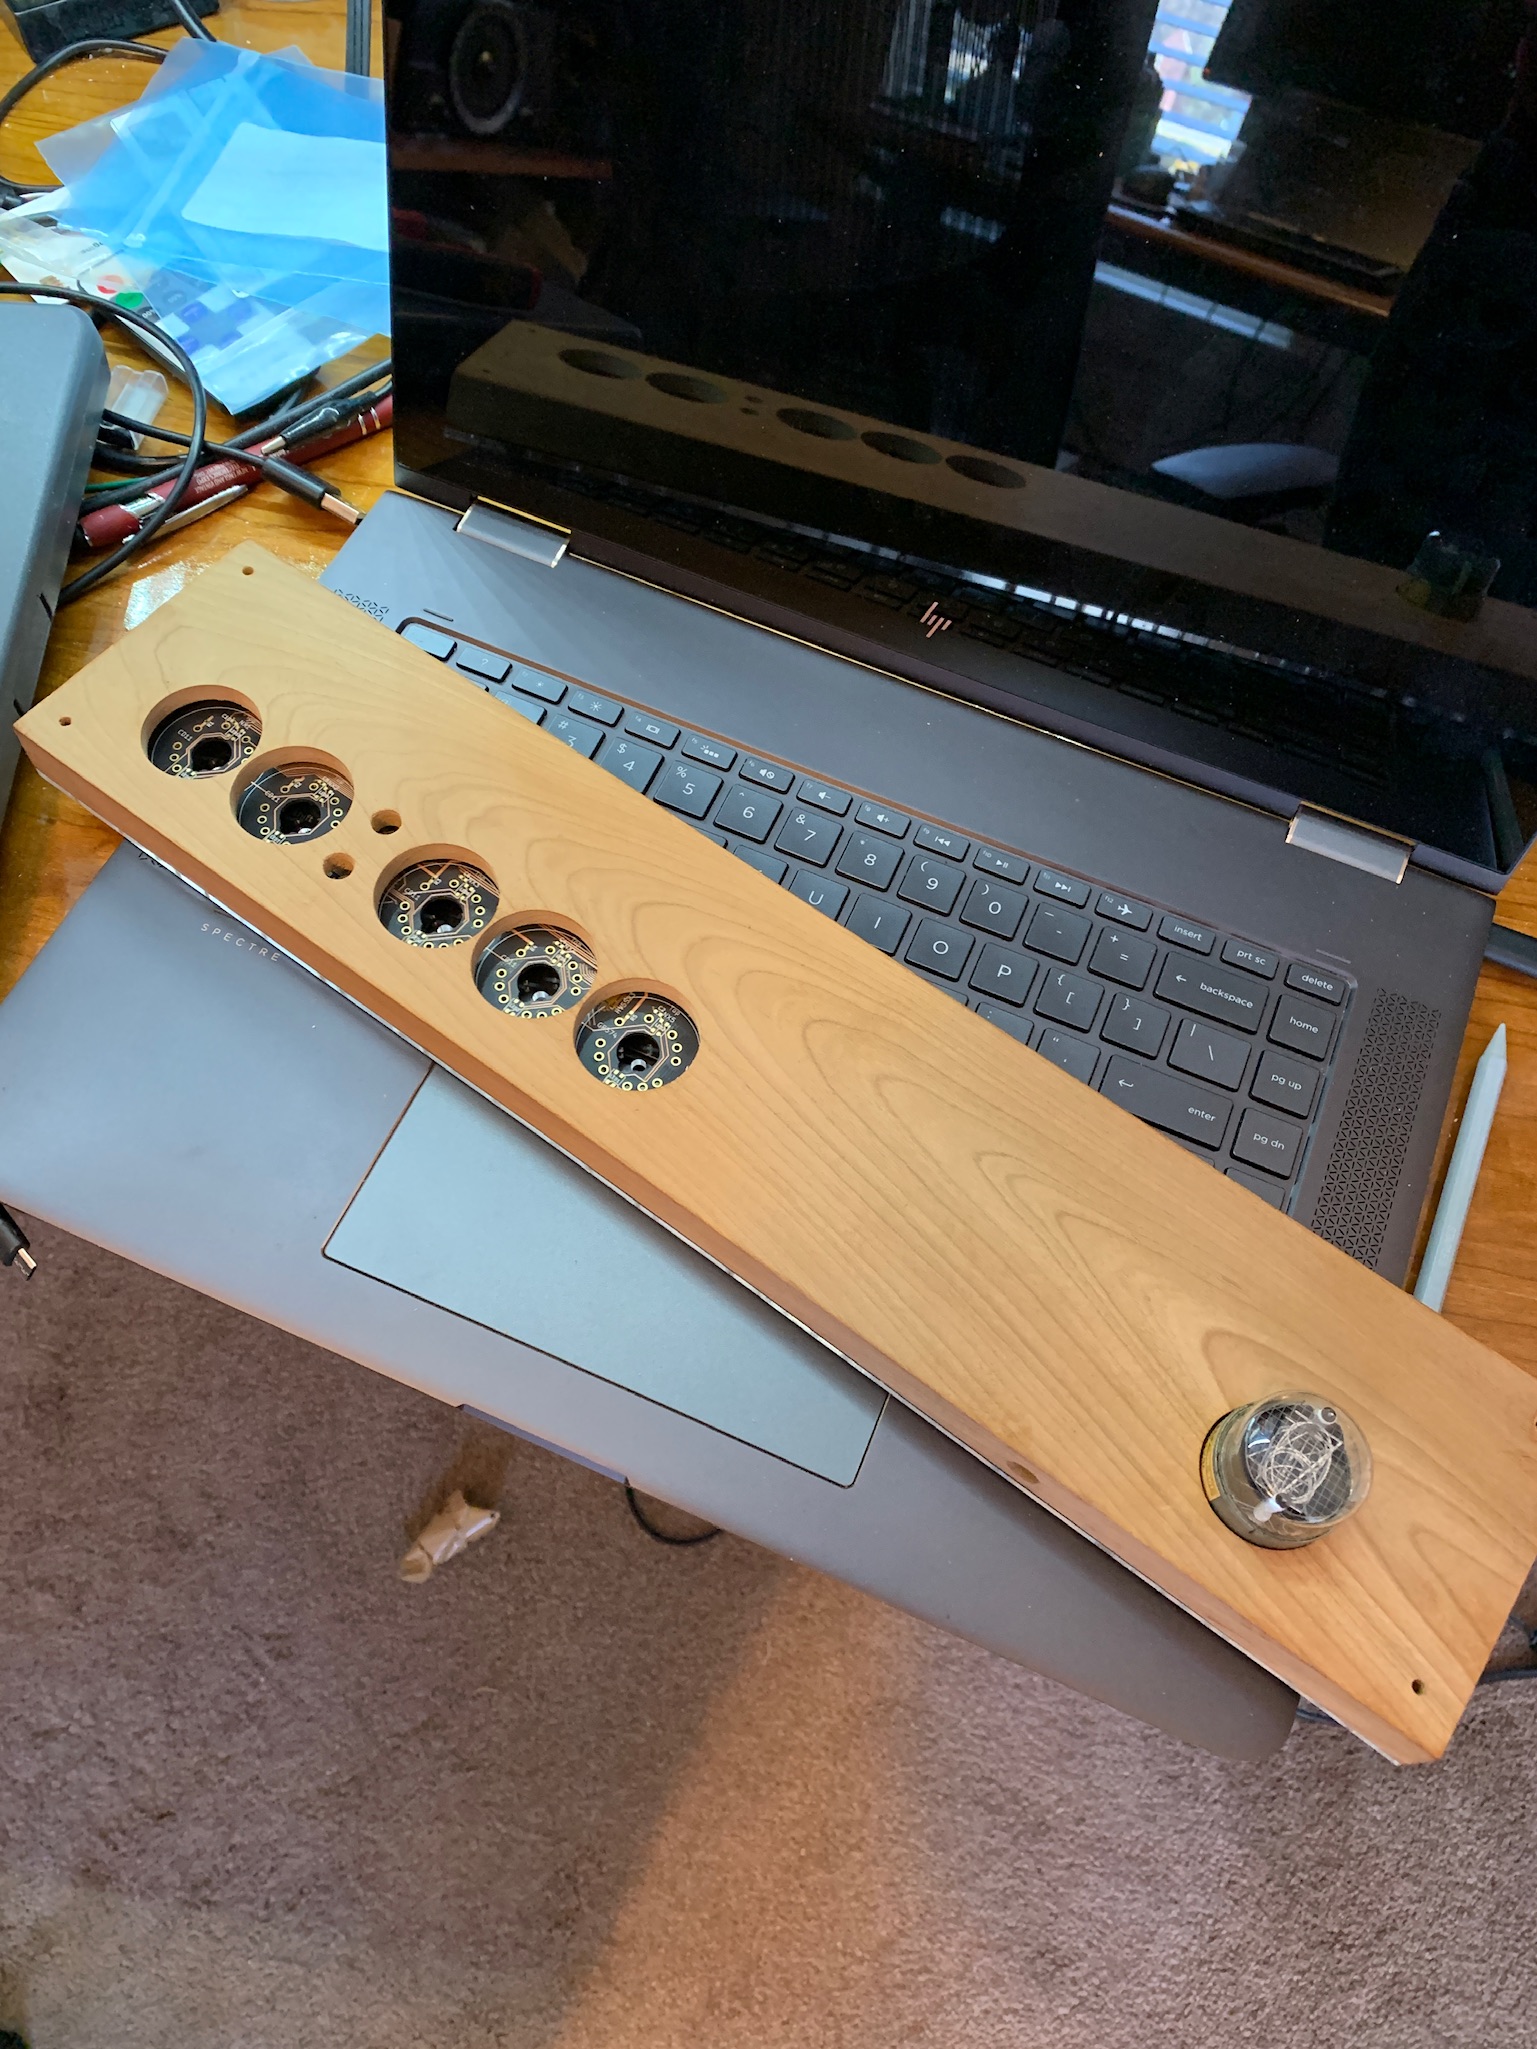
My idea was to create a wall mounted clock with a simple wooden surround featuring a lot of negative space. I found a piece of cherry in my collection of scraps and started to figure out how to lay out the tubes. Finally coming up with the arrangement shown below:
Basically, an HH:MM clock with the AM/PM next to the time, and the Kanji tube off to the right.
I had some PCBs left over from my large tube clock build, so I used one of those for the main processing board. This includes an ESP32-PICO processor with WiFi, an SD card reader, a mono amplifier, input for a light sensor and a movement sensor. At this point I wasn’t sure I could fit all of these extras in to the case (you can see it’s very thin).
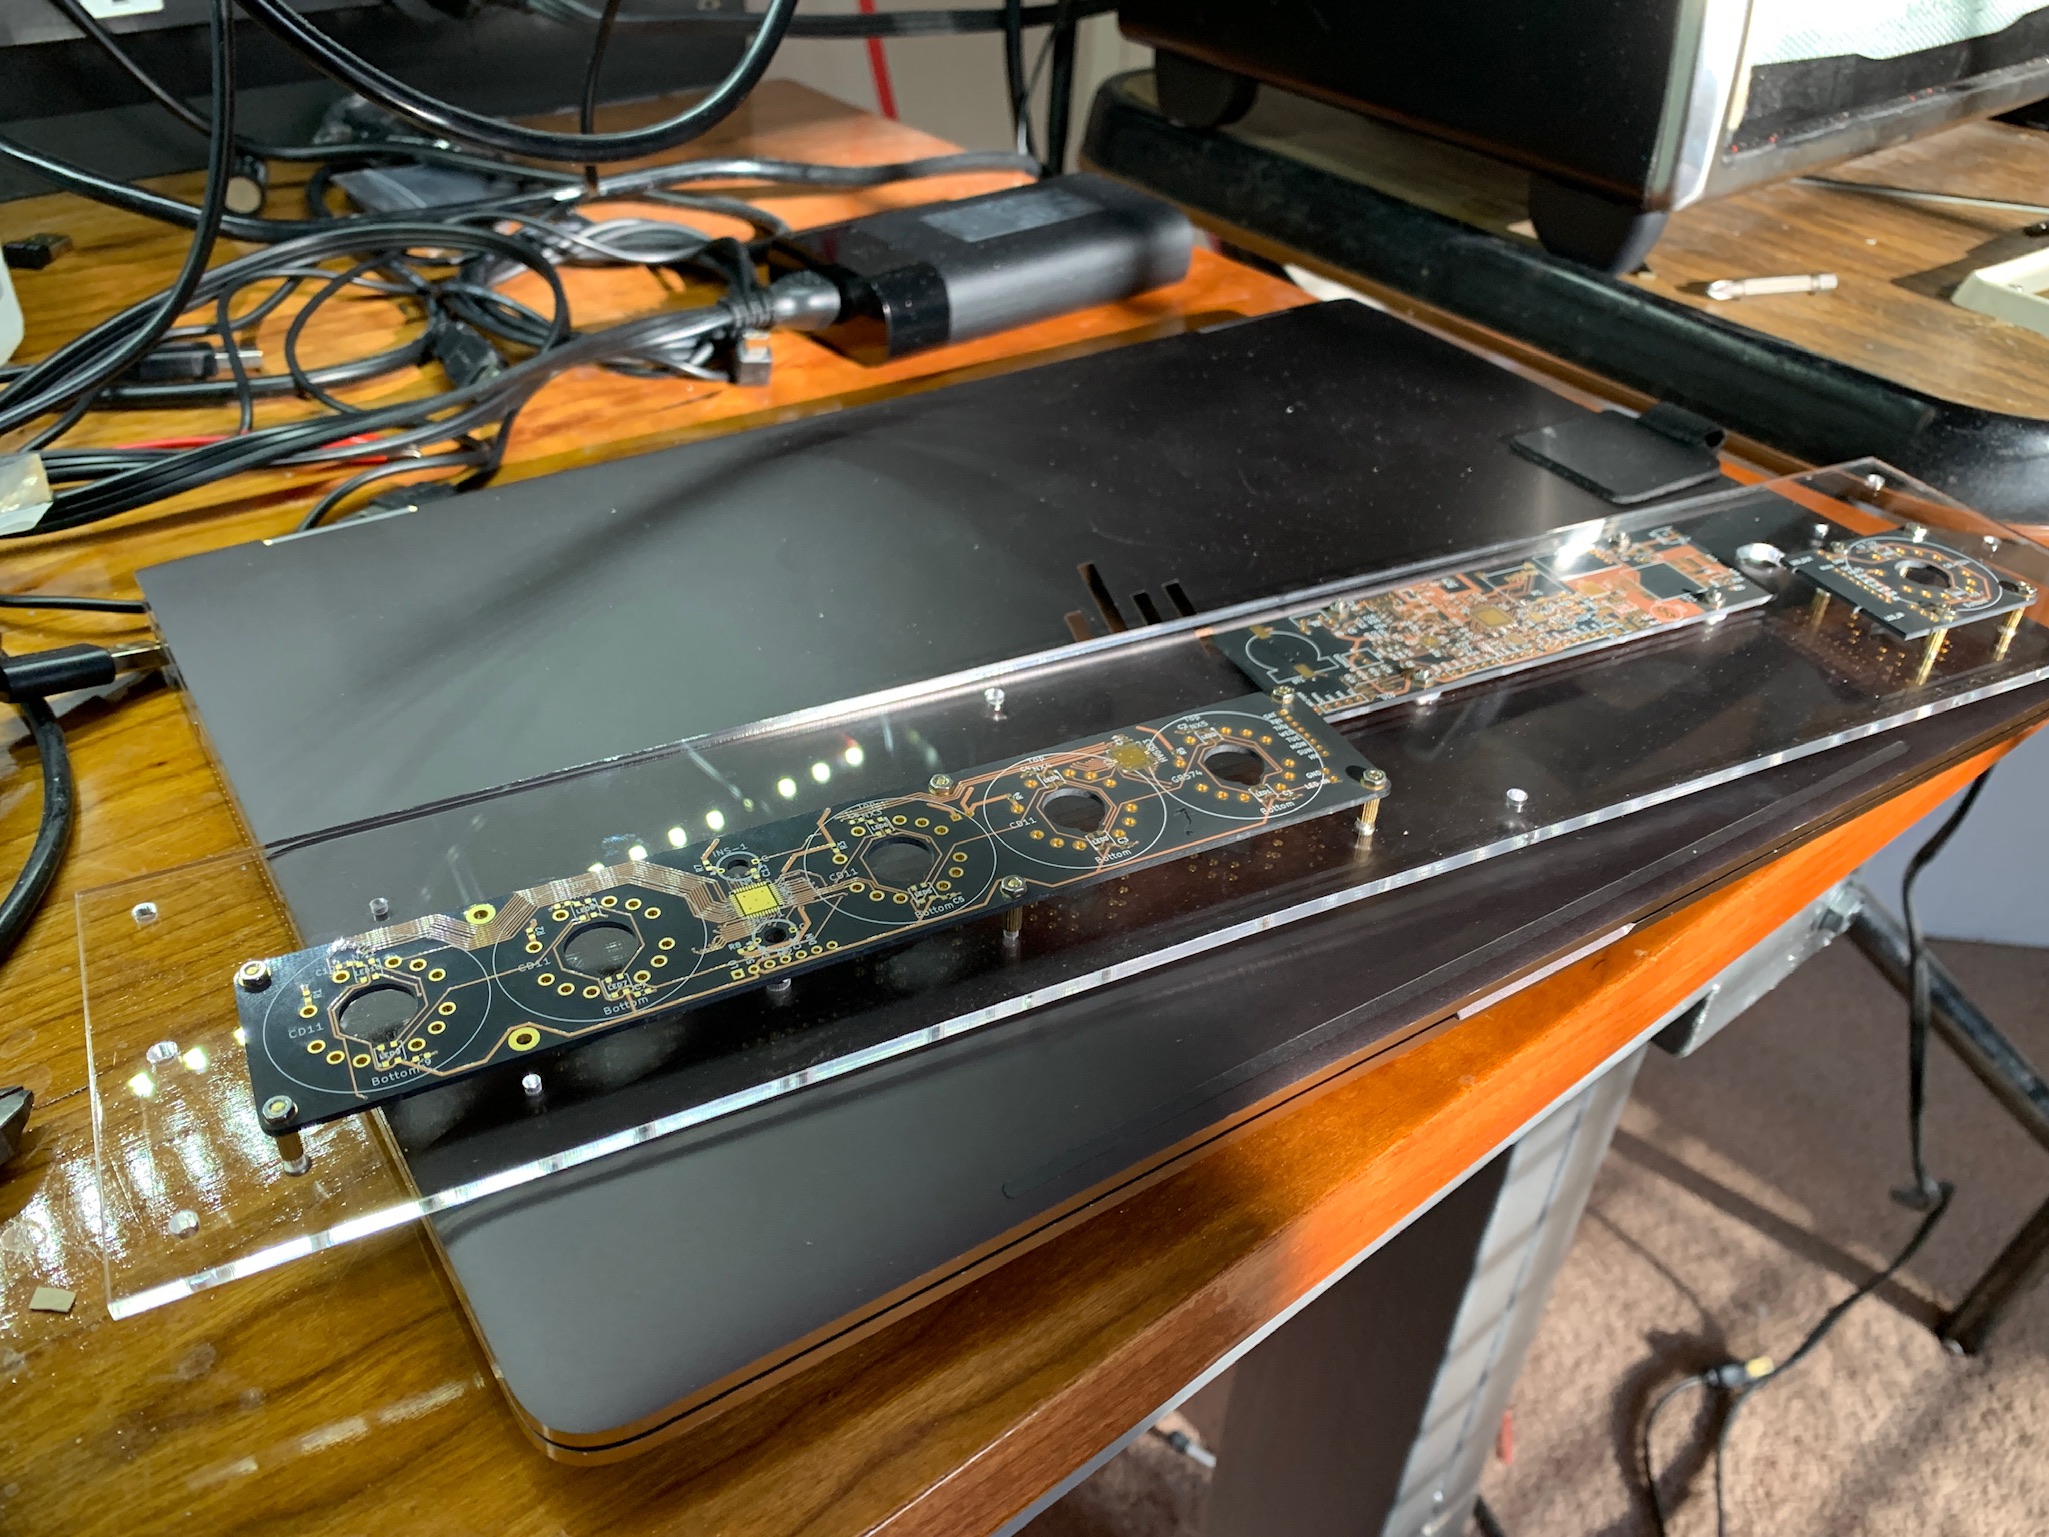
In addition to the main board, I had to design boards to hold the tubes and the backlights. Here you can see the unpopulated boards layout out on an acrylic sheet that would form the back of the clock:
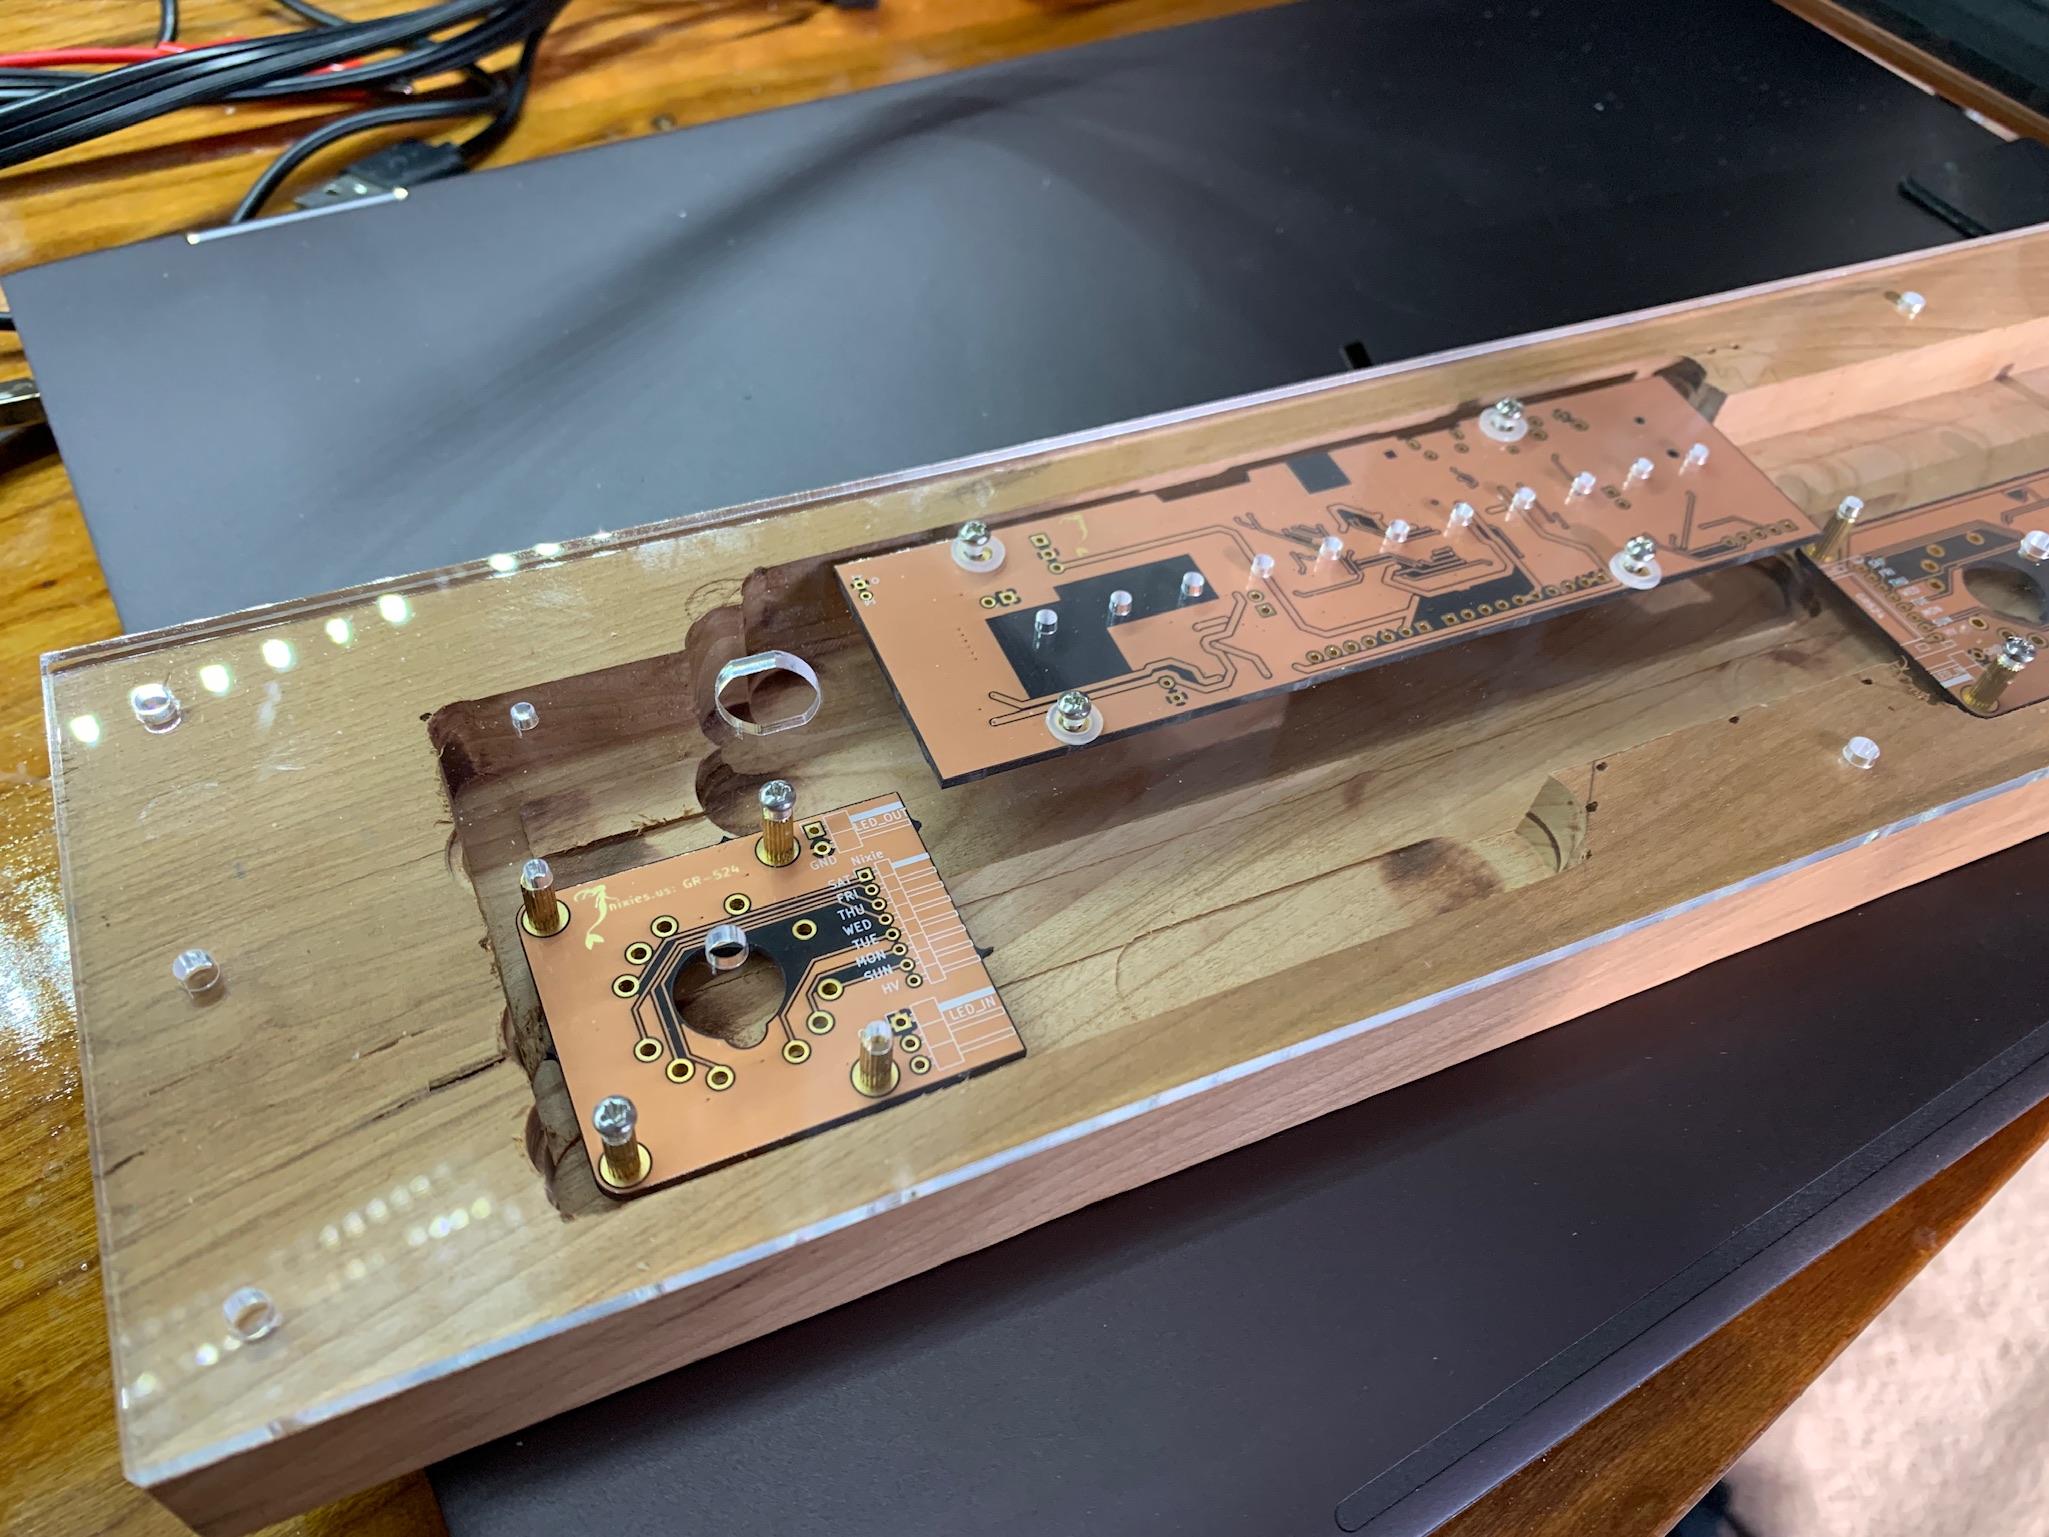
Next I had to route out the block of Cherry to hold these electronics. The wood is quite thin in places after this:
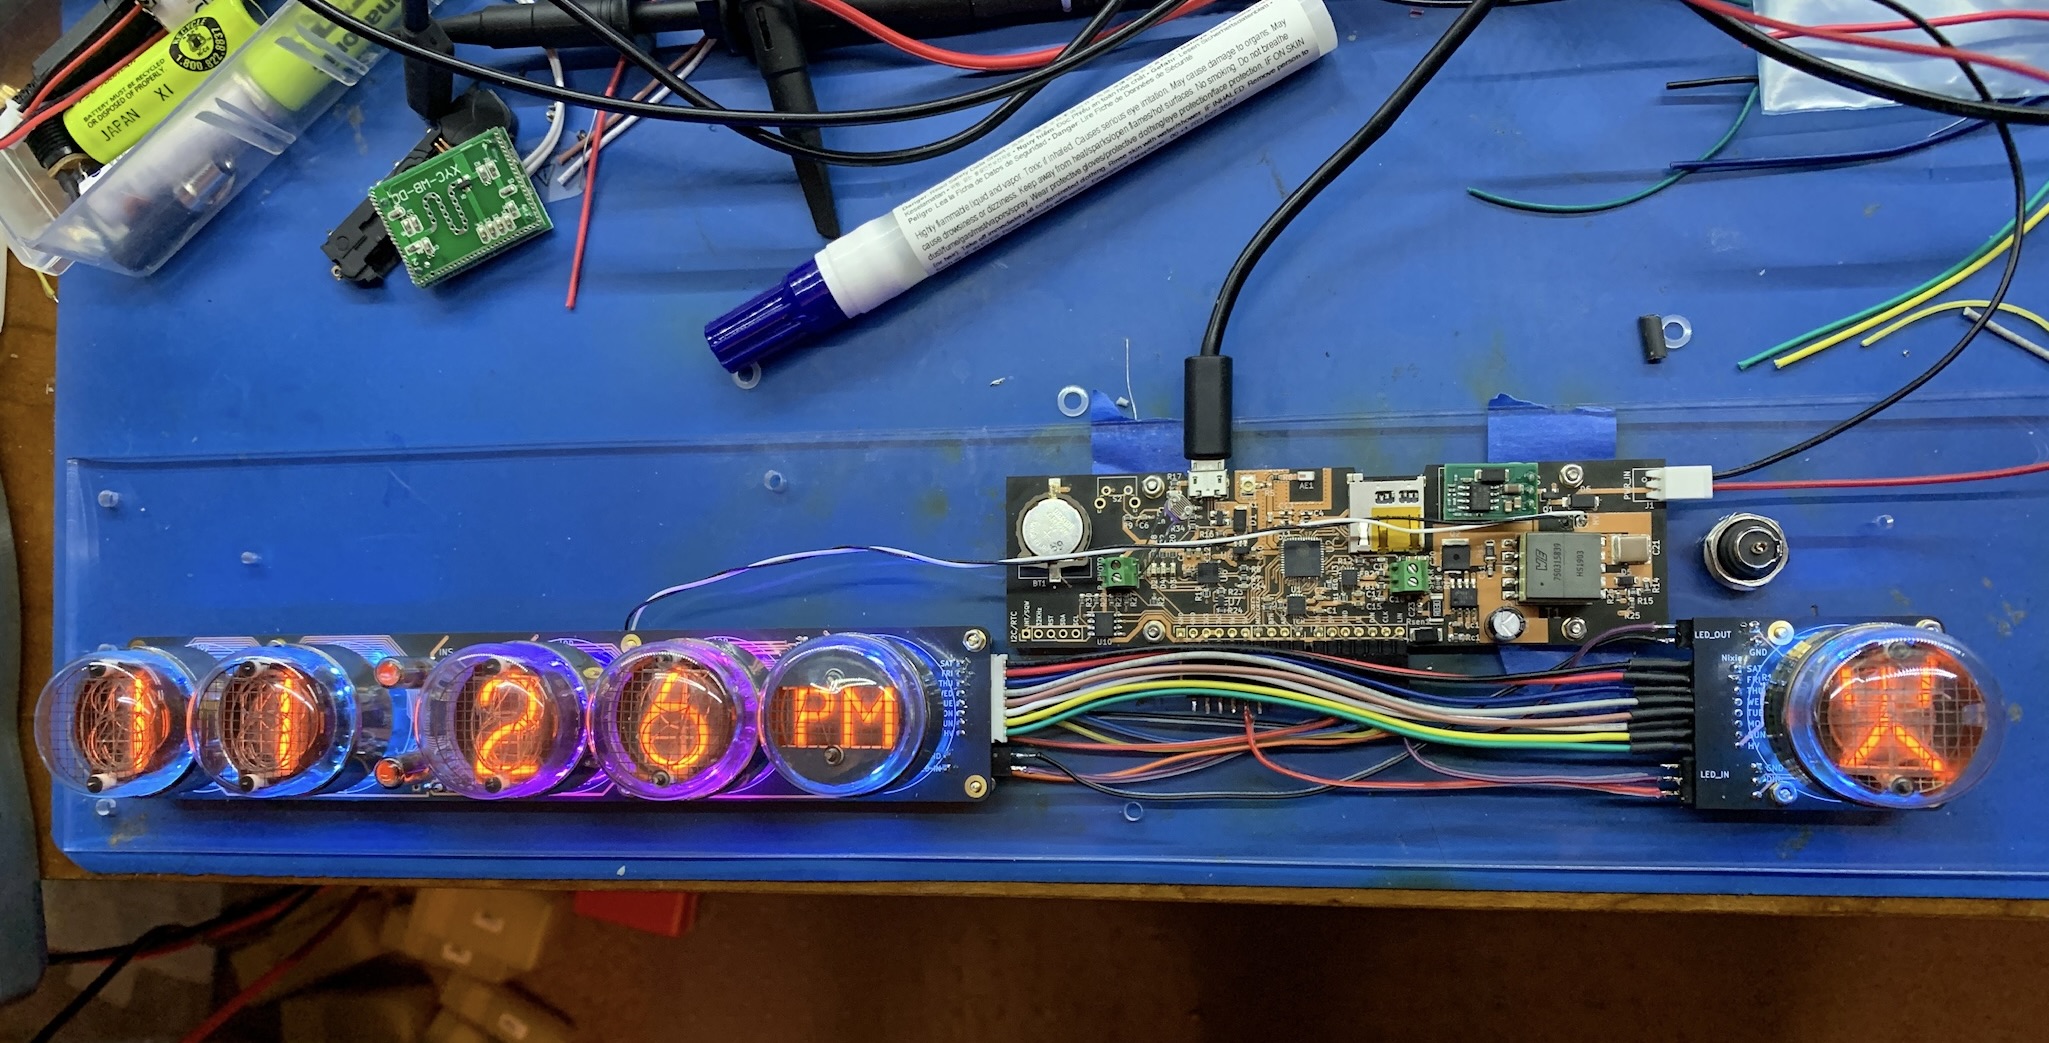
While I was doing this, I was wondering if I should fully populate the main PCB with the sound components, after all how would I fit a speaker in there? Then I remembered I had some old iPhones in a drawer and I could probably get a very thin, but decent speaker from one of those, so I went ahead and fully populated the board. Below is a photo showing everything wired up, except for the speaker and movement sensor (which you can see to the top left of the photo):
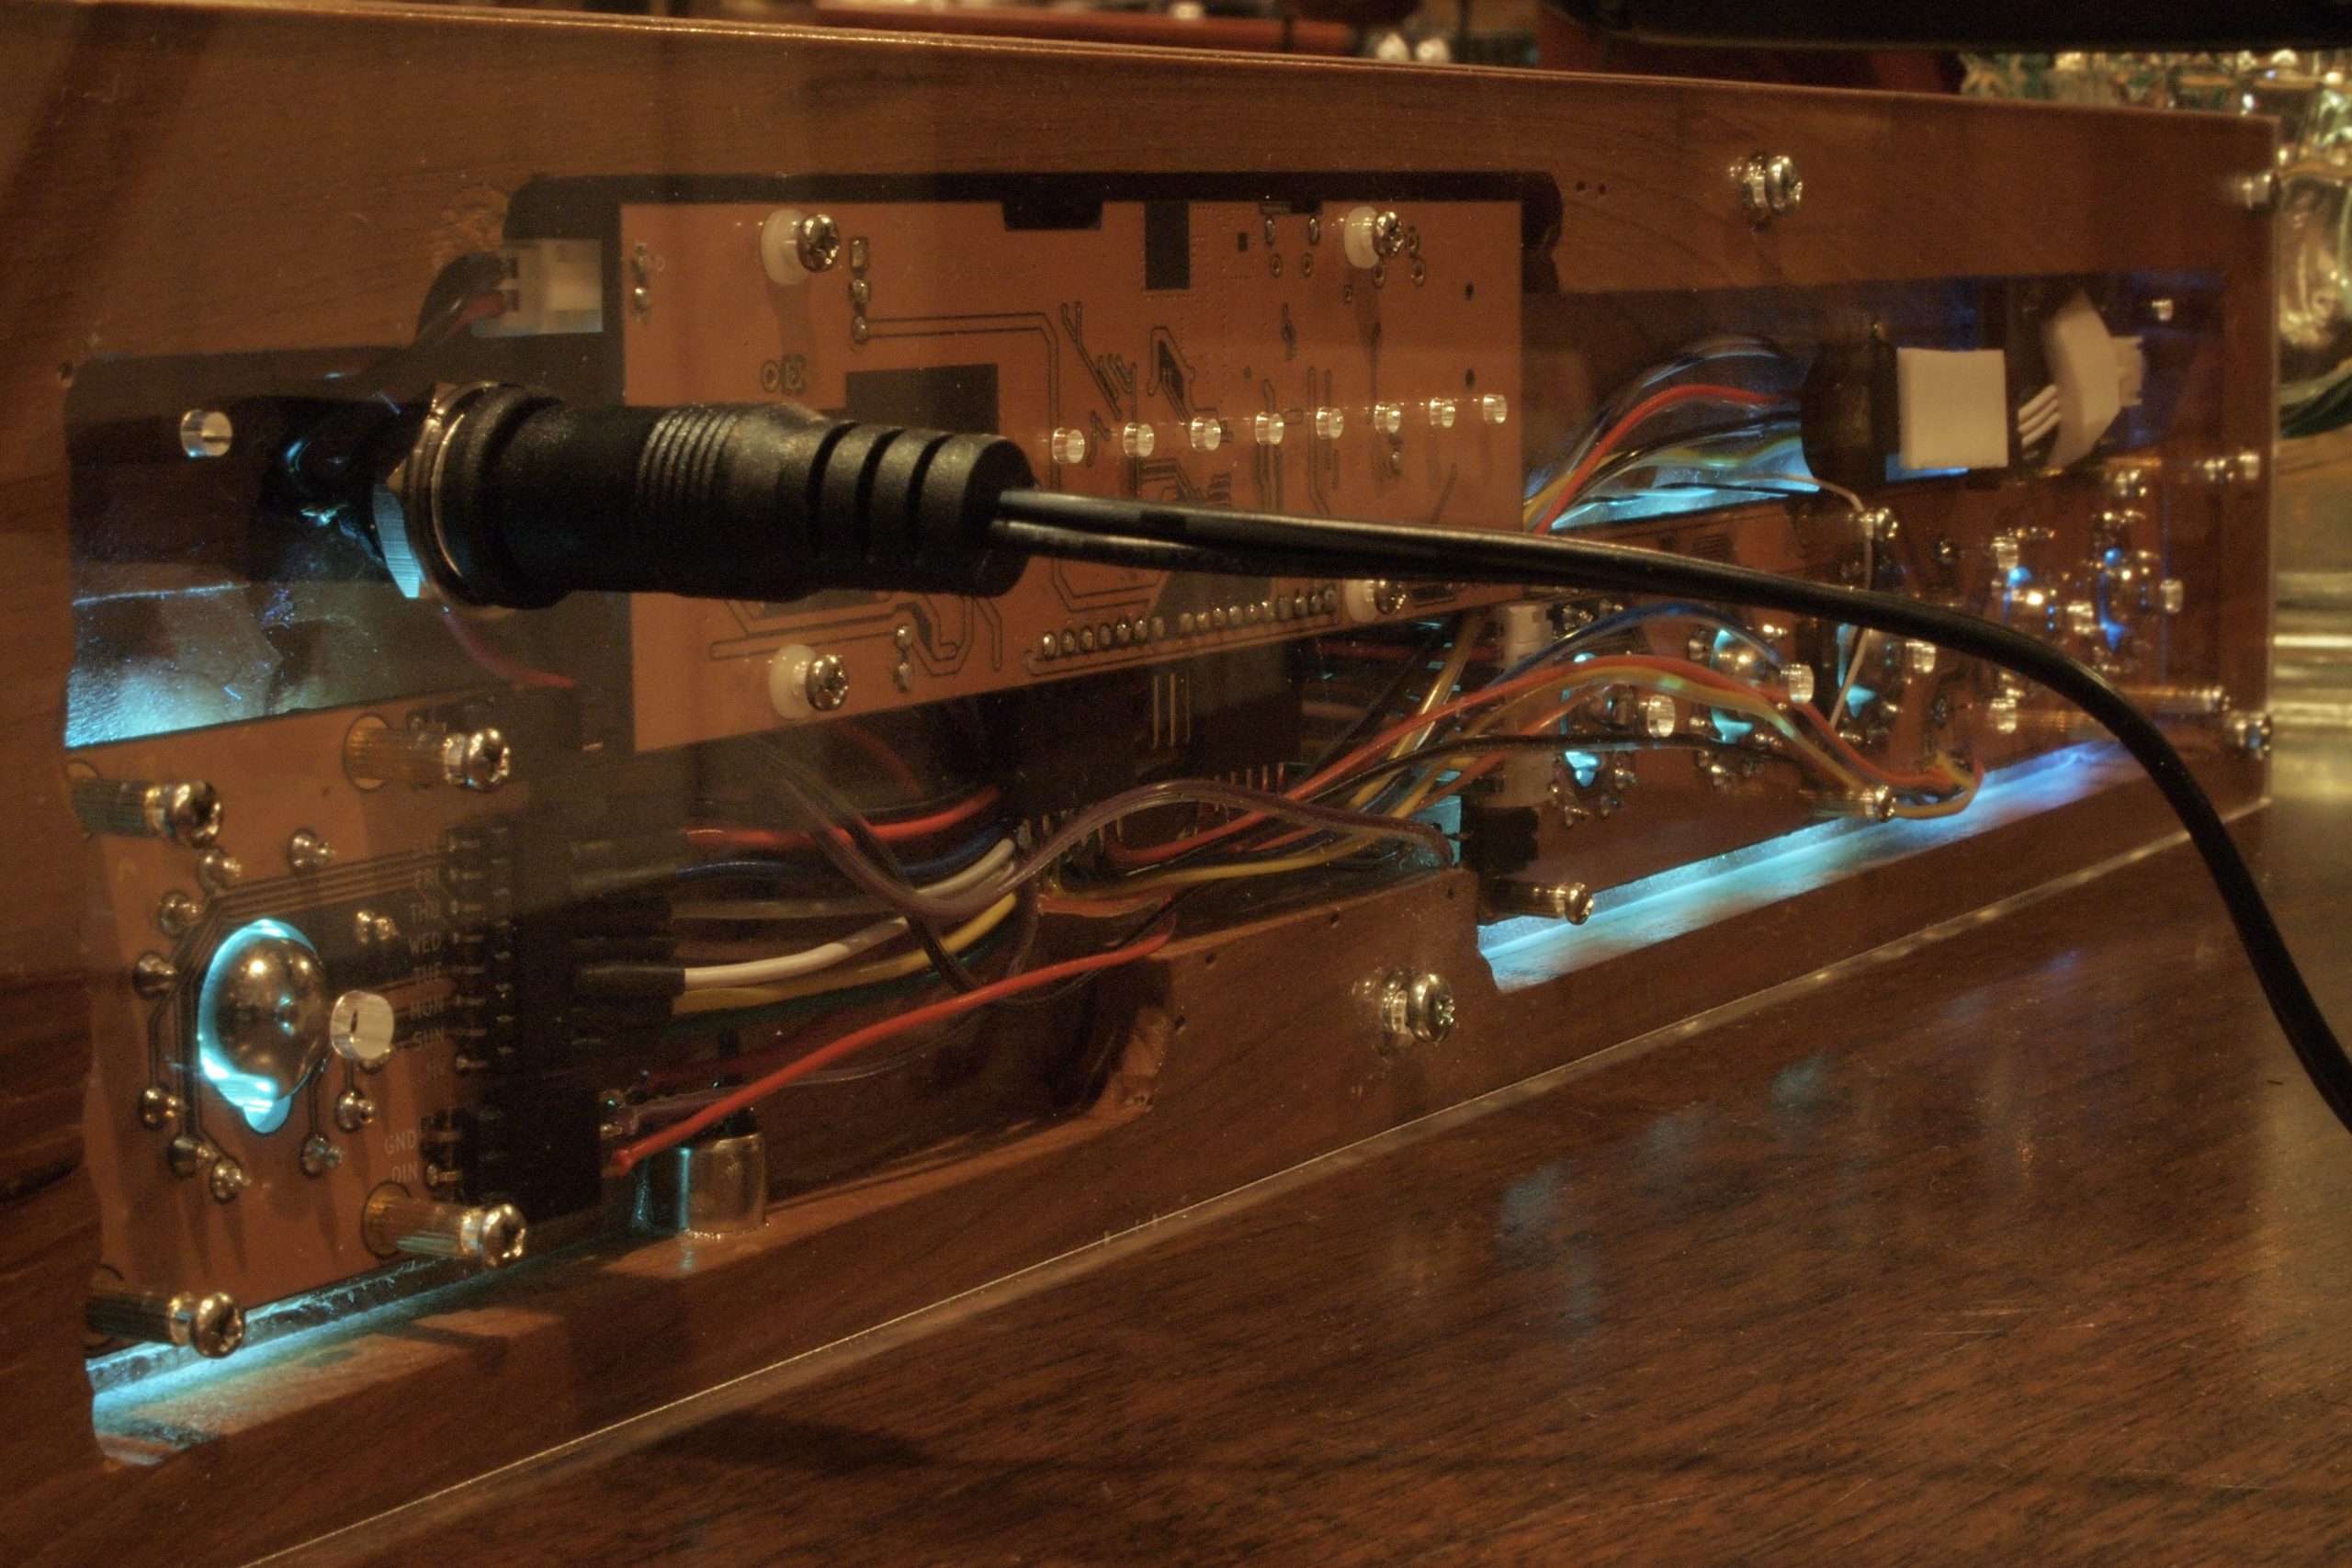
All that was left to do was to varnish the wood and put everything together. This is a view from the back. You can see the speaker and movement sensor packed in at the top right:
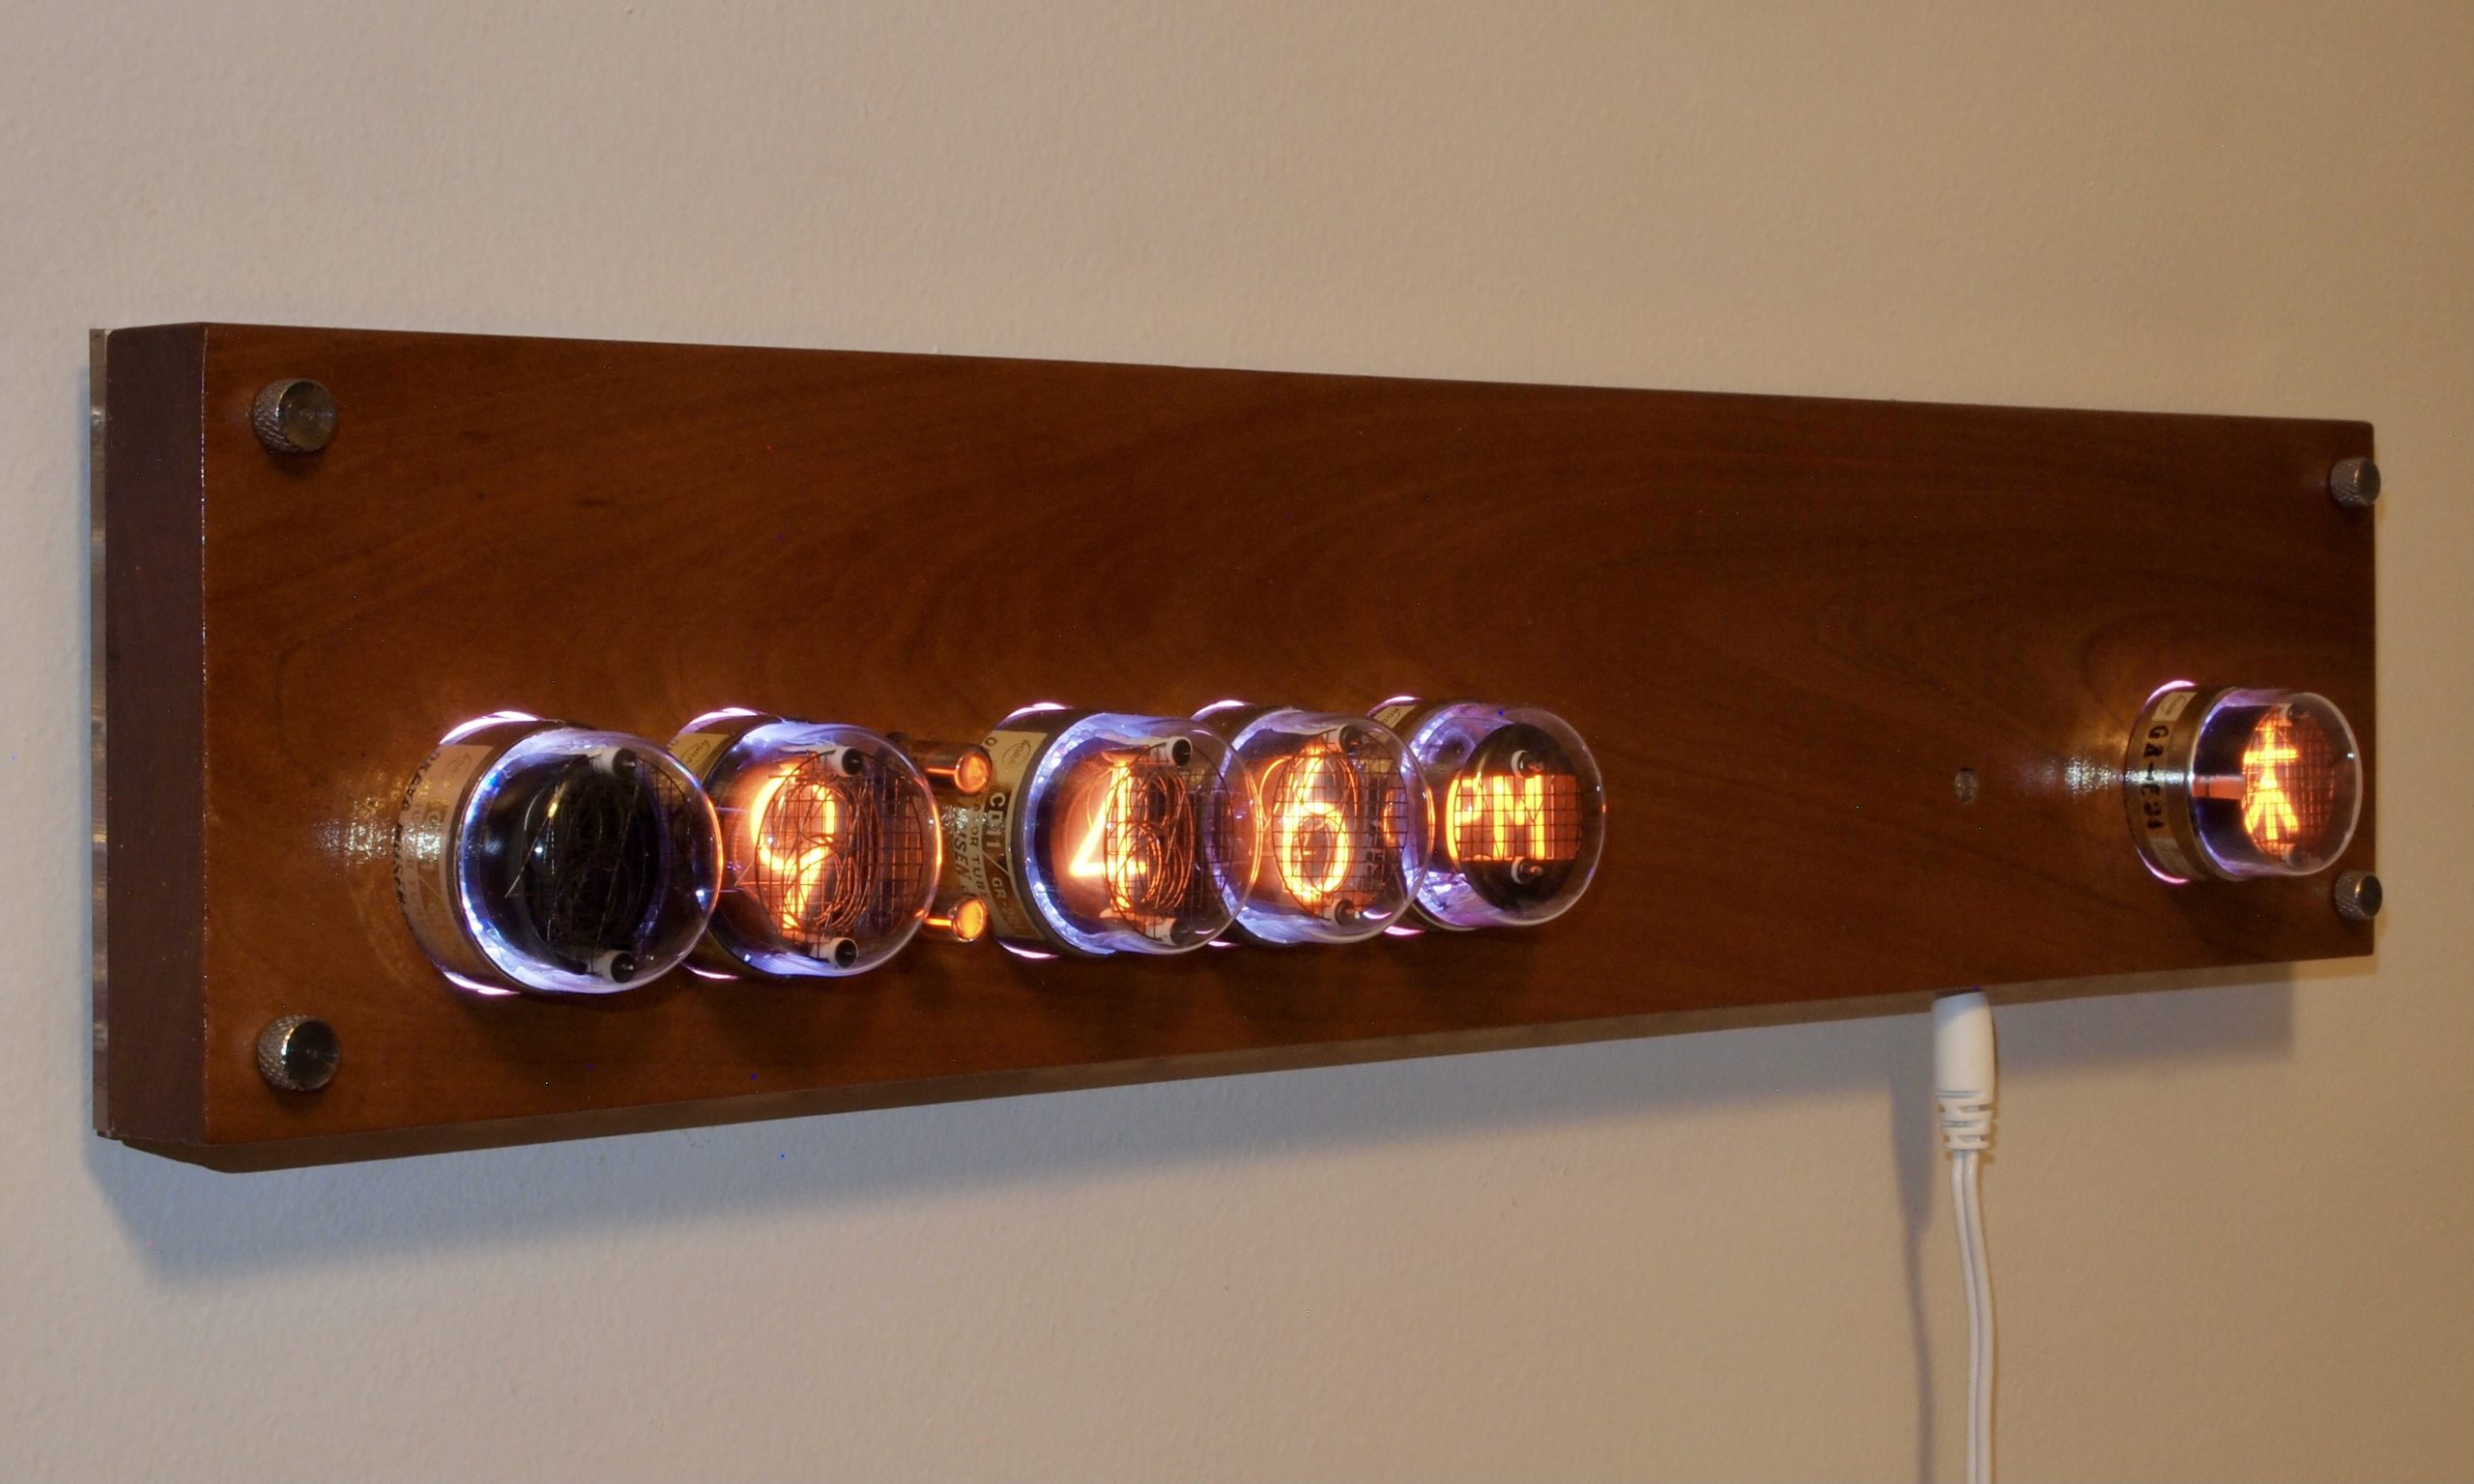
Here it is hanging on a wall in my office:
Here is a video demonstrating the sounds the clock can make:
wanted to see if you still have ITS1A clock kit available to purchase? I have those tubes and always wanted to build a clock
I don’t, but the write up has links to everything you would need to build one, including the PCBs, BOM, firmware, instructions and Facebook group.