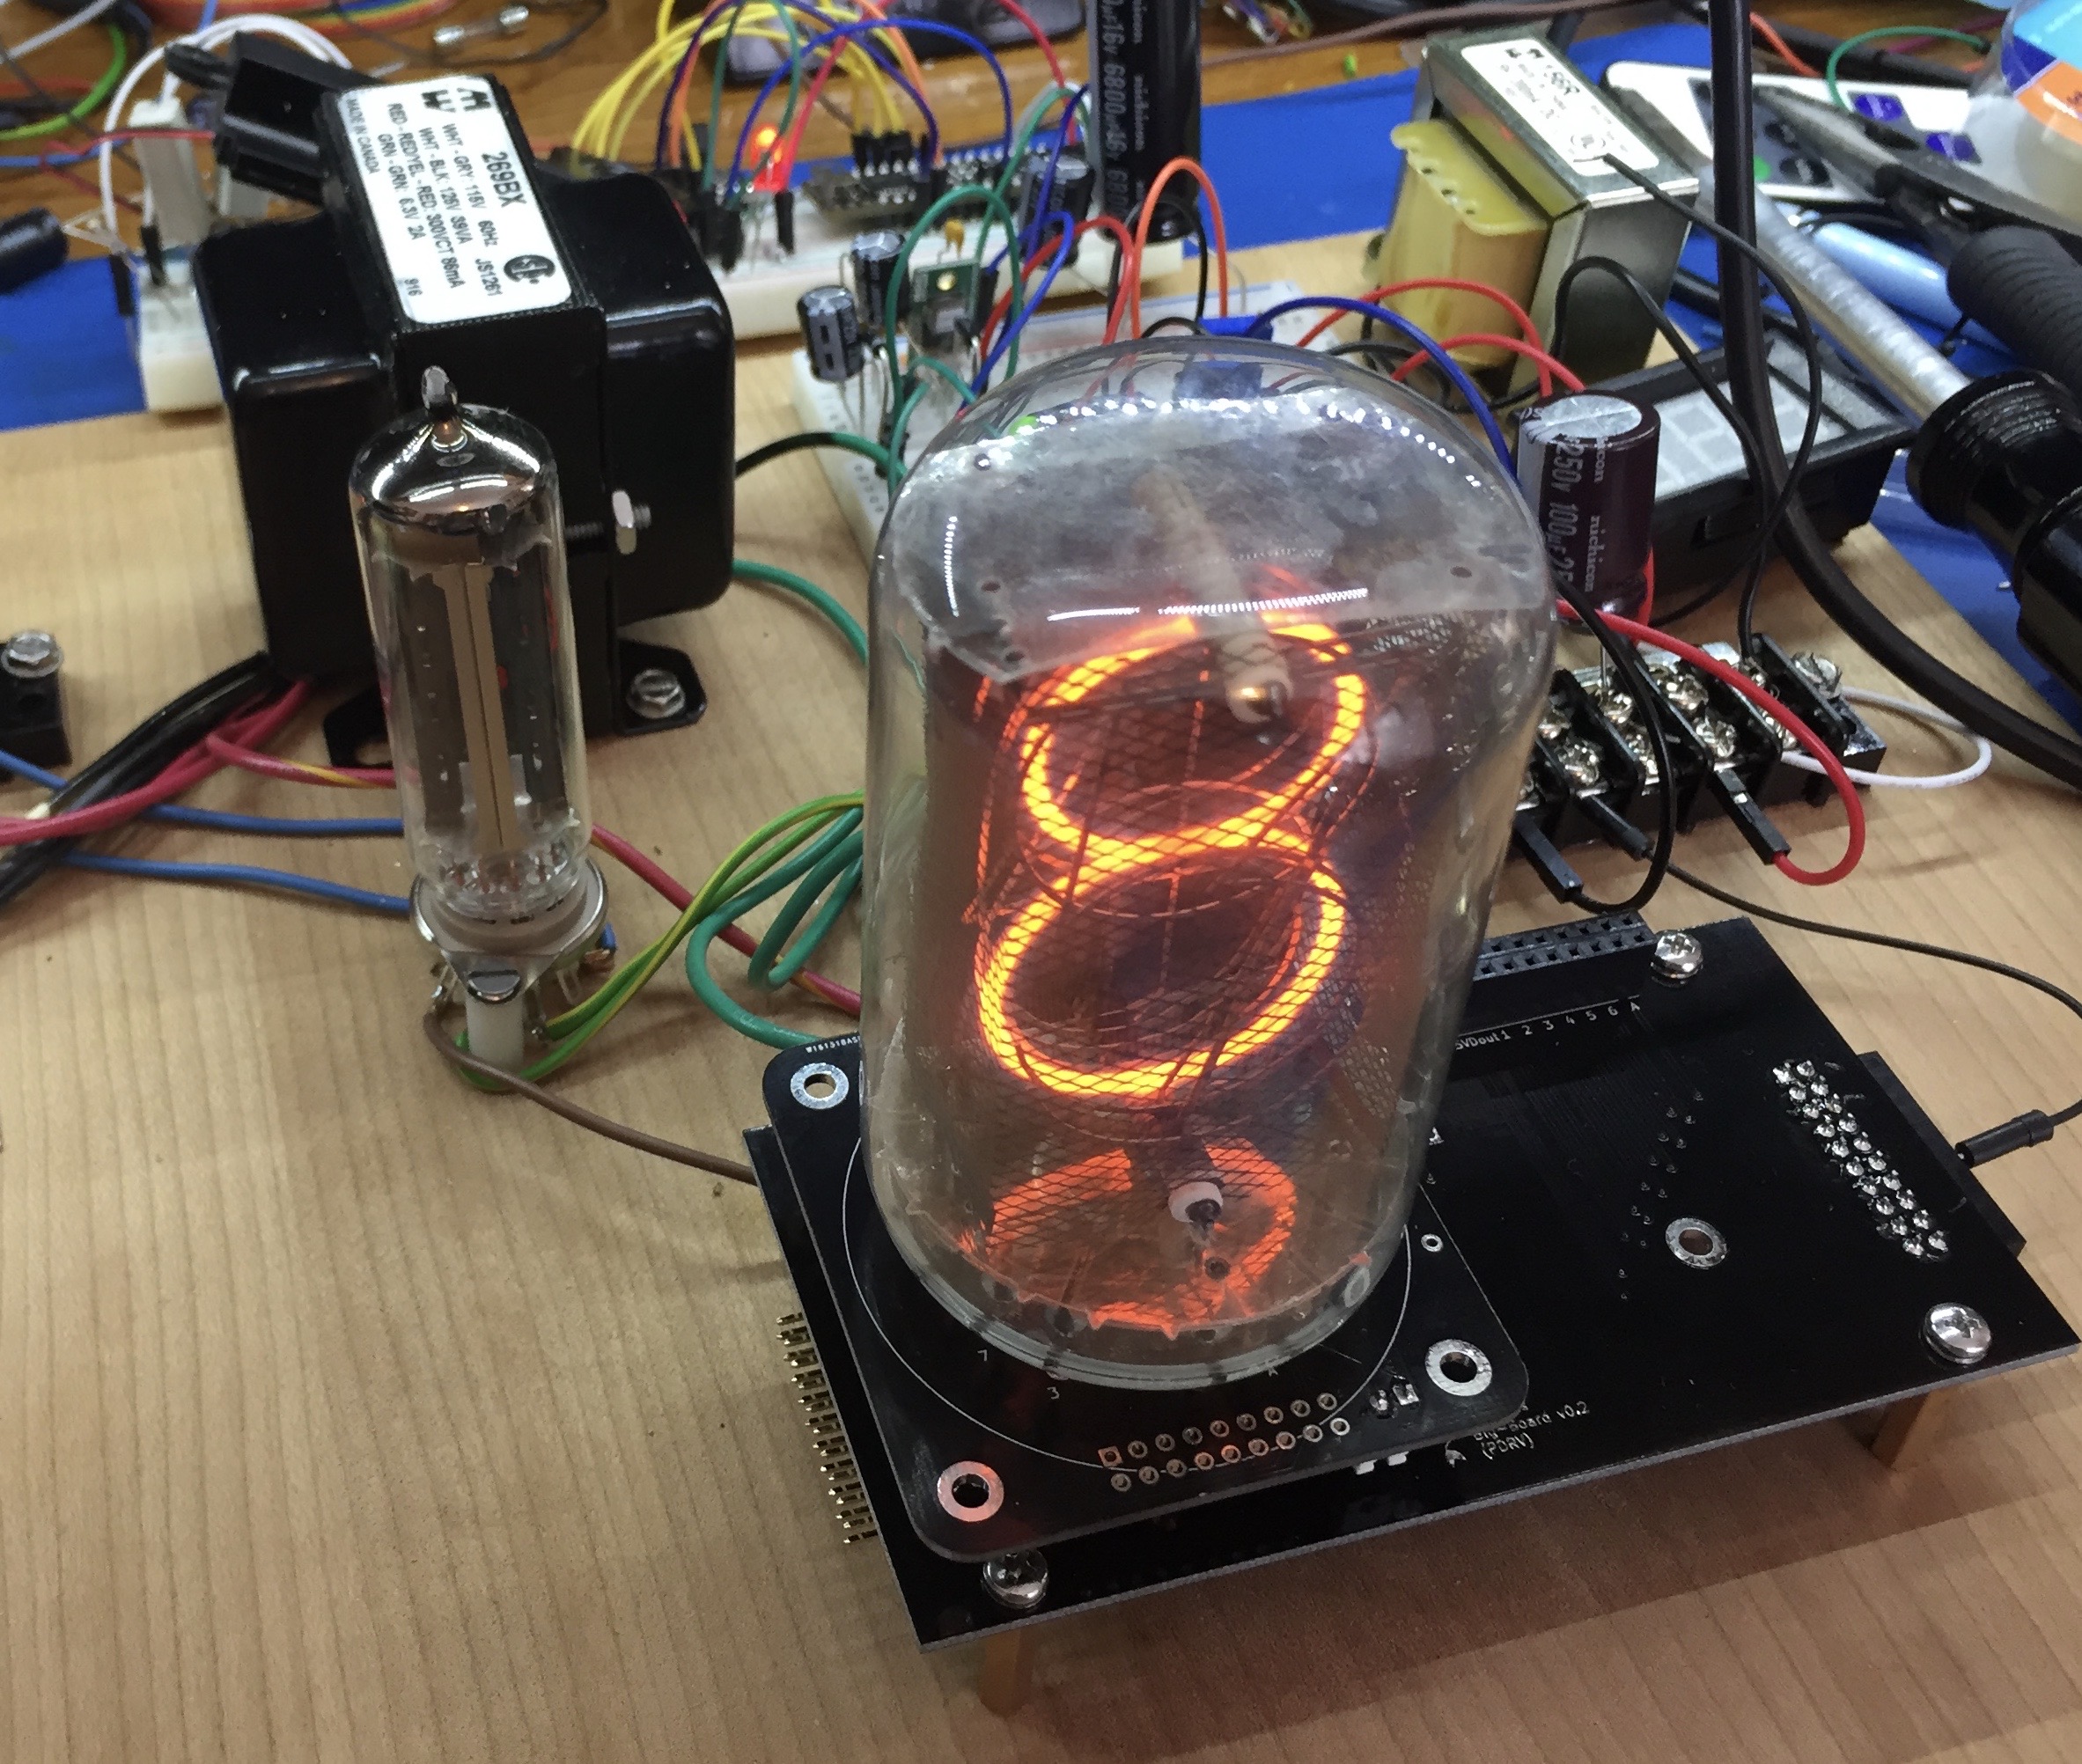
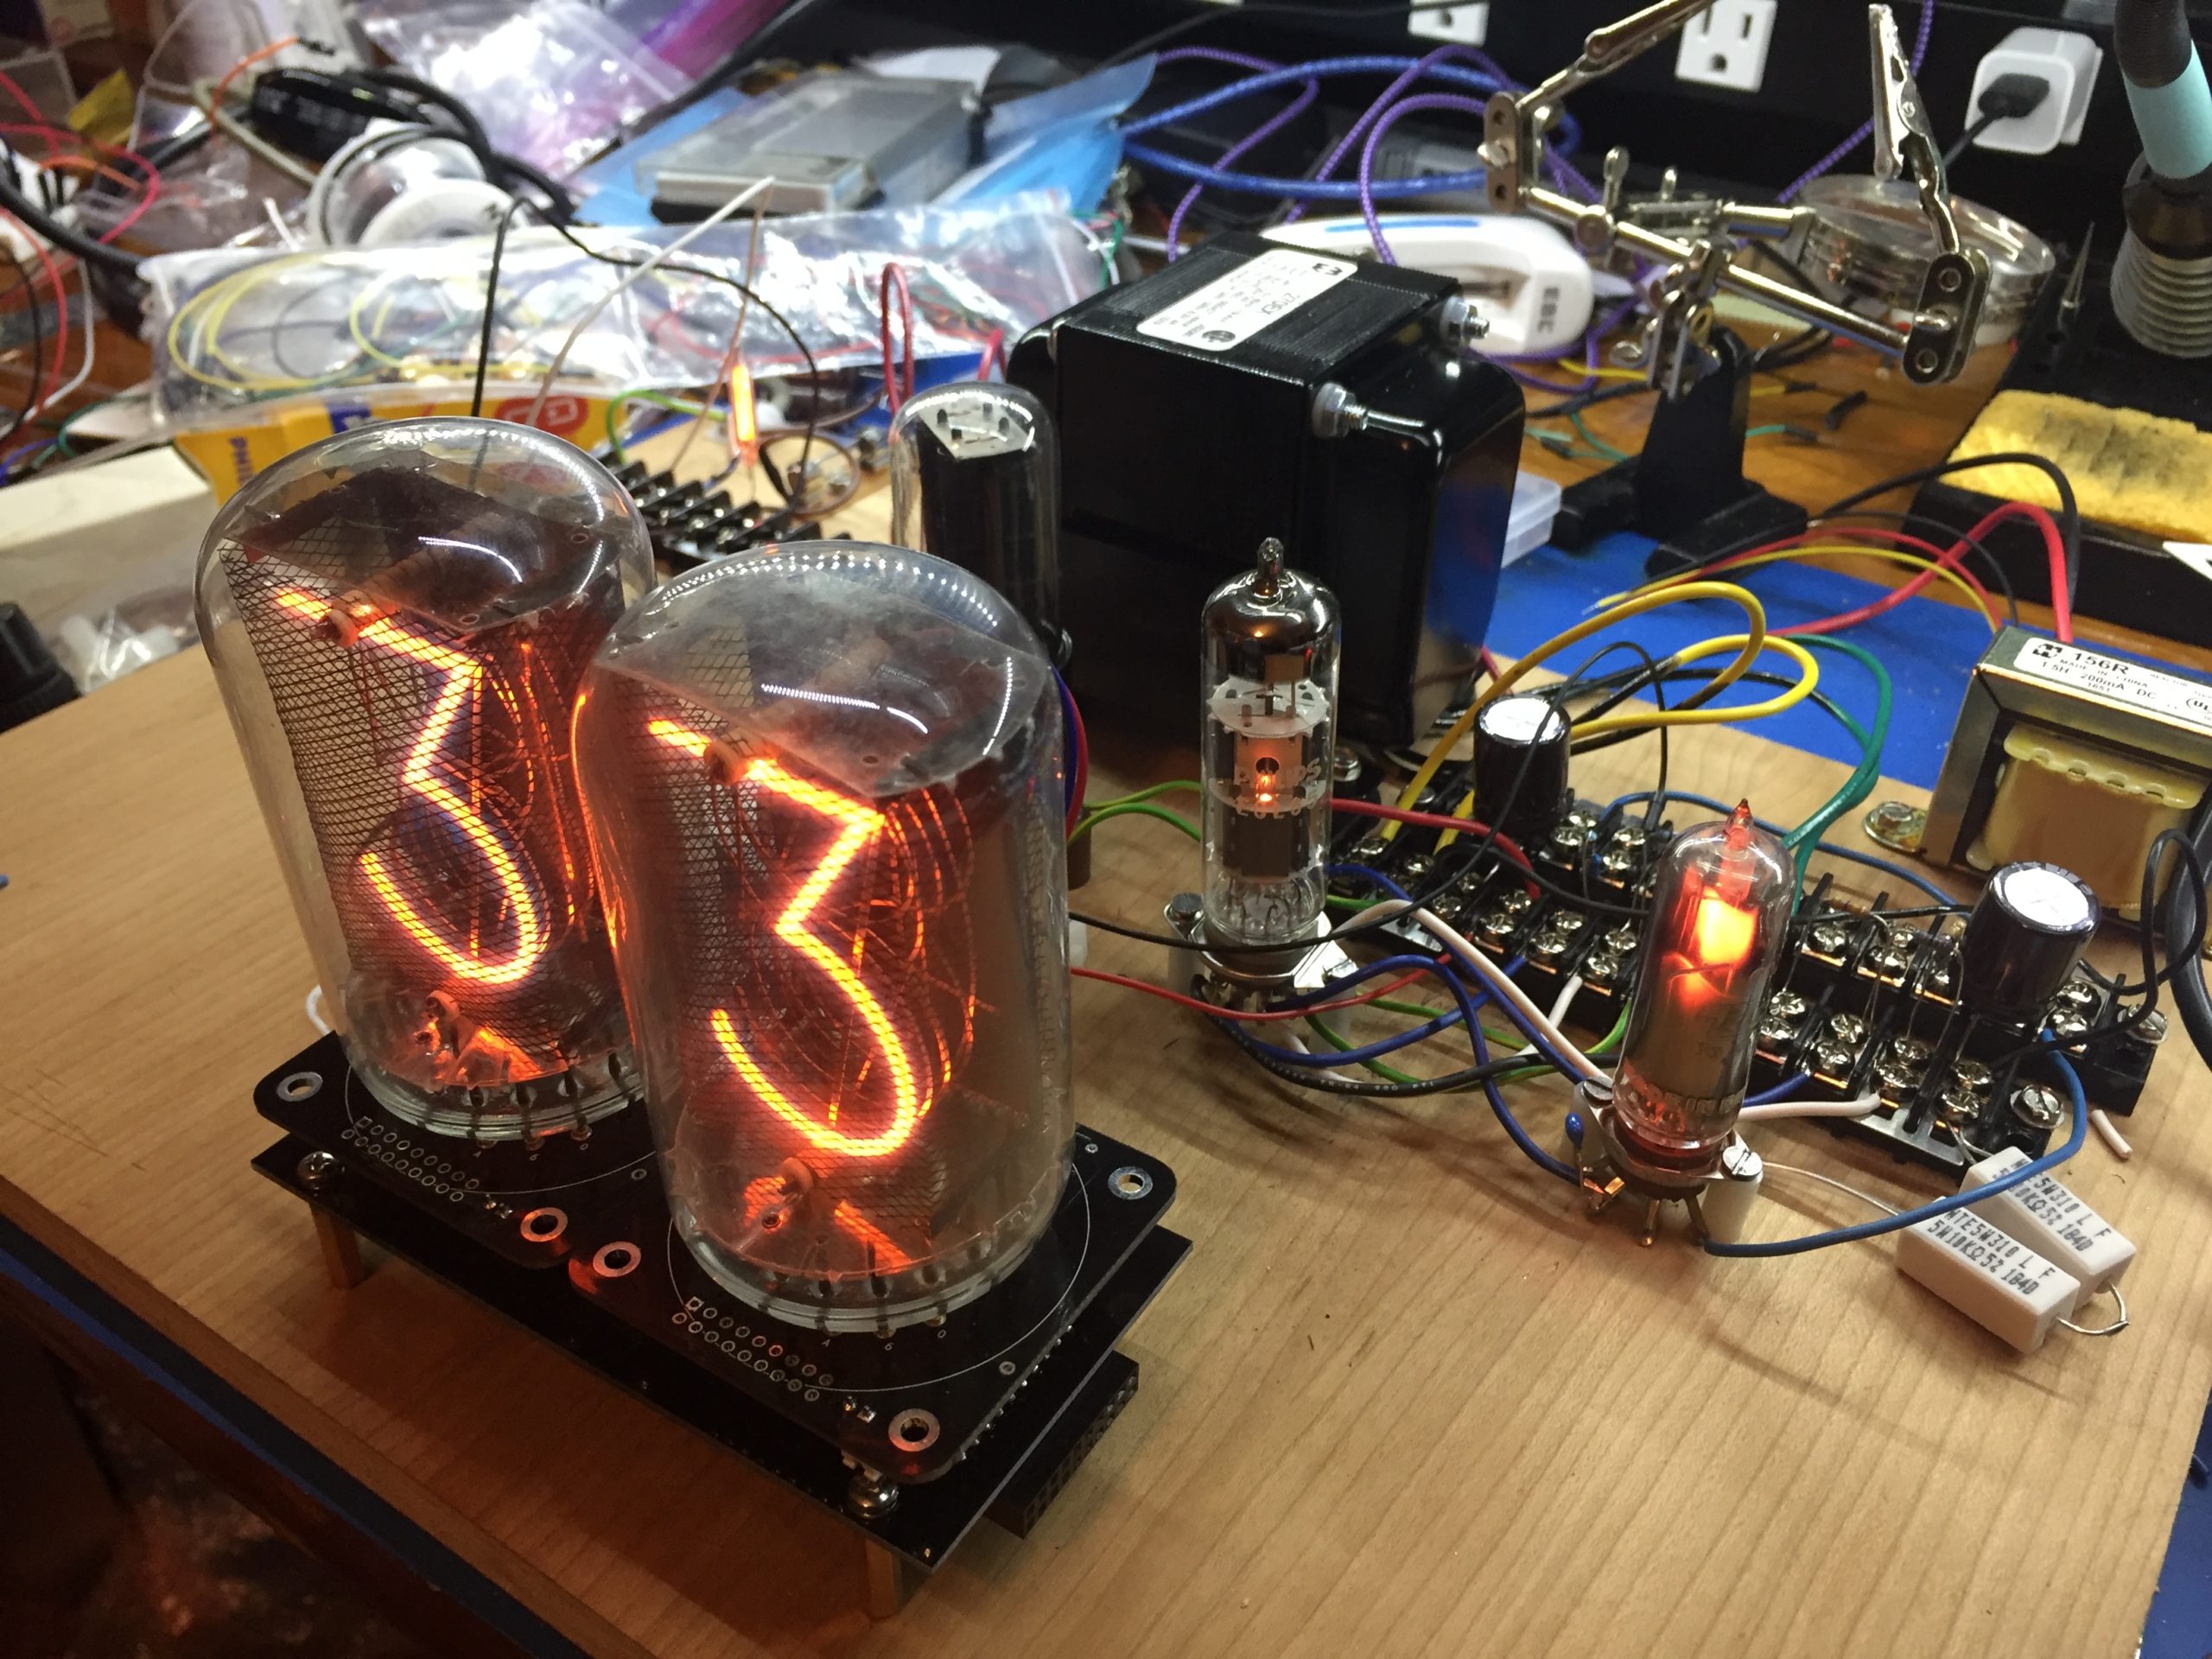
Several things came together for this clock. The first thing was the power supply! I had just seen this awesome video by the incomparable glasslinger, in which he explains how to add a nixie display to an antique radio. At first I wanted to do the same thing, but I couldn’t find a suitable radio, but then I had the idea of just building a power supply using vacuum tubes. This power supply went through multiple iterations (documented here). Here are photos of some of them:
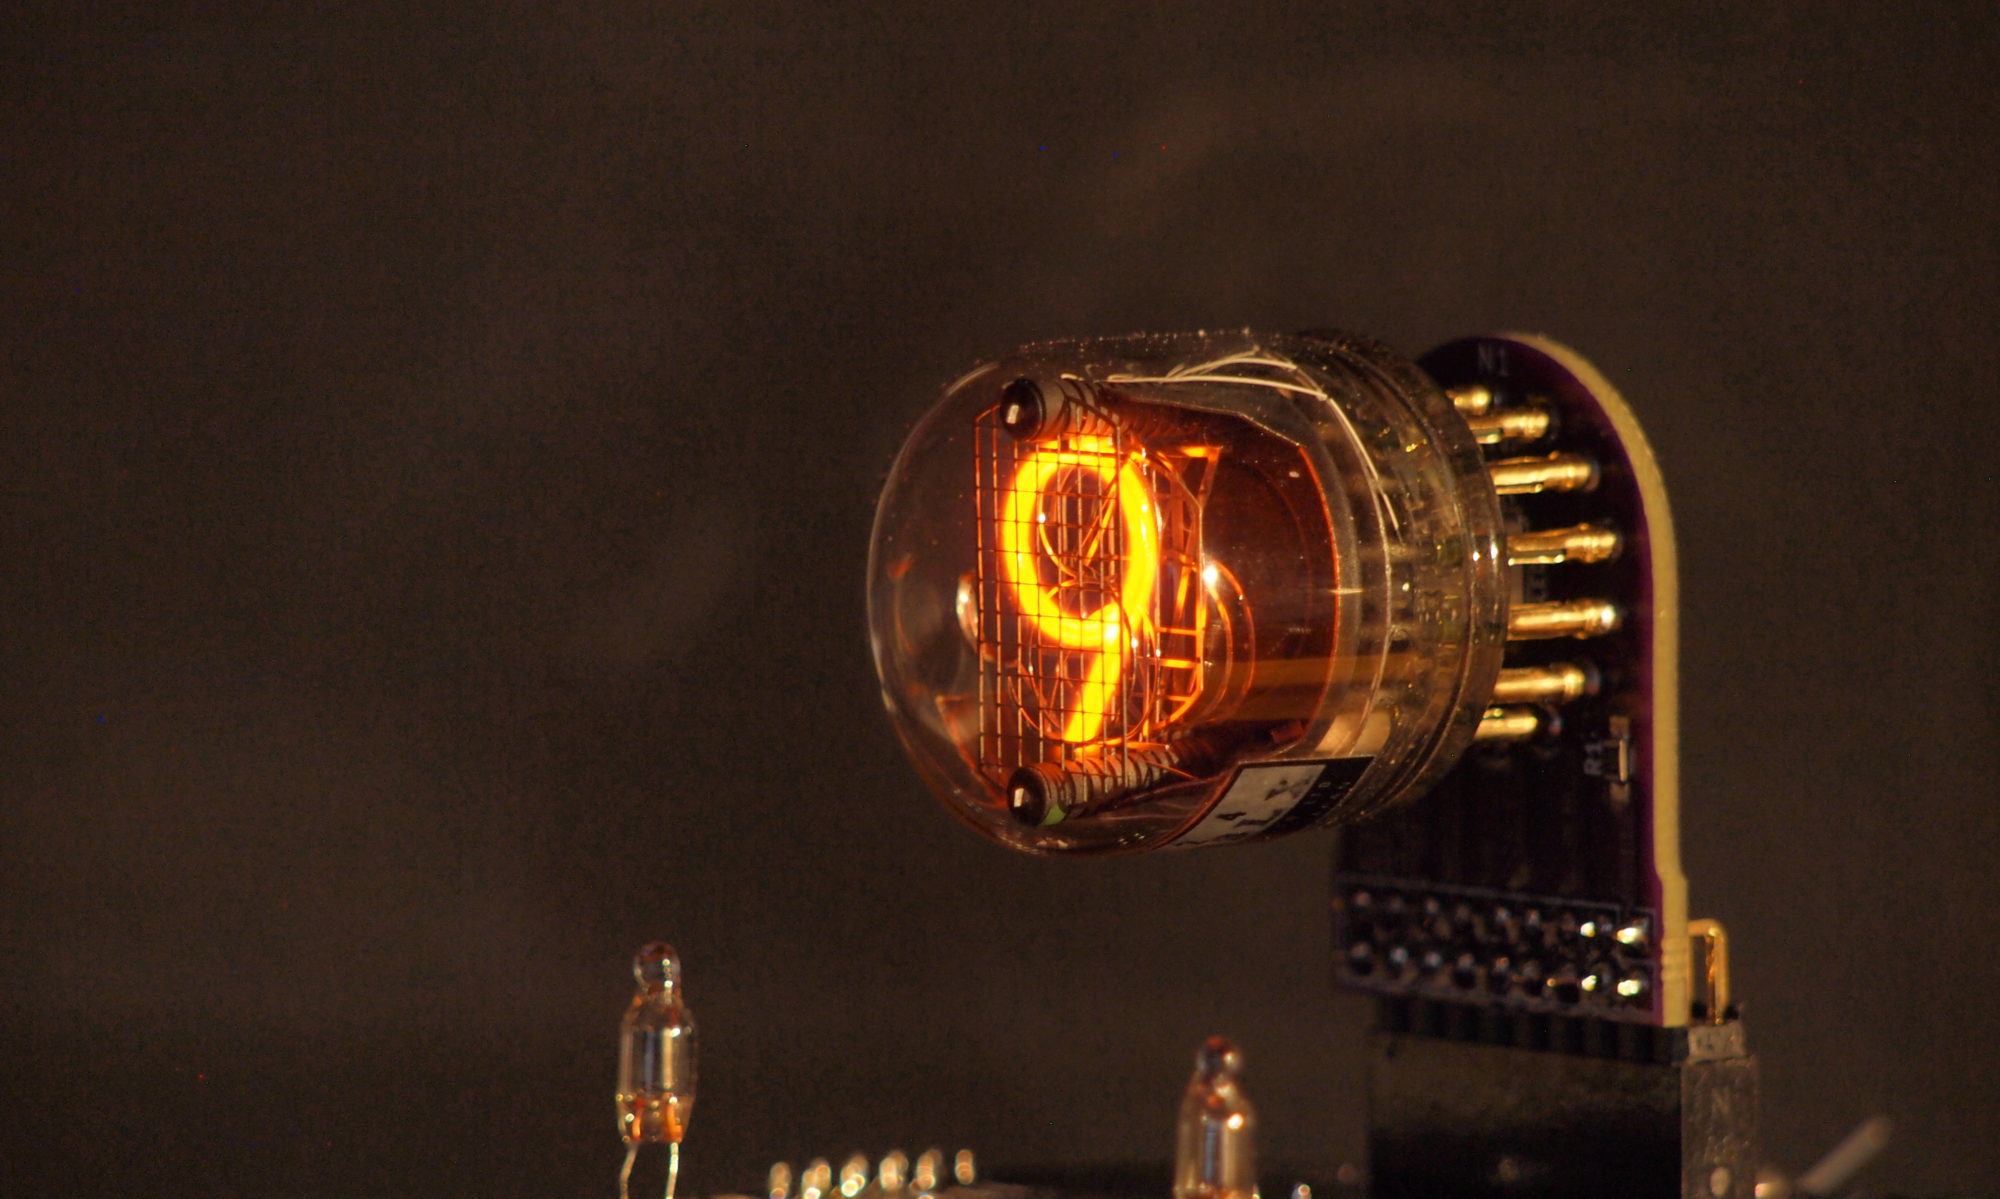
I had also early on decided that this would be the perfect clock to use my stock of NL7037 tubes. I had wanted to build a clock with a fairly industrial look using these tubes, and this seemed like the perfect opportunity.
The other thing I had wanted to do for a while was build a clock that ticked. I thought it would be amusing to take a purely electronic clock and add mechanical sounds to it, so this was also an opportunity to try and use the ESP32 Pico DevKit I had bought a long time before. It turned out this was a good time to try and use it. I hit many potential road-blocks during development, all of which got fixed by the time I was done, sometimes by me, sometimes by others.
So here is a video of the prototype ticking away:
The sounds are stored on an SD card, so obviously I could do more than just ticking. So I added quarter-hour chimes, hour striking and an alarm.
I had initially bought a small speaker to use, but it was really tinny. I had rescued some speakers from an old laptop that were much better, but I wanted something I could mount cleanly in the final clock, and ended up using a Tang-Band speaker module with a passive radiator. I strongly recommend these. They produce great sound for such a small package.
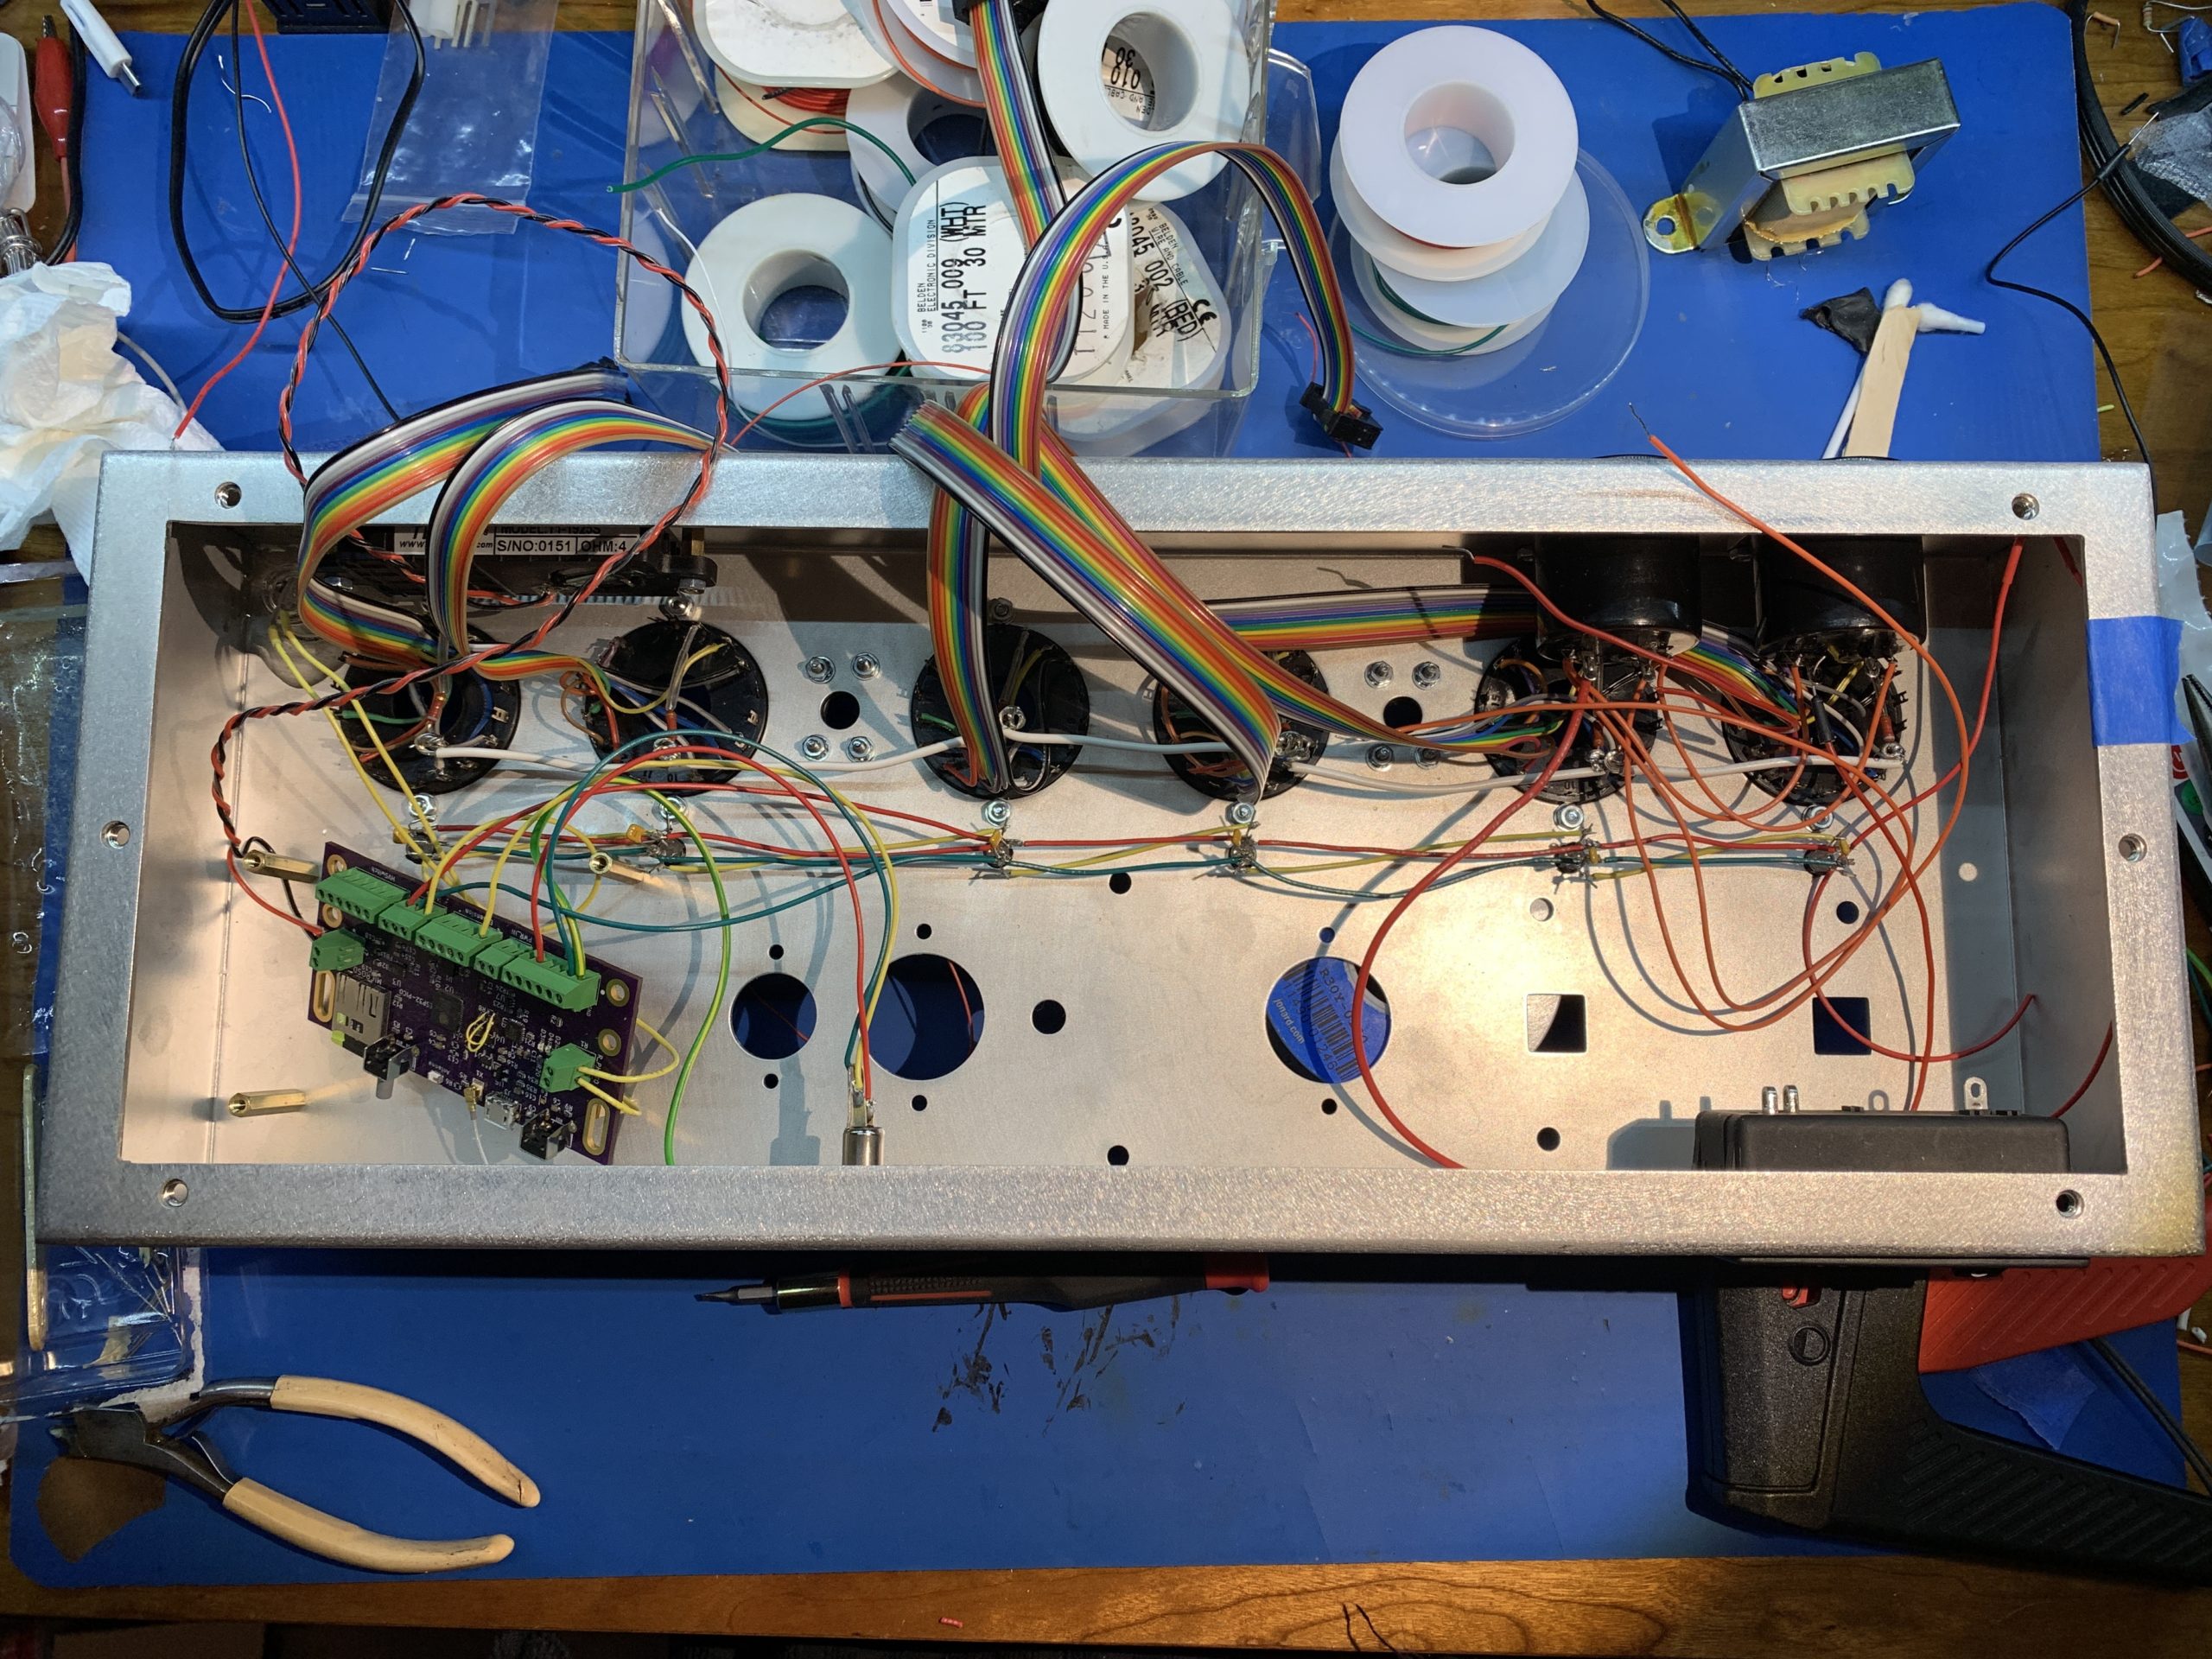
Rather than lash together a bunch of breakout boards, I designed my own module that incorporated everything on one board, with a separate board for the HV switches (which is the HV5523 that I’ve used in all of my clocks). Here is an overhead view. The module is on the left. The HV5523 board is the green one:

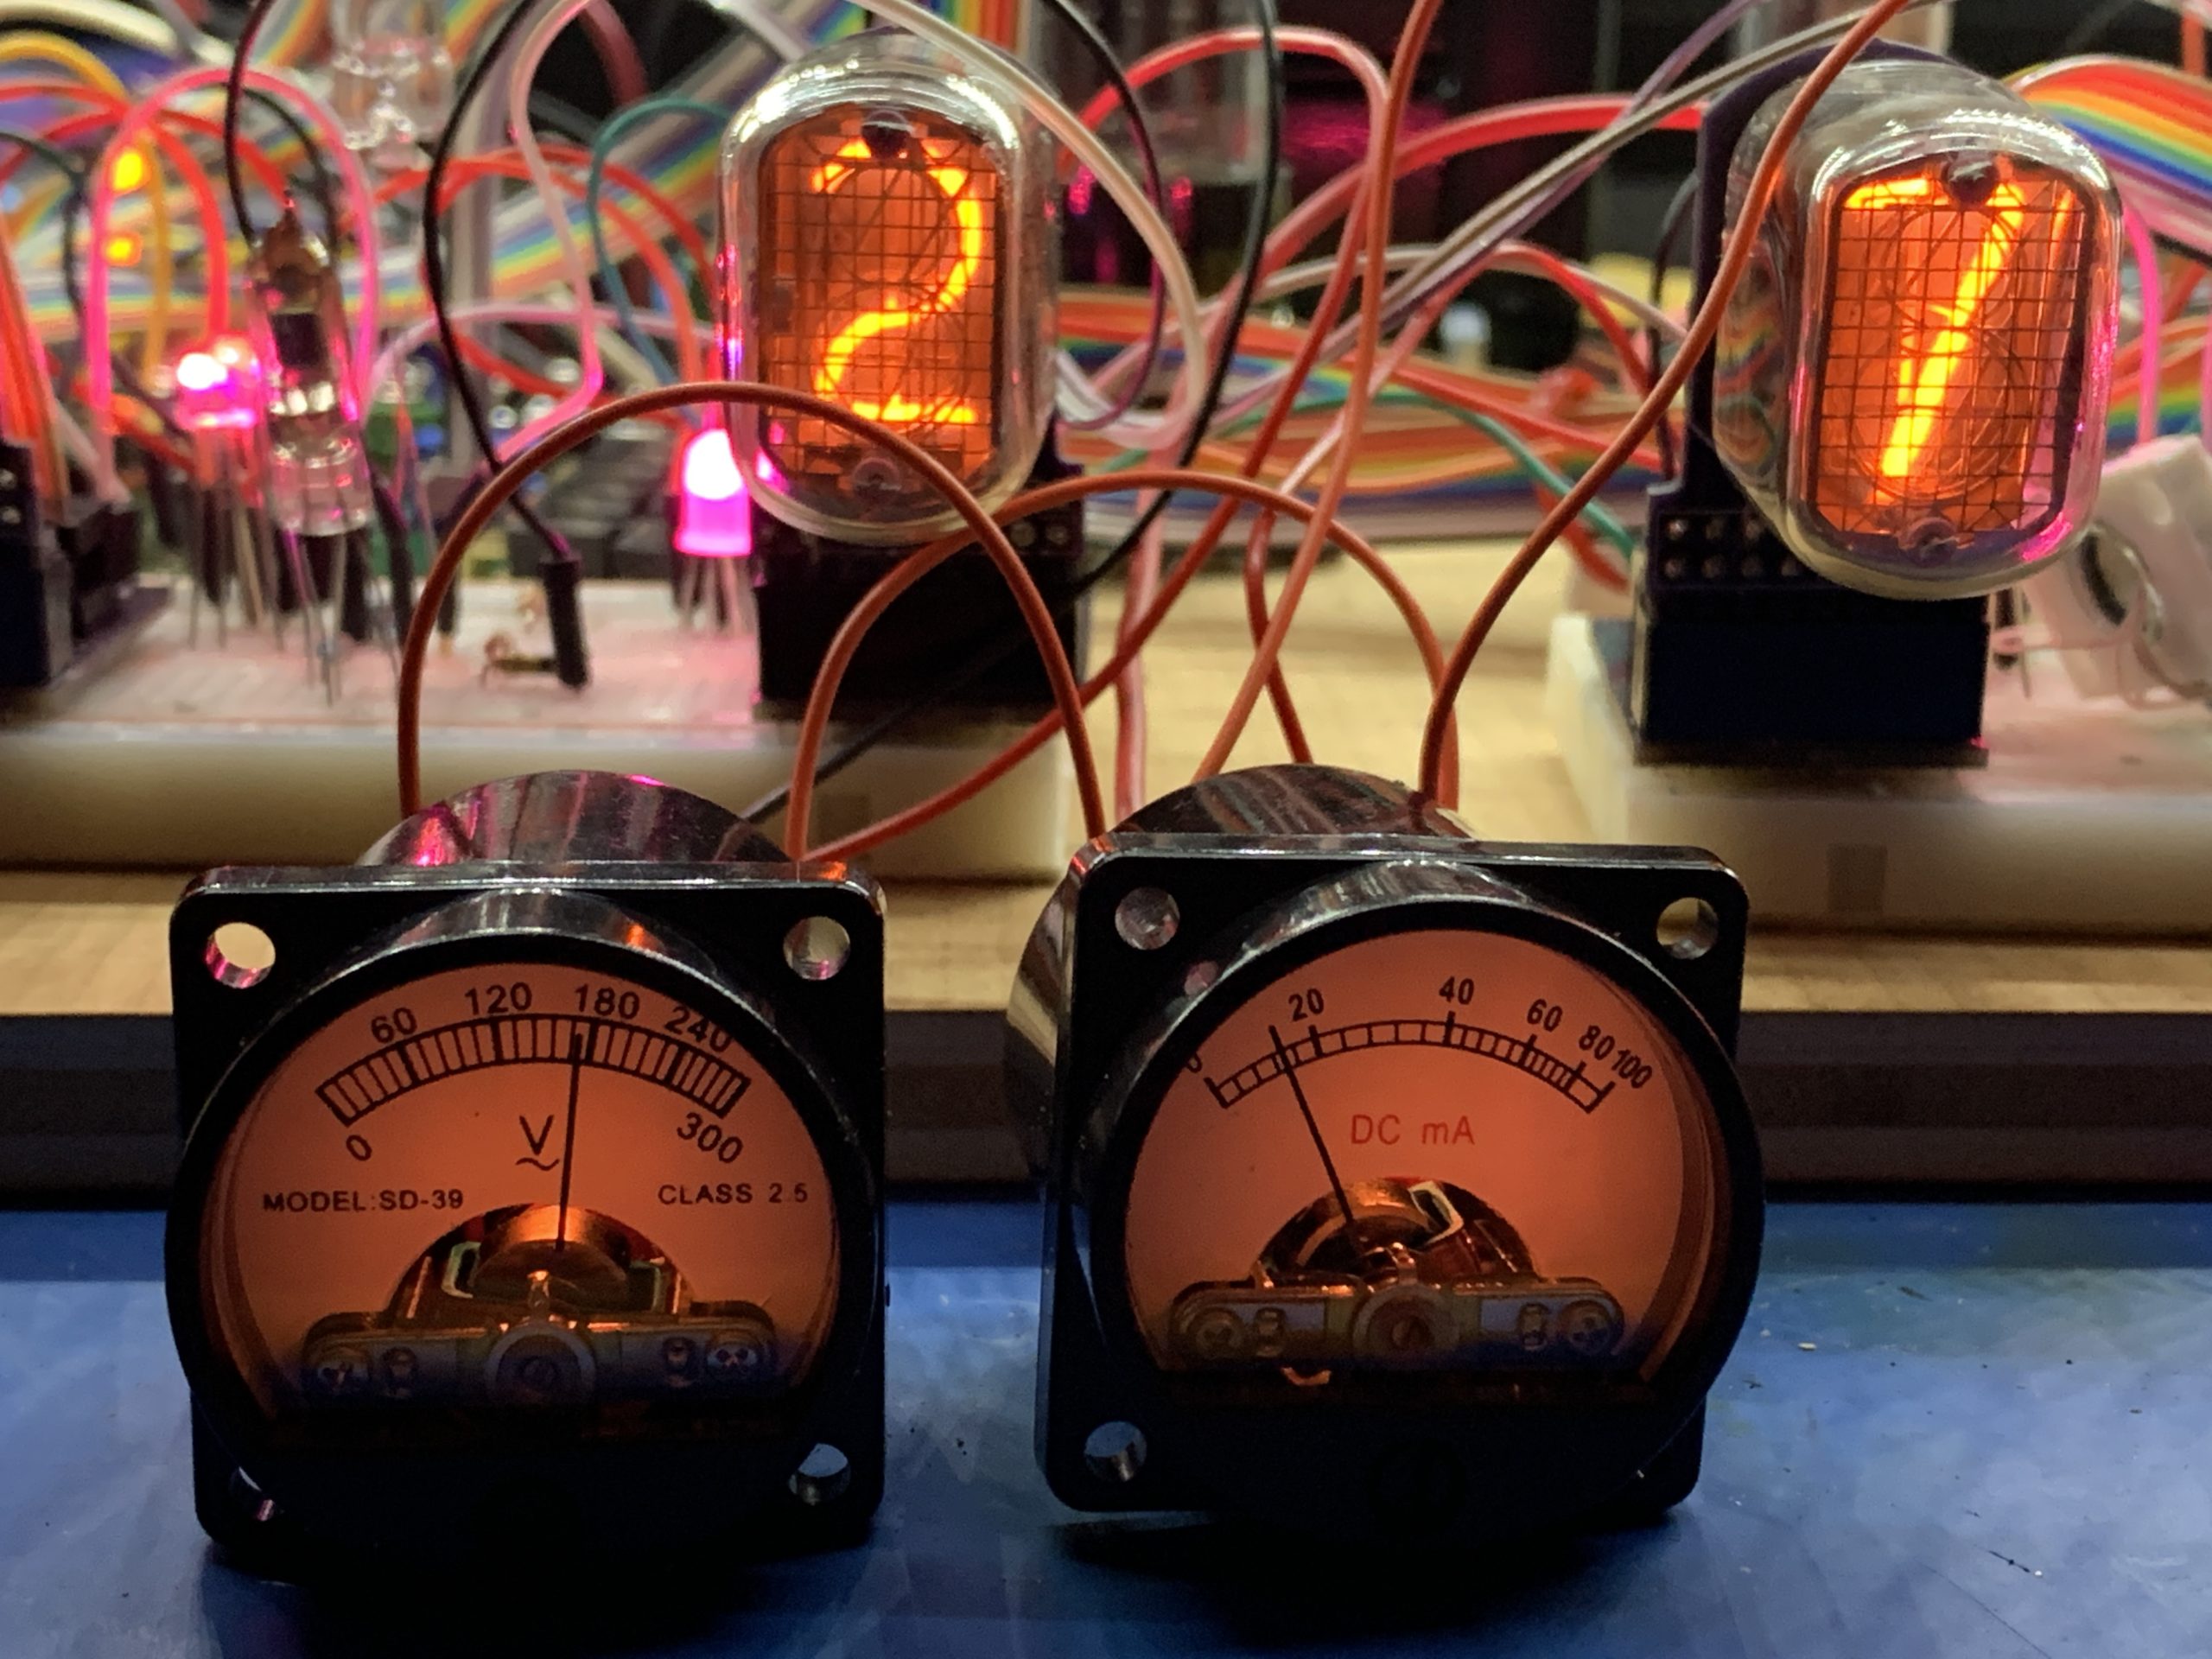
I was concerned that the output of the power supply might change over time so I decided it would be good to have some way to monitor that. At first I wanted to have a smaller nixie display using CD13 tubes, but in the end I went with a couple of analog meters as both the easiest solution and something that still fitted in with my intended aesthetic. Here they are added to the prototype. You’ll notice that I’m using IN-12 tubes at this point – I didn’t want to risk the NL7037s while I was messing around with it:
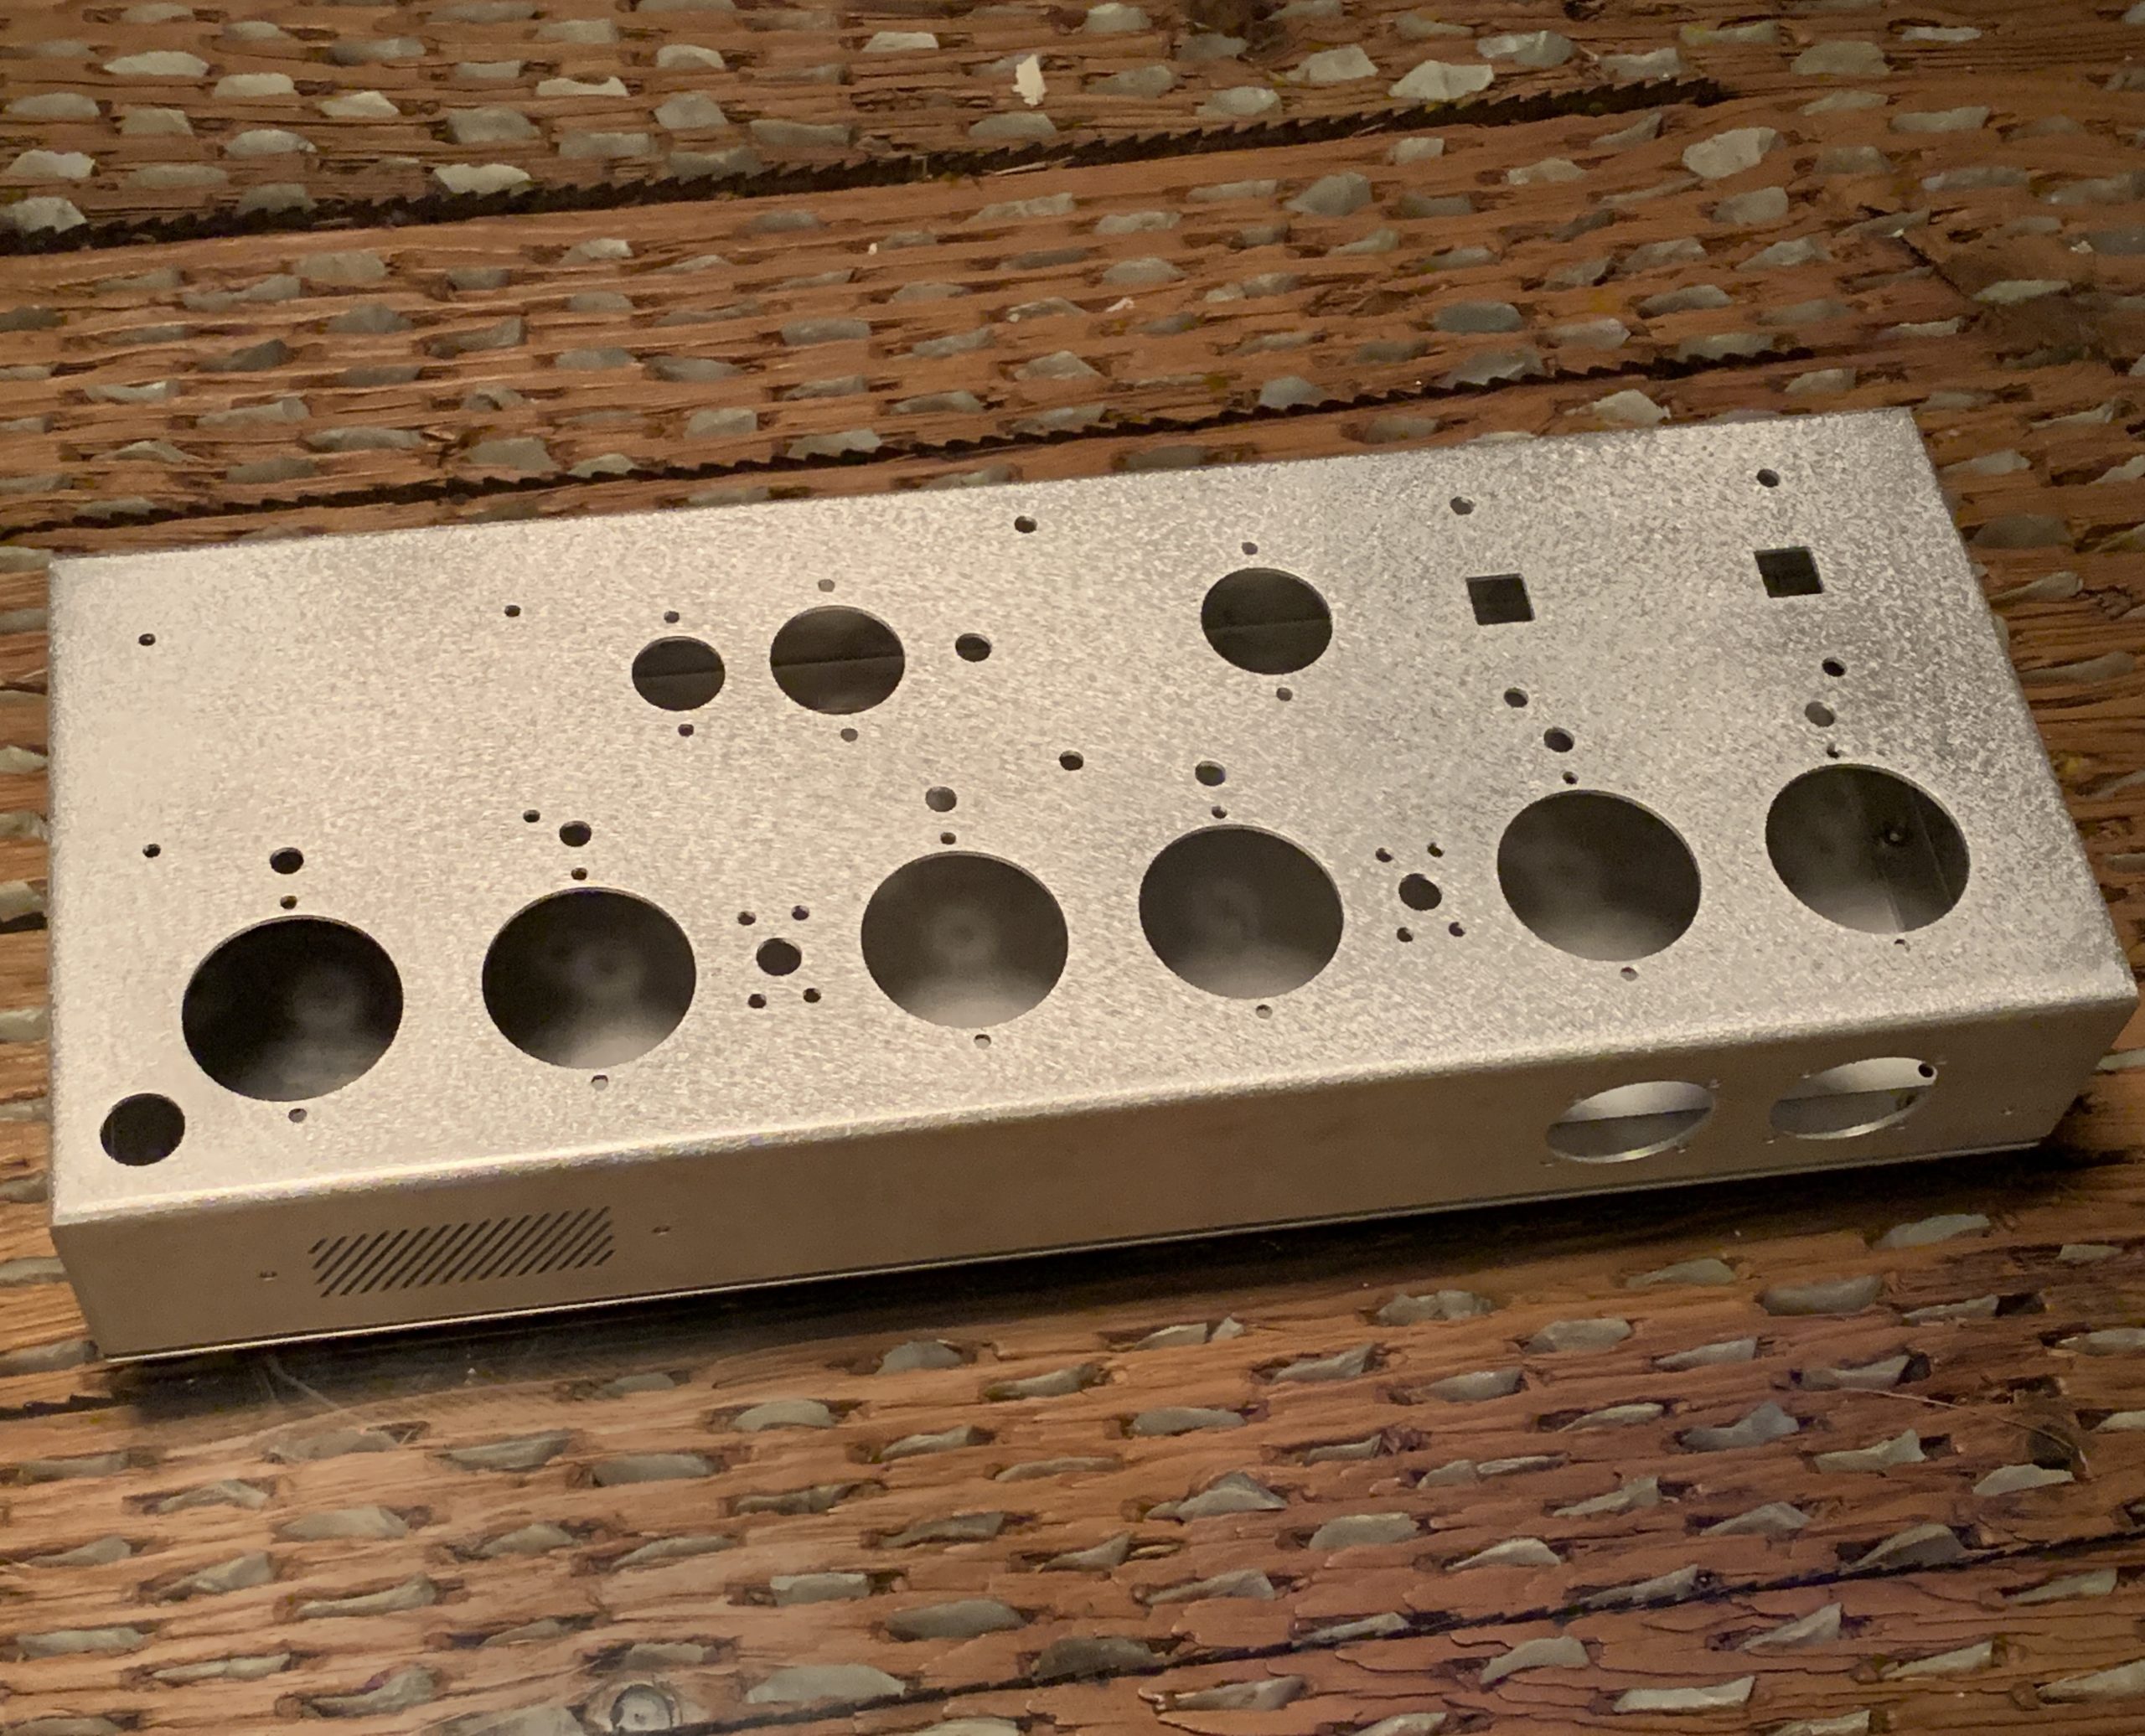
Now I had to figure out how to make a case. This isn’t one of my strengths. I narrowed the options down to two vendors: Front Panel Express and Protocase. I finally decided on Protocase because they could manufacture seamless cases. I am really pleased with the results too.
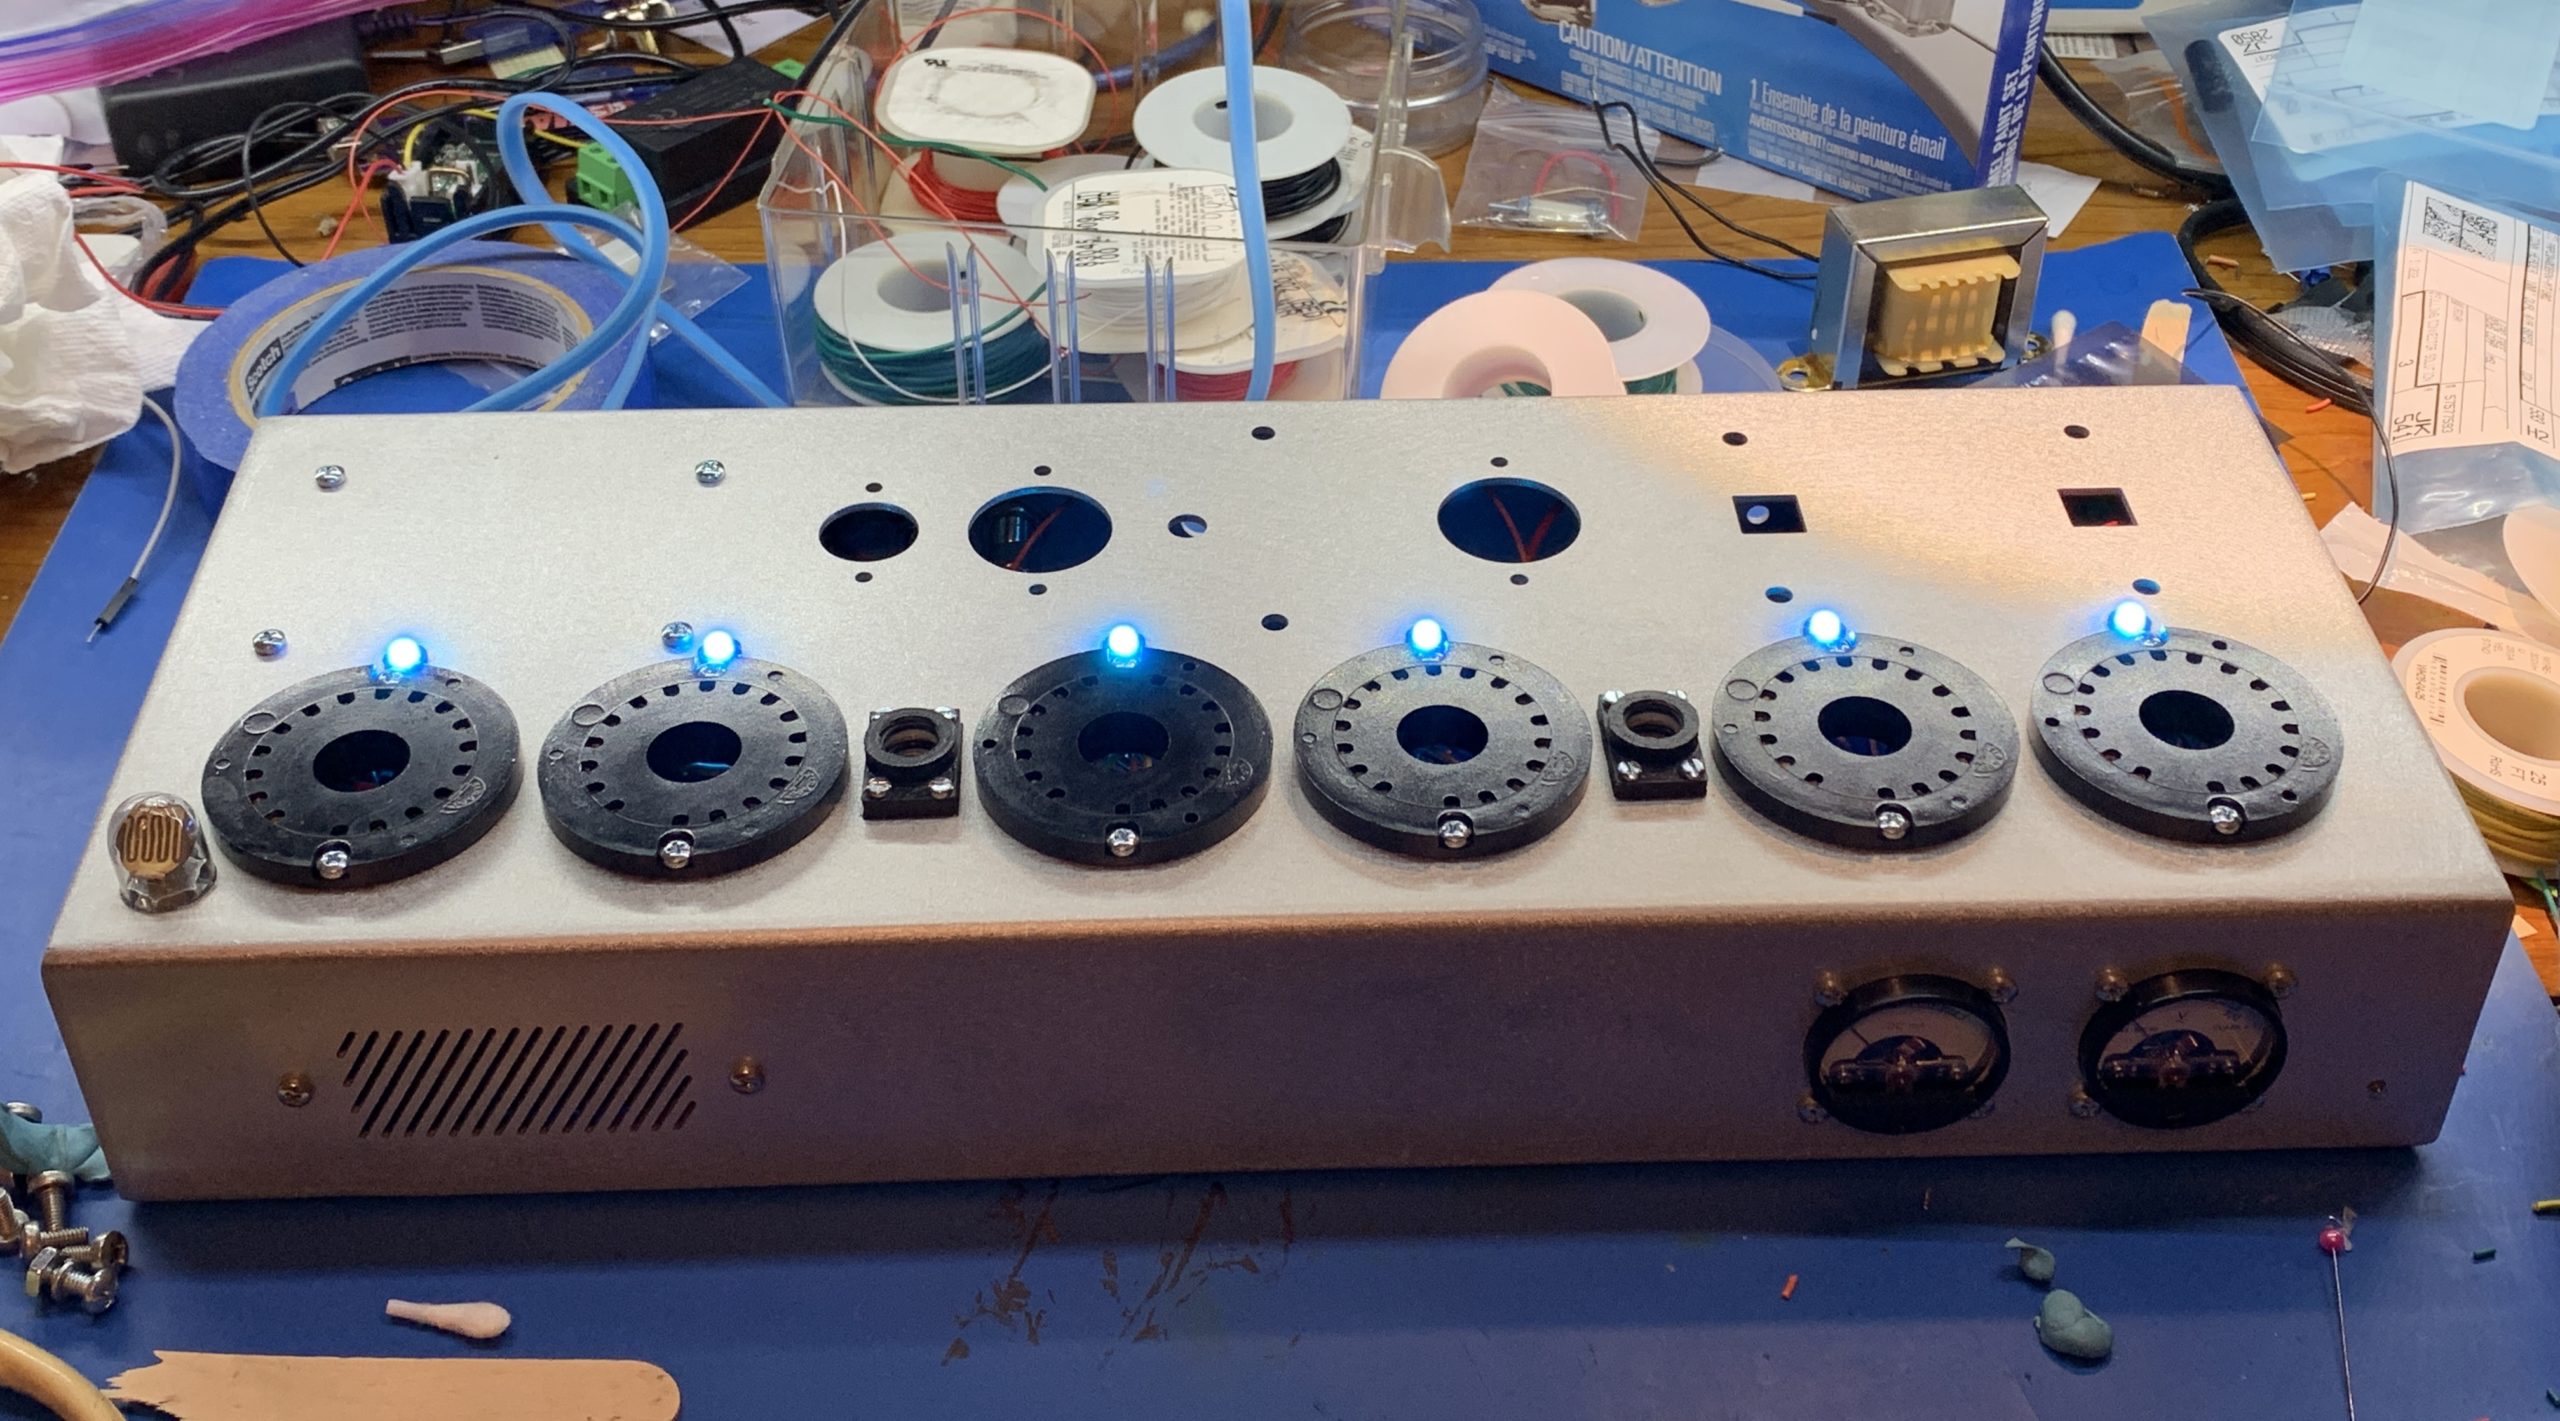
There were just a few other things to decide. First was how to mount the tubes. I experimented with a few options, but I ended up using real SK-137 sockets as I felt that the tubes needed a little extra height. I also need to something to use for colons, and I had happened to buy some colon tubes several years ago that I had intended to use with IN-18 tubes, but they were perfect for this clock. Finally, I had to select backlight LEDs; I really liked the way that the APA-106 leds, that I used in the prototype, lit up the power supply components as well as the nixies, so I went with those mounted just behind the nixie tubes rather than under them.
So here are the final assembly pictures:
Finally, here is a video of it in action, ticking, chiming, striking and displaying the date and time:
The 7037 clock is amazing! Great craftsmanship.