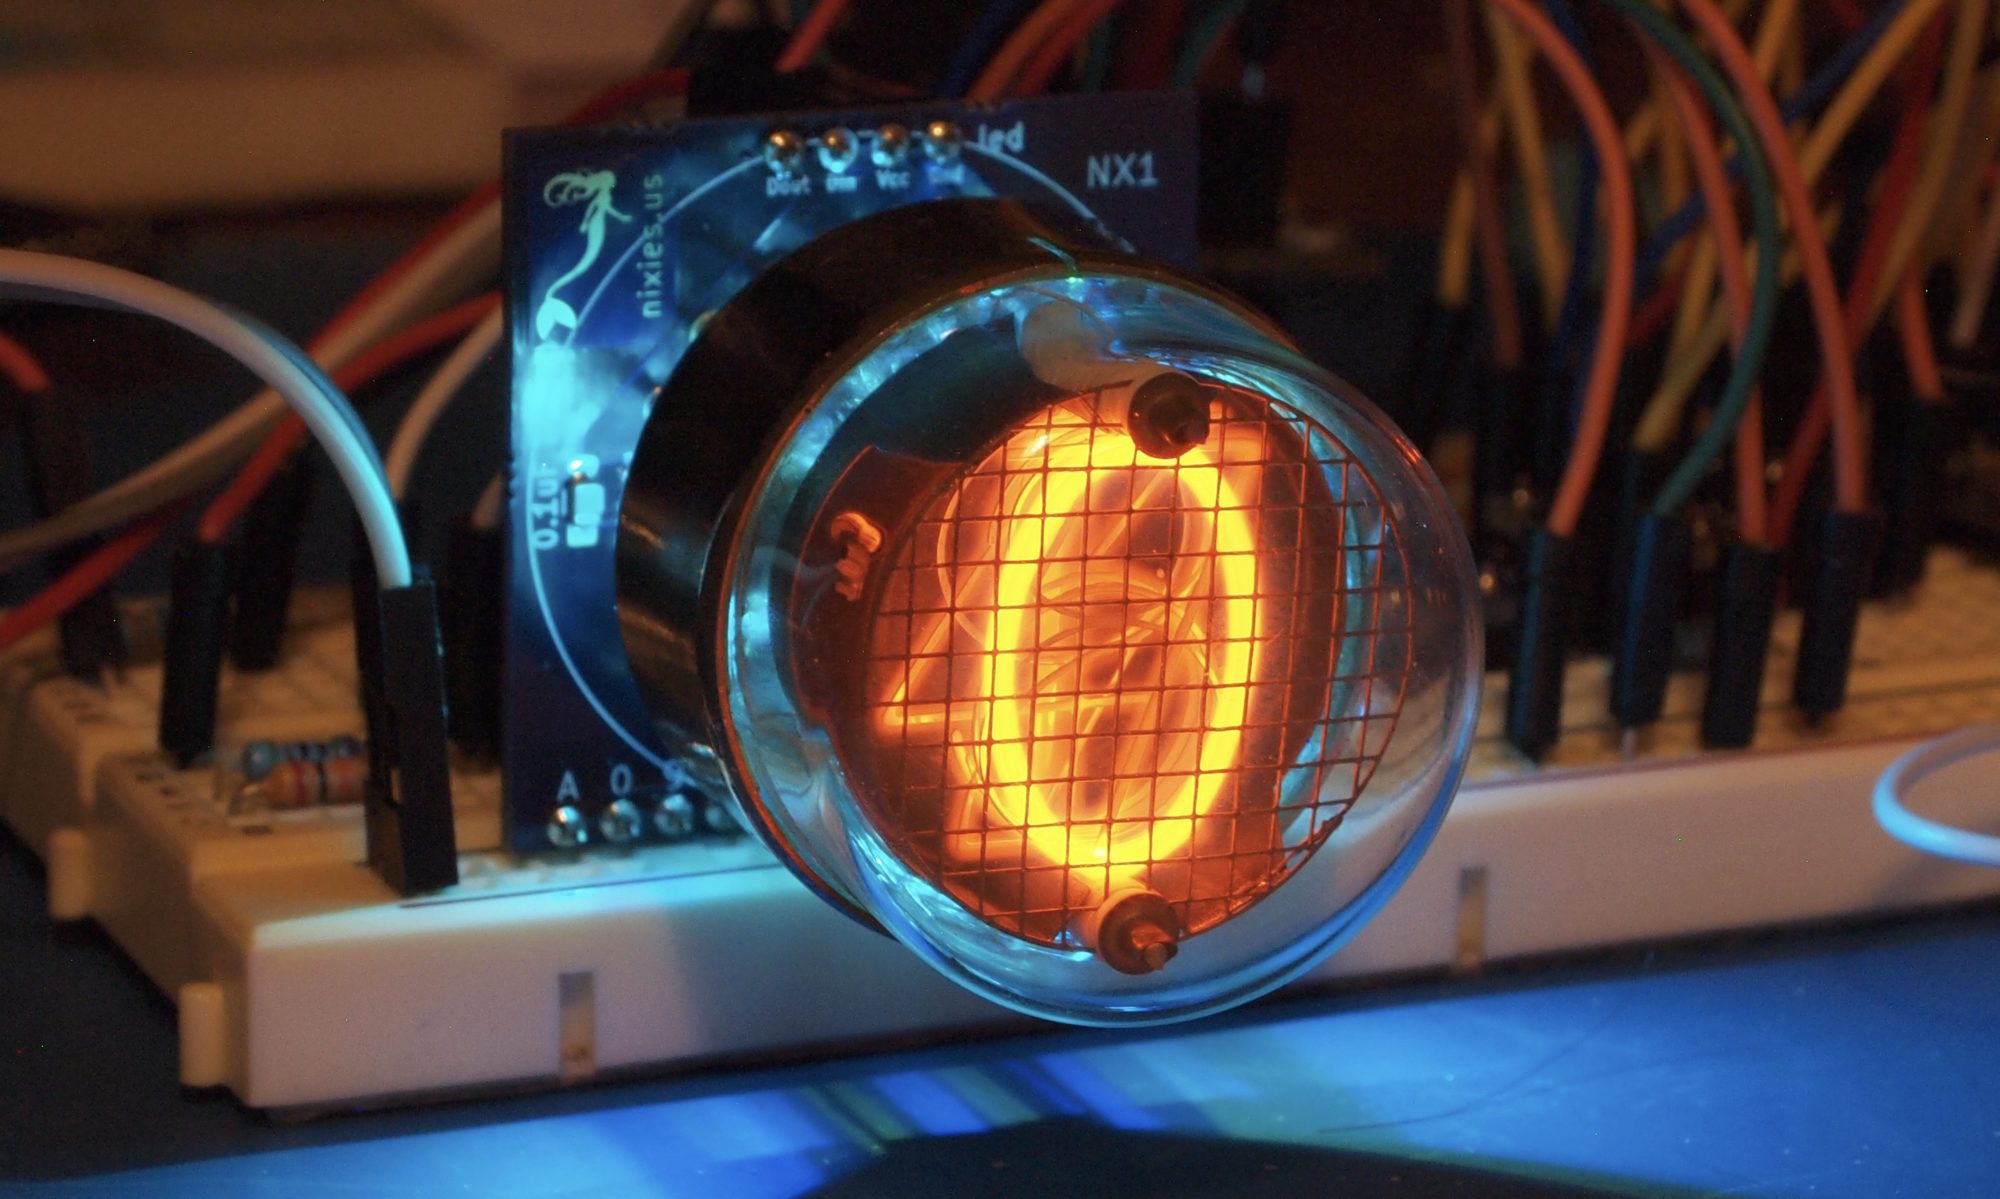
For a while I had a Gixie clock on my desk. This is an edge-lit display:
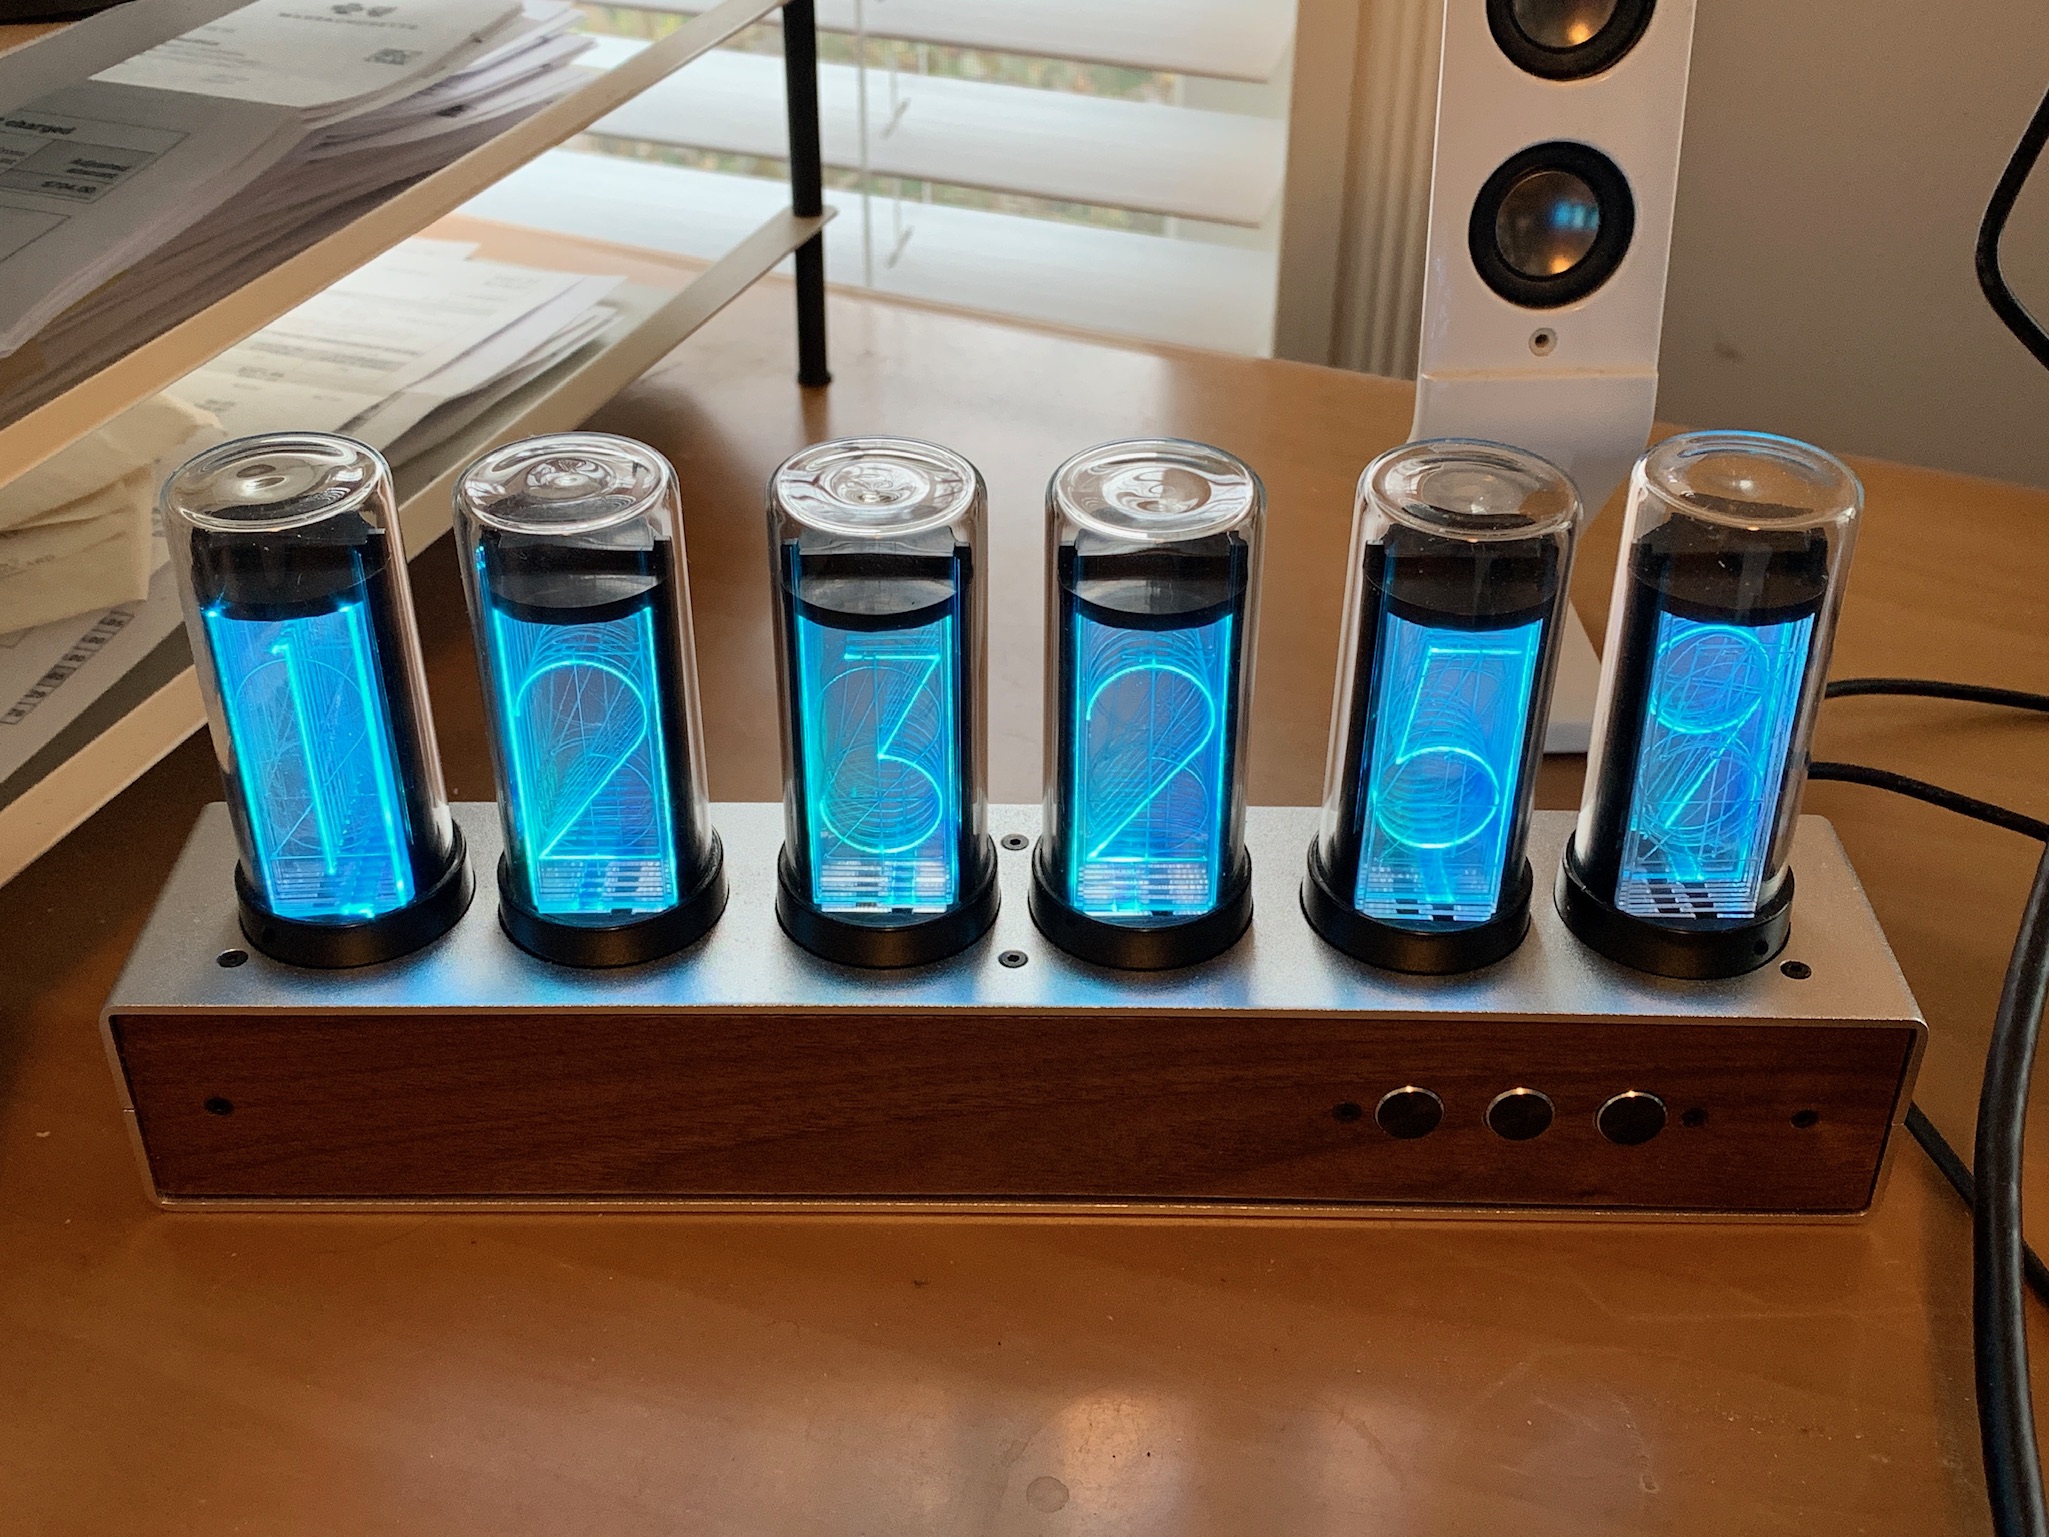
It has worked well for me, but every time I looked at it, I thought that the case would be good for large nixie tubes like the ZM1042 and the Z566M. I thought about asking the developers of the Gixie clock if they would provide me with just the case, but it turns out that some people were having issues with their clocks, and one of them graciously allowed me to use his case as the basis for this clock.
I had already figured out that I wanted to be able to use all of my large tubes in this. The full list being:
I had also figured out that I would split the electronics into two boards:
- A main board
- A display board
So I could use the vertical space in the case and stack the boards, rather than having to use horizontal space.
The electronics of the main board include:
- The main processor – an ESP32, which gives me WiFi for control and NTP time synchronization.
- A micro SD card to store sounds.
- An audio amplifier.
- A real time clock.
- A USB interface, so I could program the ESP32 easily.
The display board includes the backlight LEDs and a couple of HV5523 high voltage switches.
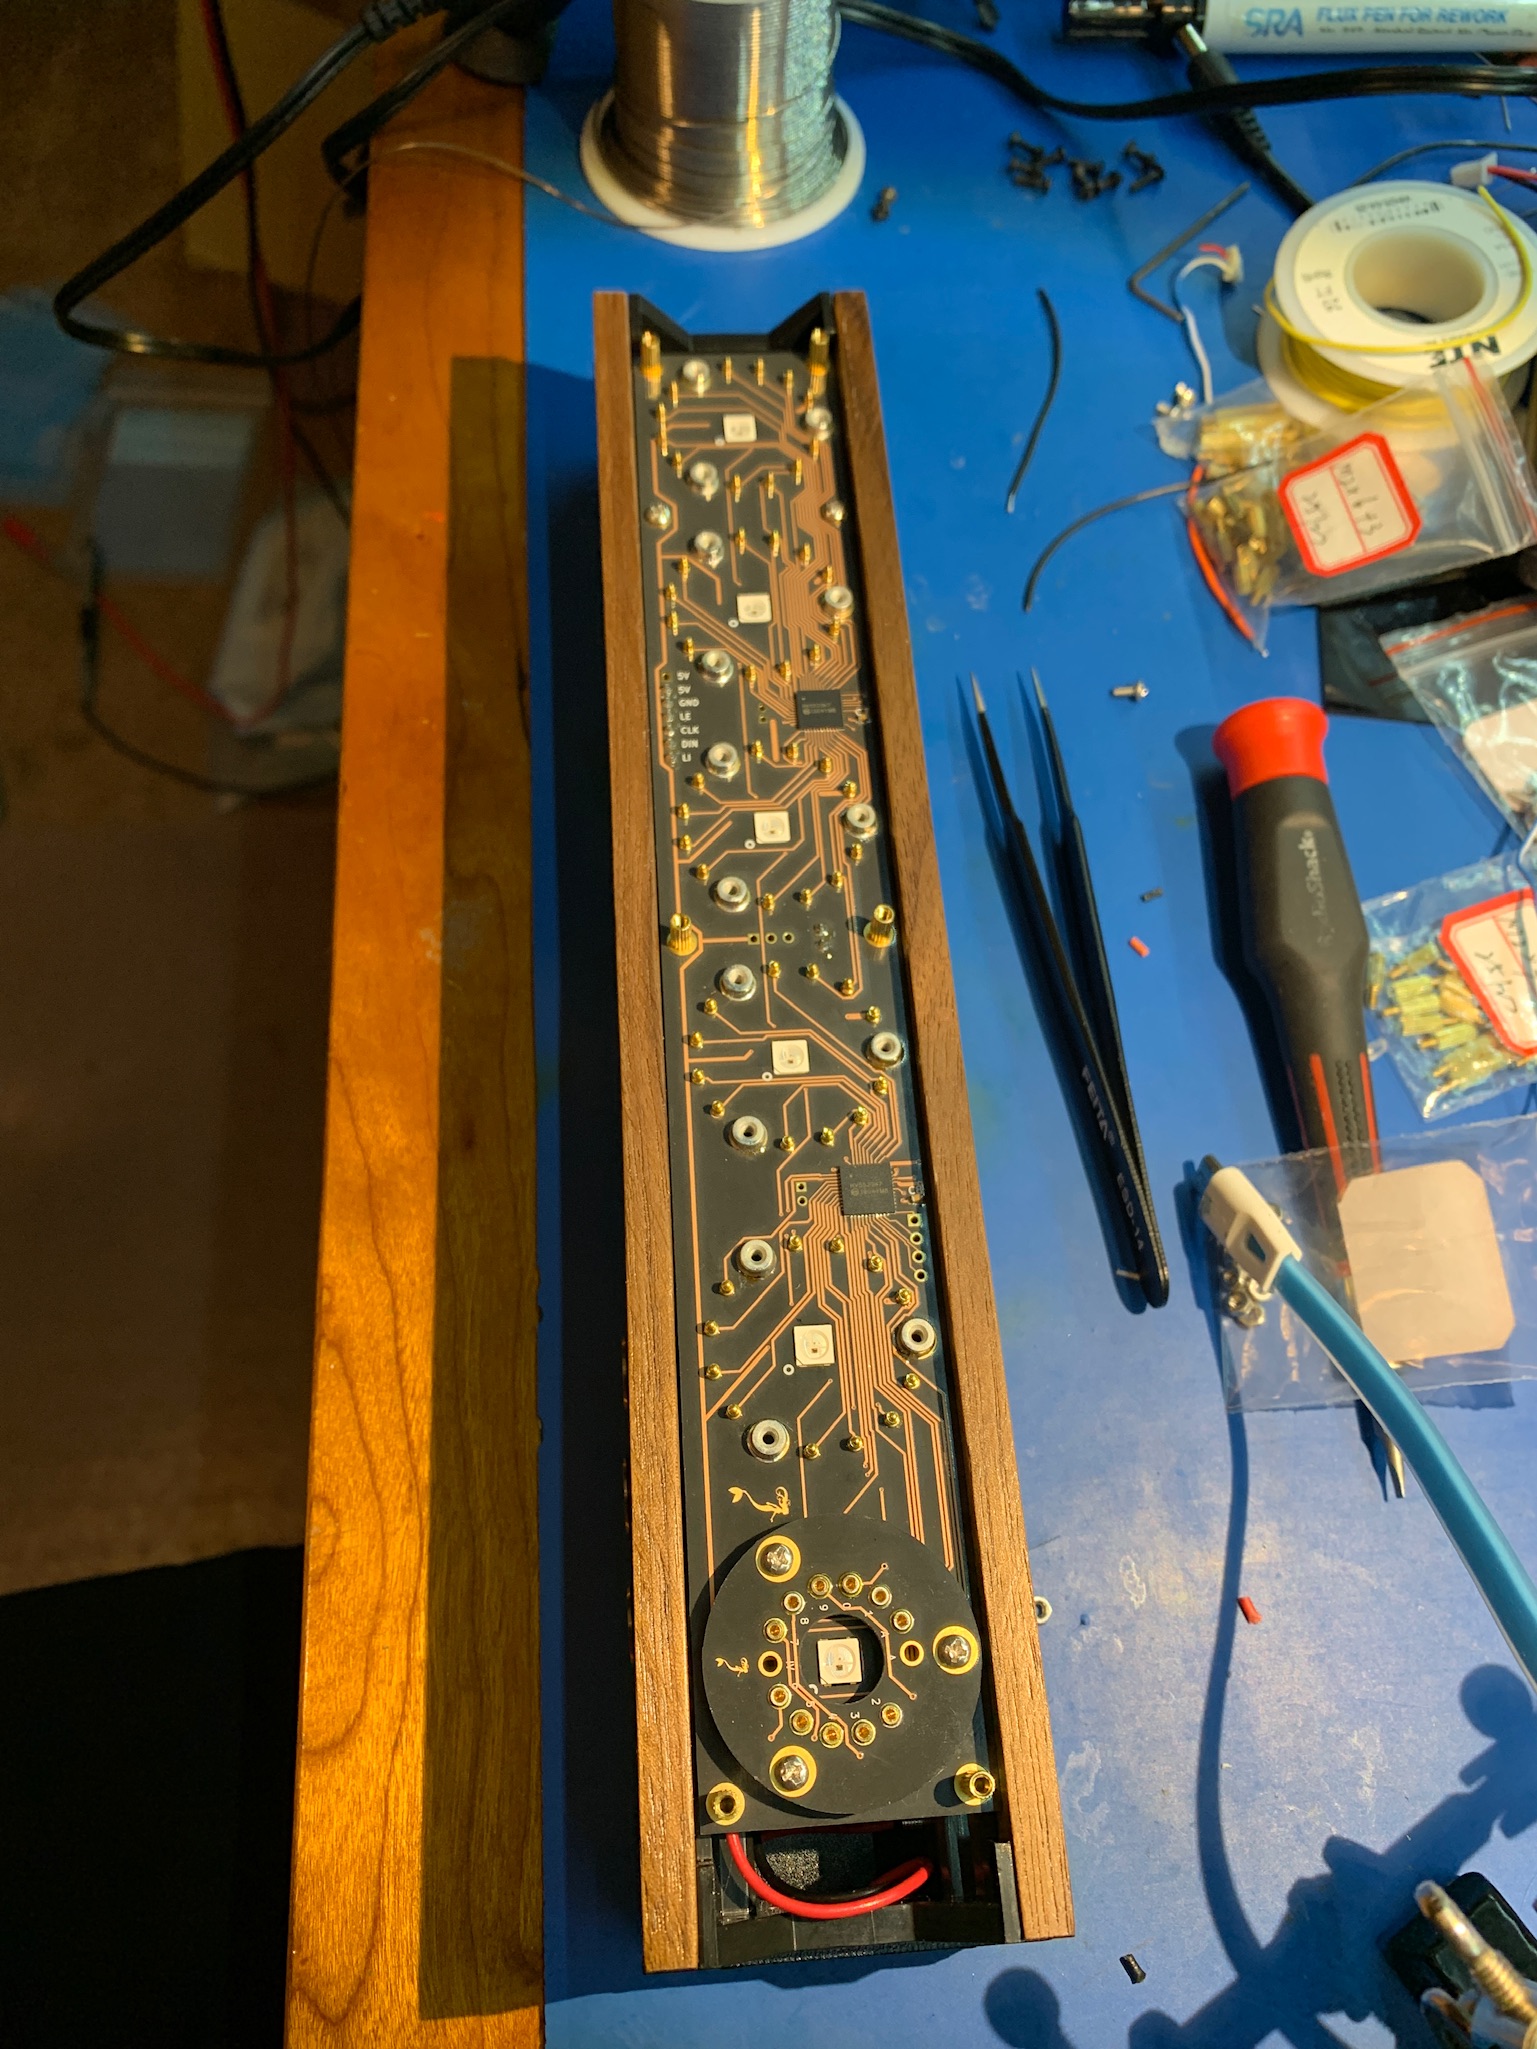
I hadn’t taken my own Gixie clock apart, so when I received the donor clock I had no idea what lay inside. The PCB of the clock was essentially flush with the top of the case, and inside the case was a plastic frame that the case was screwed to. This meant that the display board for the Nixie tubes had to be quite close to the top of the case. Somehow I had to fit a backlight LED and tube adaptors into this small space. For the LEDs I was inspired by Ian Sparkes, who recessed some neopixels into the PCB of his Numitron kits. For the adaptors, I was inspired by the Gixie clock itself, which used spring-loaded connectors to connect the ‘tubes’ to the PCB. This is what I ended up with (this is a prototype to test that it worked):
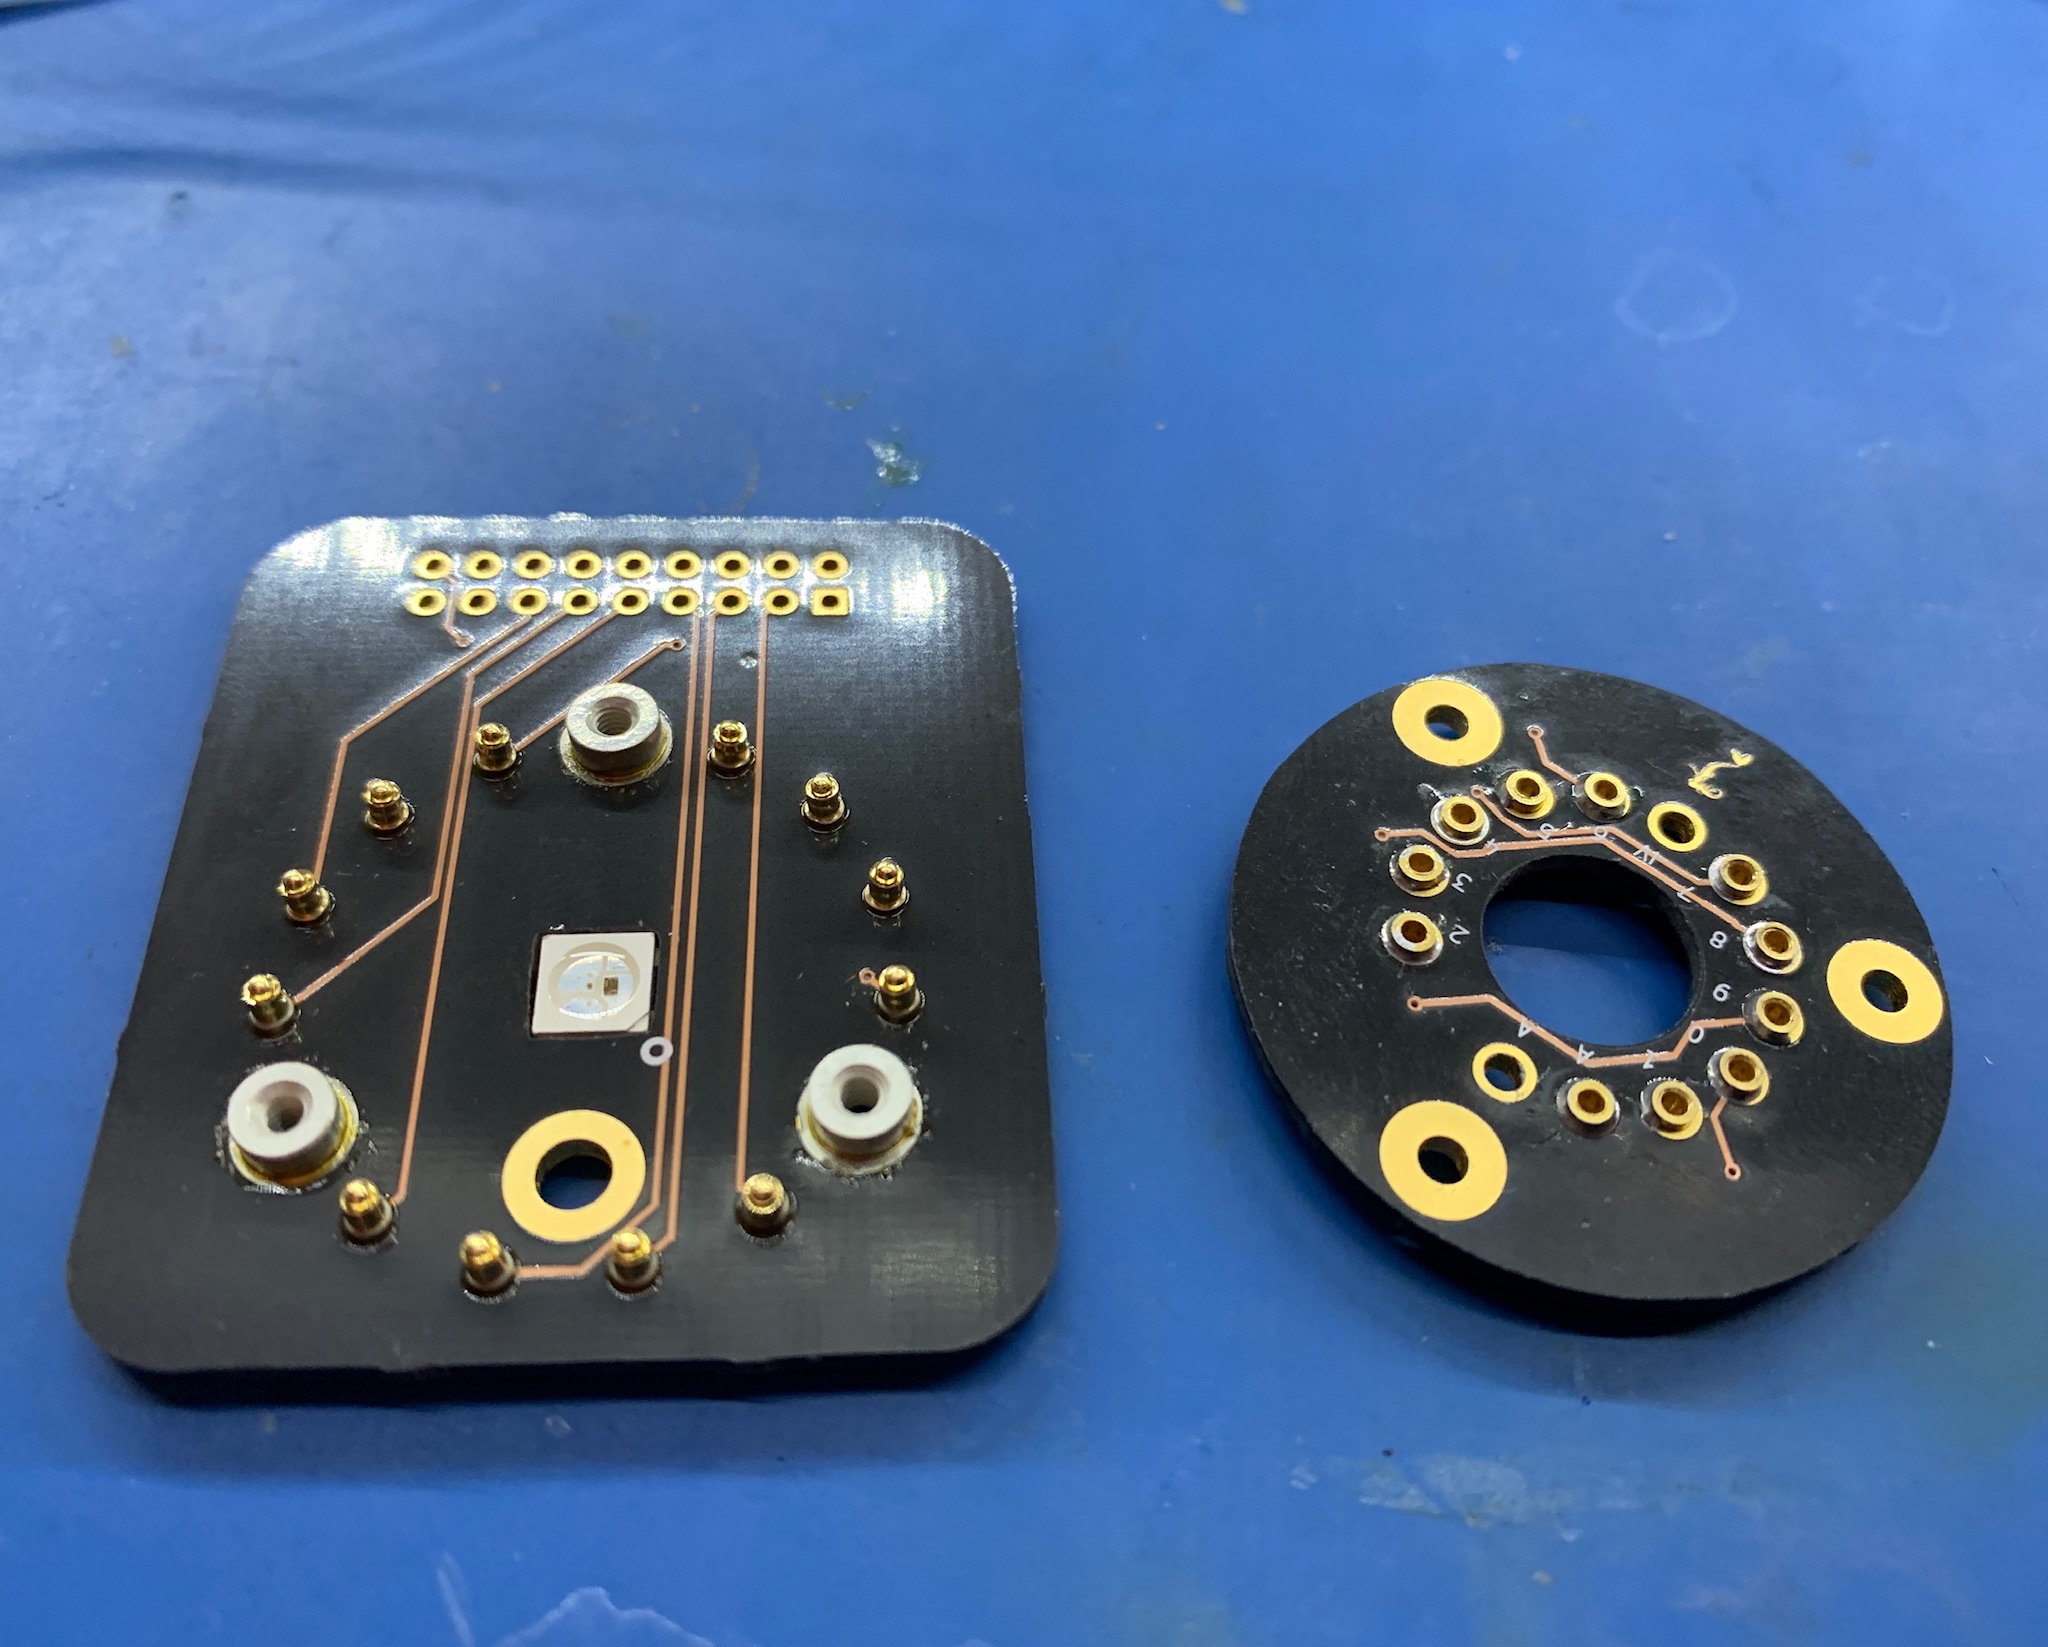
The board on the right has copper pads underneath that mate with the spring-loaded pins soldered to the display board. You can also see that the Neopixel is flush with the PCB. Both the pins and the standoffs are ‘surface-mount’. The standoffs require a hole but are soldered into it and don’t protrude below the PCB.

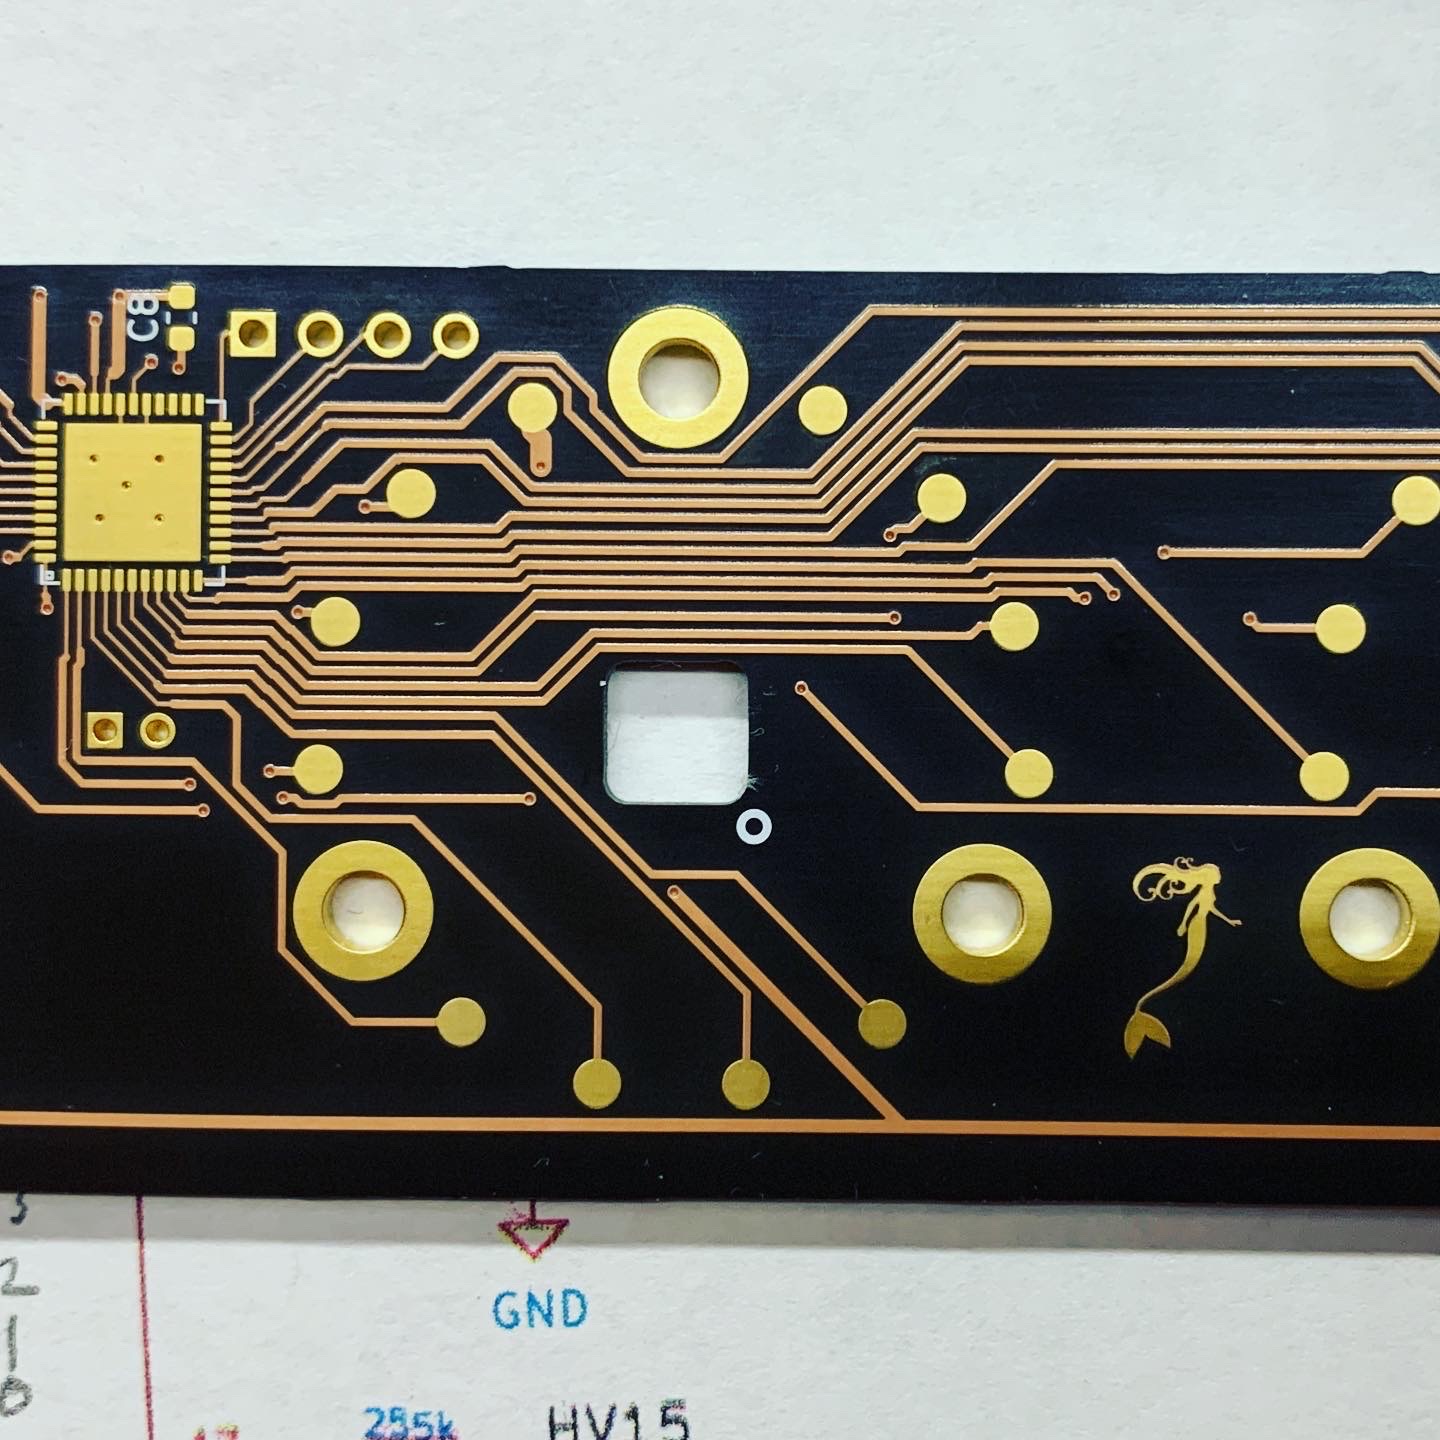
Here is a part of the display board:
This is the main board:

The two boards mated together:

The boards mounted into the case. There is a speaker beneath the PCB, which I recycled from an old laptop:
Did I mention there is a speaker? The video below shows off its use of sound (so turn the sound on if you play it!):
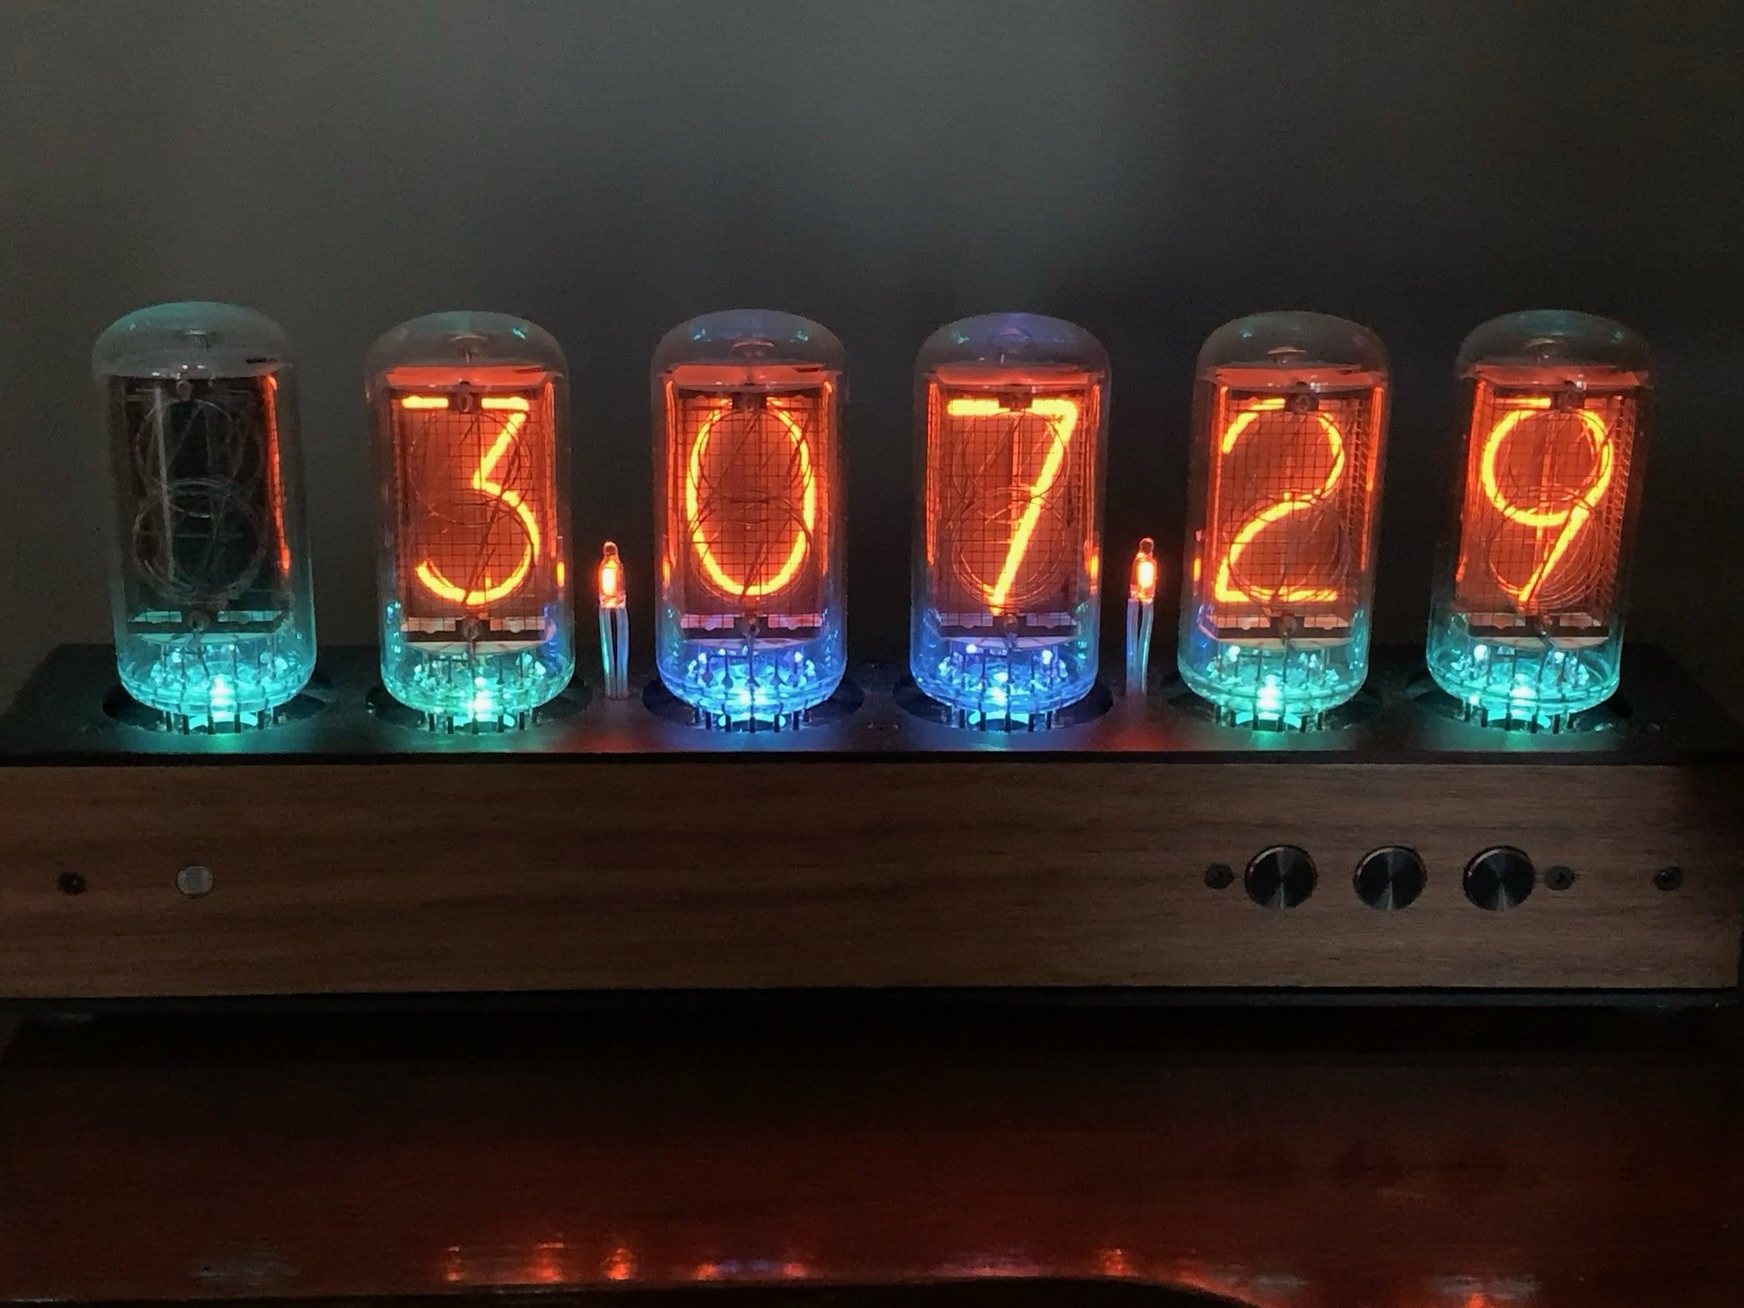
The display board has mounting holes for colon separators, but they are not electrically connected. I wasn’t sure whether I would use neon or LED separators, or even have any at all. I ran the clock for a while with no separators, but in the end I felt that it needed them, so I drilled holes in the top plate for them and wired some NE2 neons up. The only other mod I made to the case was to add a hole on the front for a LDR to automatically control the tube brightness. So here is a final shot with the clock using some Tesla ZM1042 tubes:
The buttons on the front are wired up to wake the clock from sleep, switch between date and time display and reset it. As with all my clocks, it automatically adjusts for DST and has the option of adding a movement sensor, all configuration is done through a web interface. Having a network interface also allows me to network all of my clocks together. For example they synchronize their displays with each other, and one clock can share its movement sensor with all the other clocks in the same sync group.
Do you guys have the tubes for this type of base. It appears to look just like this one. Thx for your help! If you’ll send me your email I’ll send you a pic of my base. It has 2 magnets and 3 contacts.
Thanks,
Wade