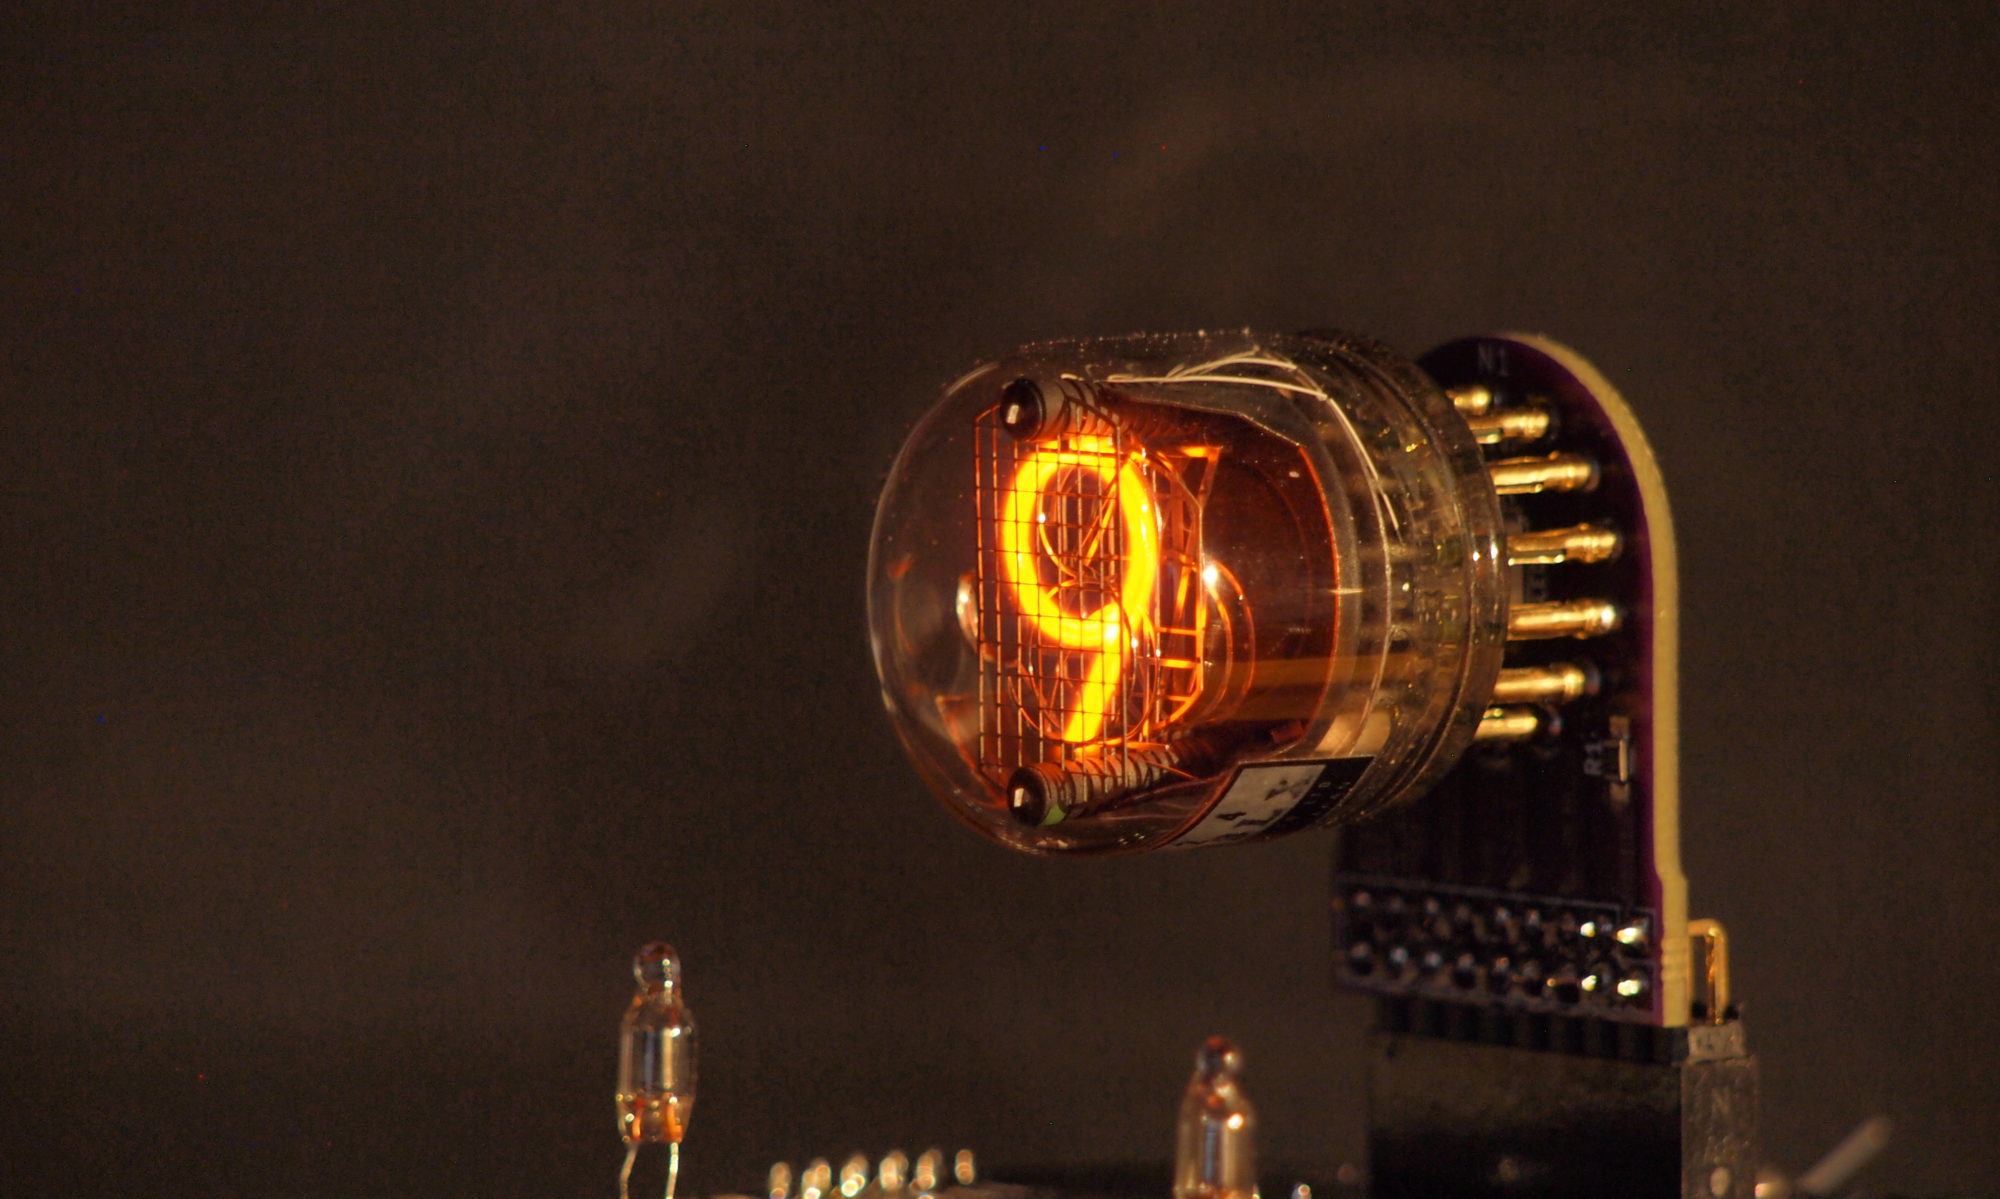
One Tube Nixie Clock
After I had built a few Nixie clock kits, I became interested in making my own hardware. To make sure that I could get everything to play nicely together, I put it all on a testbed which you can see below:
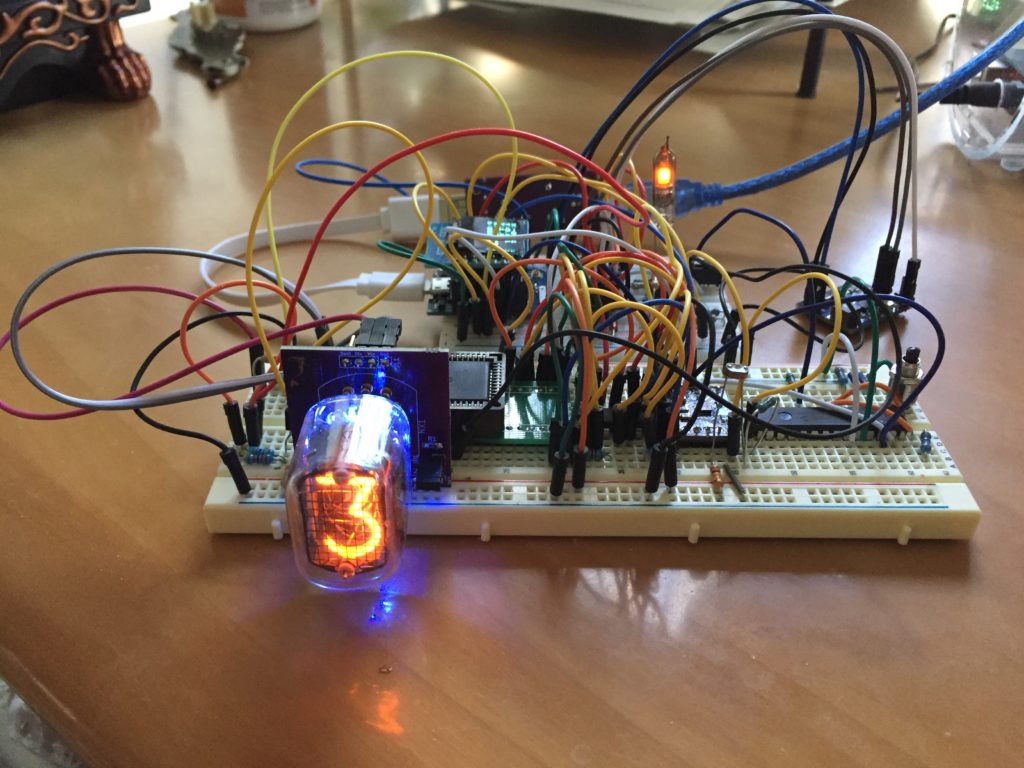
The testbed had everything on there that I thought I might want. The main aim was to check that the processor I had chosen (the ESP8285) could drive it all with no glitches. This is a list of the features of this clock:
- Any Nixie tube can be driven using an adapter. There are several on OSHPark now: IN-12, B5991, CD25, CD43, ZM1100 etc., IN-18, NL840, NL807, NL5440, NL5440A, NL5441, NL5441A, B54370A, B5440, B5440A, B5441, B5441A, GR10J, GN-6A, GN-13A, XN-3, XN-13, etc, ZM1020, HB-106, B6844A, B6091, B5092, GN3, GN4, etc,
- It is driven by an ESP8285, so it has built-in WiFi.
- It is powered from a USB port.
- It has an I2C expansion port, so you can add other sensors and outputs such as buttons, motion sensors, displays, and RTC(!) etc.
- It has a light sensor for auto-dimming.
- The default application:
- Synchronizes the time with the internet
- Presents a web configuration GUI
- Has five presets for easy switching between different configurations
- Has a blanking period
- Can drive a tube either as a clock, or a counter
- HV can be modified from the GUI to increase the current through the tube. This means the device can double as a cathode de-poisoner.
- You can control the backlighting
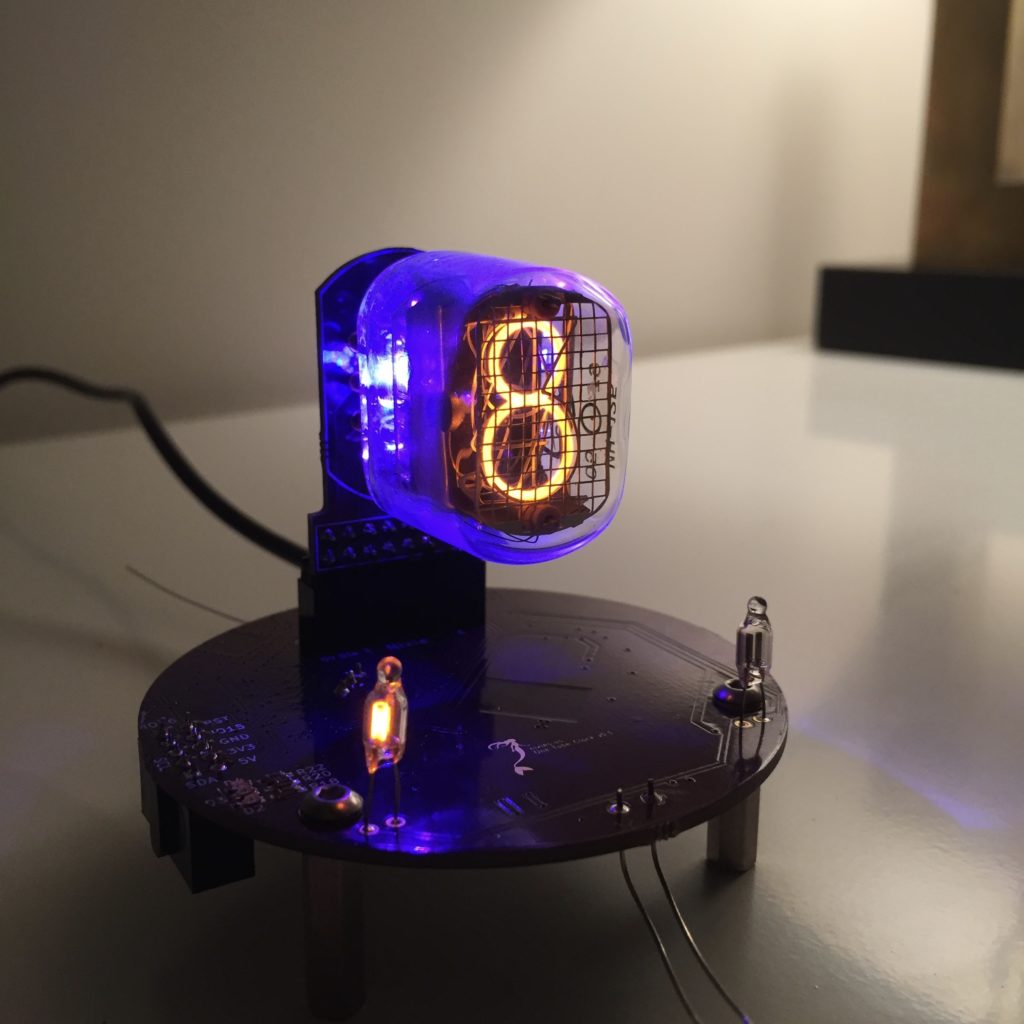
While I was refining the design I was also collecting various nixie tubes, and naturally I wanted to be able to display them, so I was designing adapters for them and driving them from the testbed. So it seemed like a good first actual Nixie clock project to take this from the breadboard to an actual PCB. So take all of that mess above and reduce it to this:
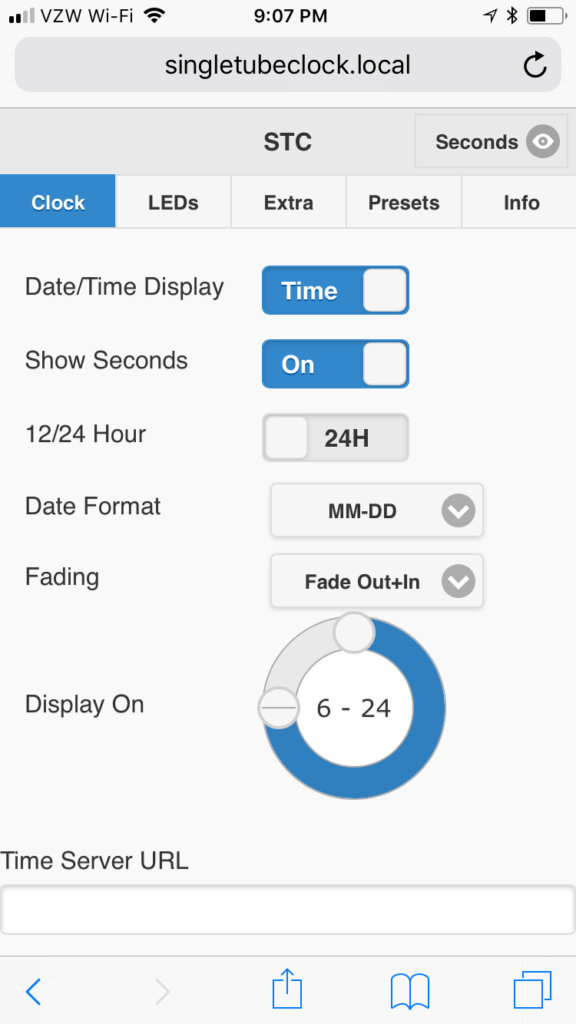
The brains of the clock is an ESP8285, so it has on-board WiFi, which is used to sync the time with the internet and to provide a web-based configuration tool – here is the main page for that:
It is powered from a USB connection and can be re-programmed using an Arduino IDE through the same connection or over-the-air.
In addition to telling the time, it can be used to cycle through the digits and to condition the cathodes of a Nixie tube – the voltage can be controlled from the GUI, allowing you to effectively double the normal current through a tube. Here’s a video of the clock driving an IN-18:
The whole project is documented in great detail on Hackaday.io.
Since that initial version I have made quite a few incremental changes. One of the main ones that I mention on hackaday.io, is to increase the number of pins that it can drive to 15, so that I could drive a B7971 – which is a 15 segment nixie tube. Here is a video of it driving a B7971:
Adding a third row of pins to the header also meant that I could plug in adaptors for big tubes like the NL7037 and the Z568M, and still have them centered on the base. Here is a video of the NL7037:
You will notice that it isn’t actually plugged in to a power adapter. That is because I added a battery shield to the clock that incorporates a LiPo battery and a load-sharing charger. In addition I had to change the hardware yet again to detect the power capability of the USB port it is plugged in to. Here is a video of me demonstrating the battery feature:
Not long after this, it occurred to me that with 15 pins, I could drive 4 tubes using a multiplexed scheme, so I developed an adaptor that had 4 IN-12 tubes. 10 pins drive the cathodes, 4 pins select the tube and one extra pin drives the decimal point cathode:
The battery adapter also has an accelerometer. Here is that same clock reacting to taps to change the display:
Since one of the purposes of the clock was to allow me to display all the tubes in my collection, I have developed adapters for all of the ones that have pins and another adapter that allows me to insert tubes with wires. All of the adapters for tubes with pins are wired to work for the specific tube they are intended for. The adapter for tubes with leads has a fixed cathode mapping, so I modified the software to allow me to dynamically remap the cathodes. I also added a syncing capability to the clocks so that they would update in sync with each other and I developed a multi-tube adaptor that allowed me to plug many tubes into one clock. Here is the result:
Recently I managed to acquire a Rodan CD47 tube, so I had to make a one-tube-clock for that too. The CD47 requires 25mA of current, which would be pushing the power supply on this clock, so I created yet another version that could meet that requirement and then some. I spent a long time designing the case for this clock, here is the result:
The case has two pounds of lead shot encased in resin in the base to provide stability.
Do you have a BOM for this project? I love nixies and this project in particular is really cool!
Thanks!
There is a BOM here: https://hackaday.io/project/28220-one-tube-nixie-clock
I recently got GR10J tube and want to build your one tube clock for it. I also just got side view B8091. Do you have anything that would work for a side tube like that? It sure would be nice to give it some glory!
Bill
Yes, I have this adapter: https://oshpark.com/projects/NQ1jowsD