
I’ve been building a Divergence Meter, as featured in Steins;Gate, using Tom Titor’s excellent design.
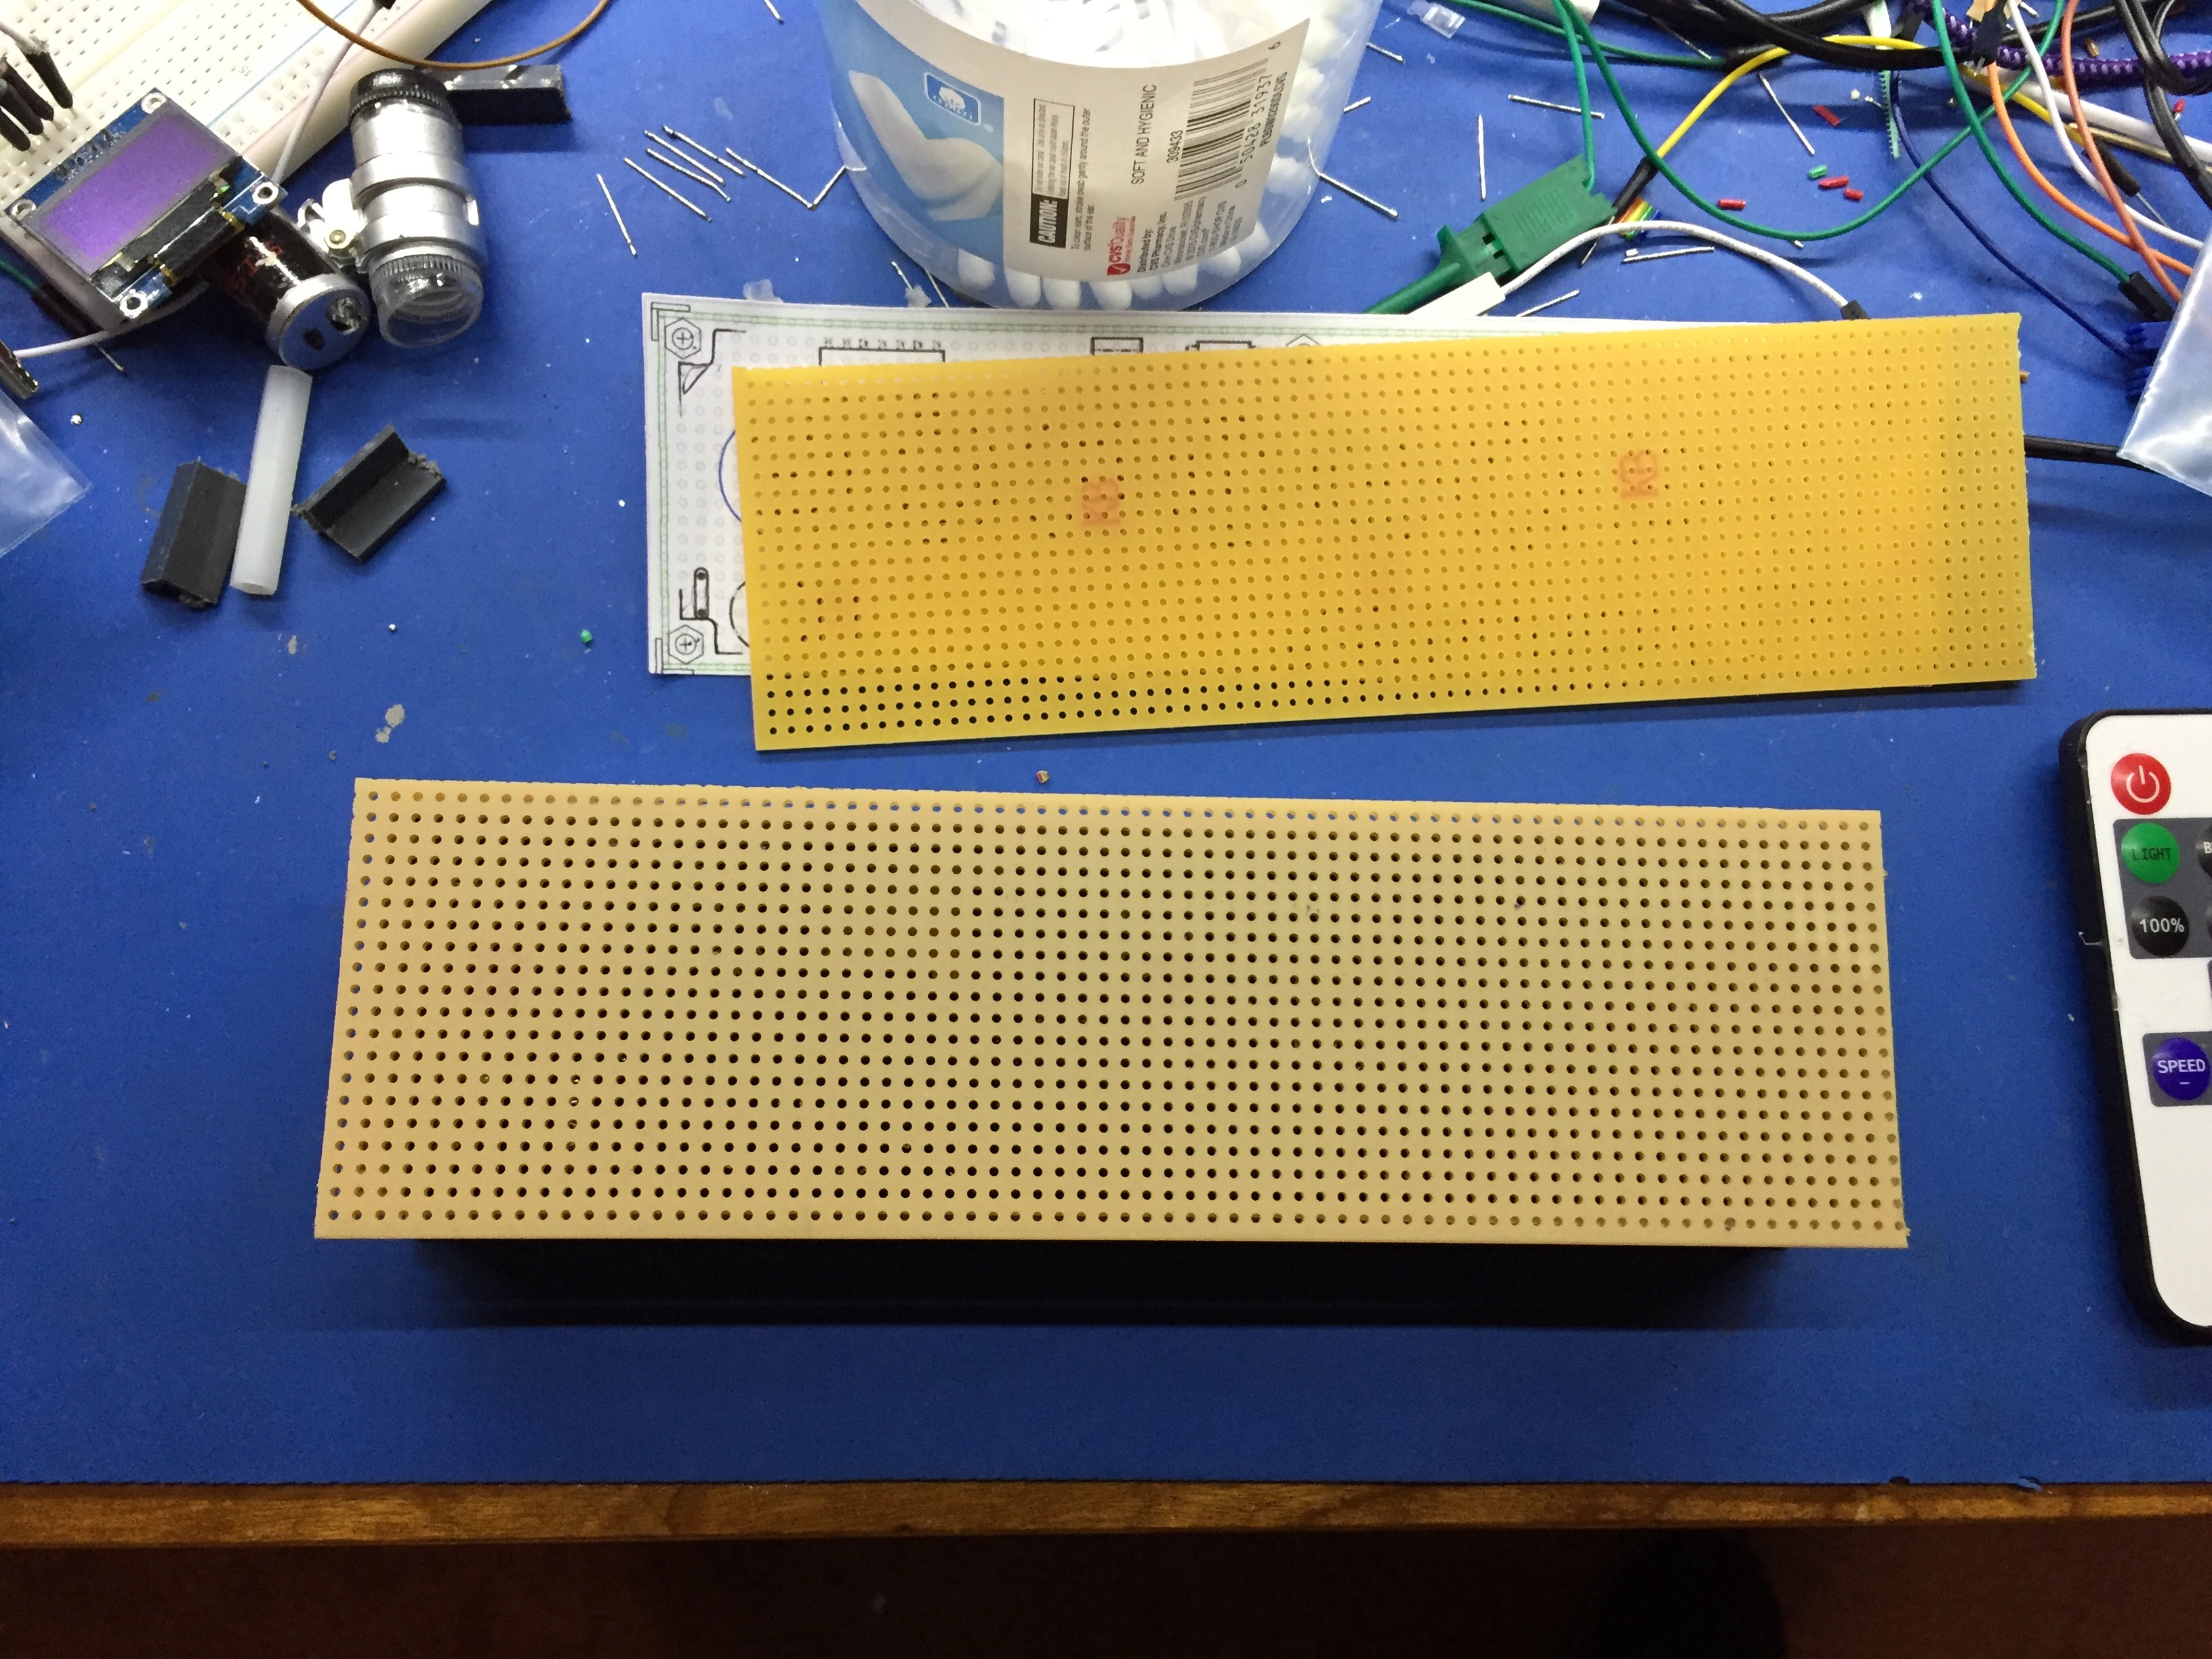
Perfboard
If you’ve read any of my other posts about this project, you’ll know that I hit some obstacles. First I blew up the HV power supply and the PIC chip, then the perfboard I had, had logos printed on both sides. Well I replaced both the power supply and the PIC chip. As for the perfboard, I couldn’t find any that was the right size, the right color and logo-free. In the end I followed a suggestion and spray-painted it. Here’s a before and after shot:
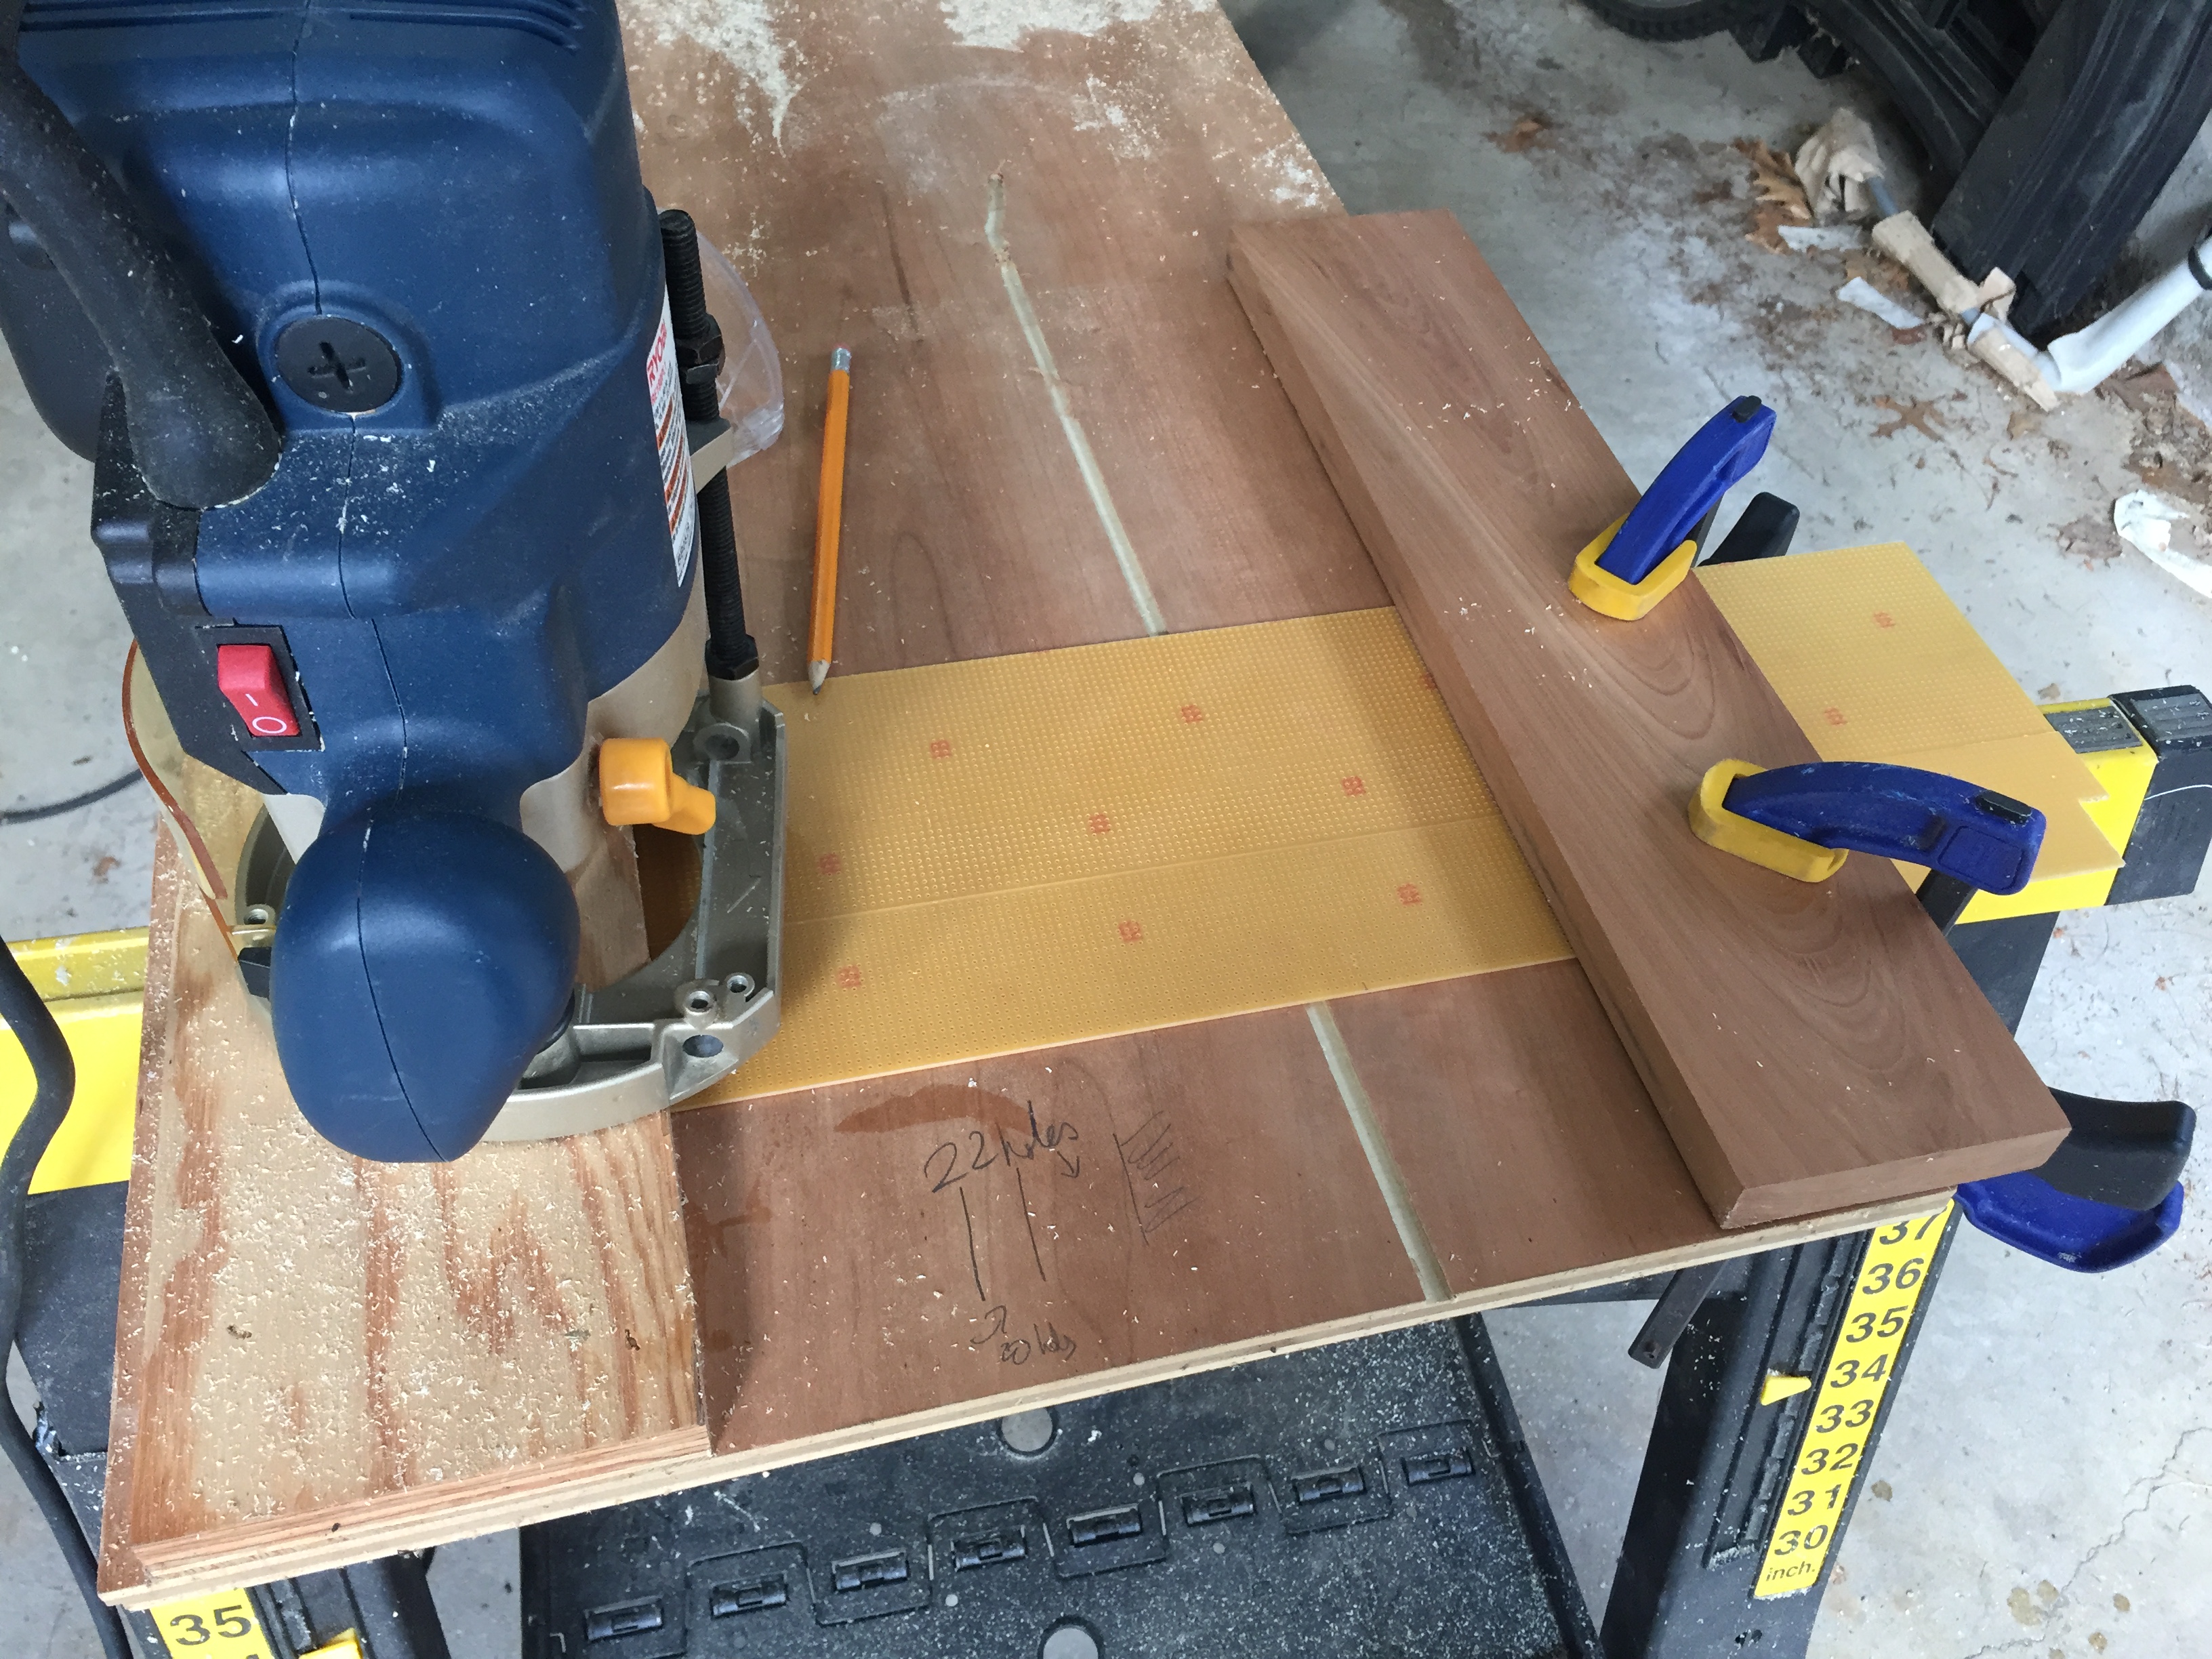
That particular piece wasn’t cut very well, so I used it for practice. To cut the perfboard, I used a technique recommended by a carpenter friend. If you use a saw it is hard to get a clean edge, so I used a router instead. Here is the setup I used:
Case
And that is pretty much where I stopped for a while – I still hadn’t figured out how I was going to build the case. I played around with prototypes made out styrene sheet, and while I was doing that I realized that the hex standoffs used to hold the top to the case screwed easily into the plastruct rod I was using to brace the corners – it has a round hollow core:
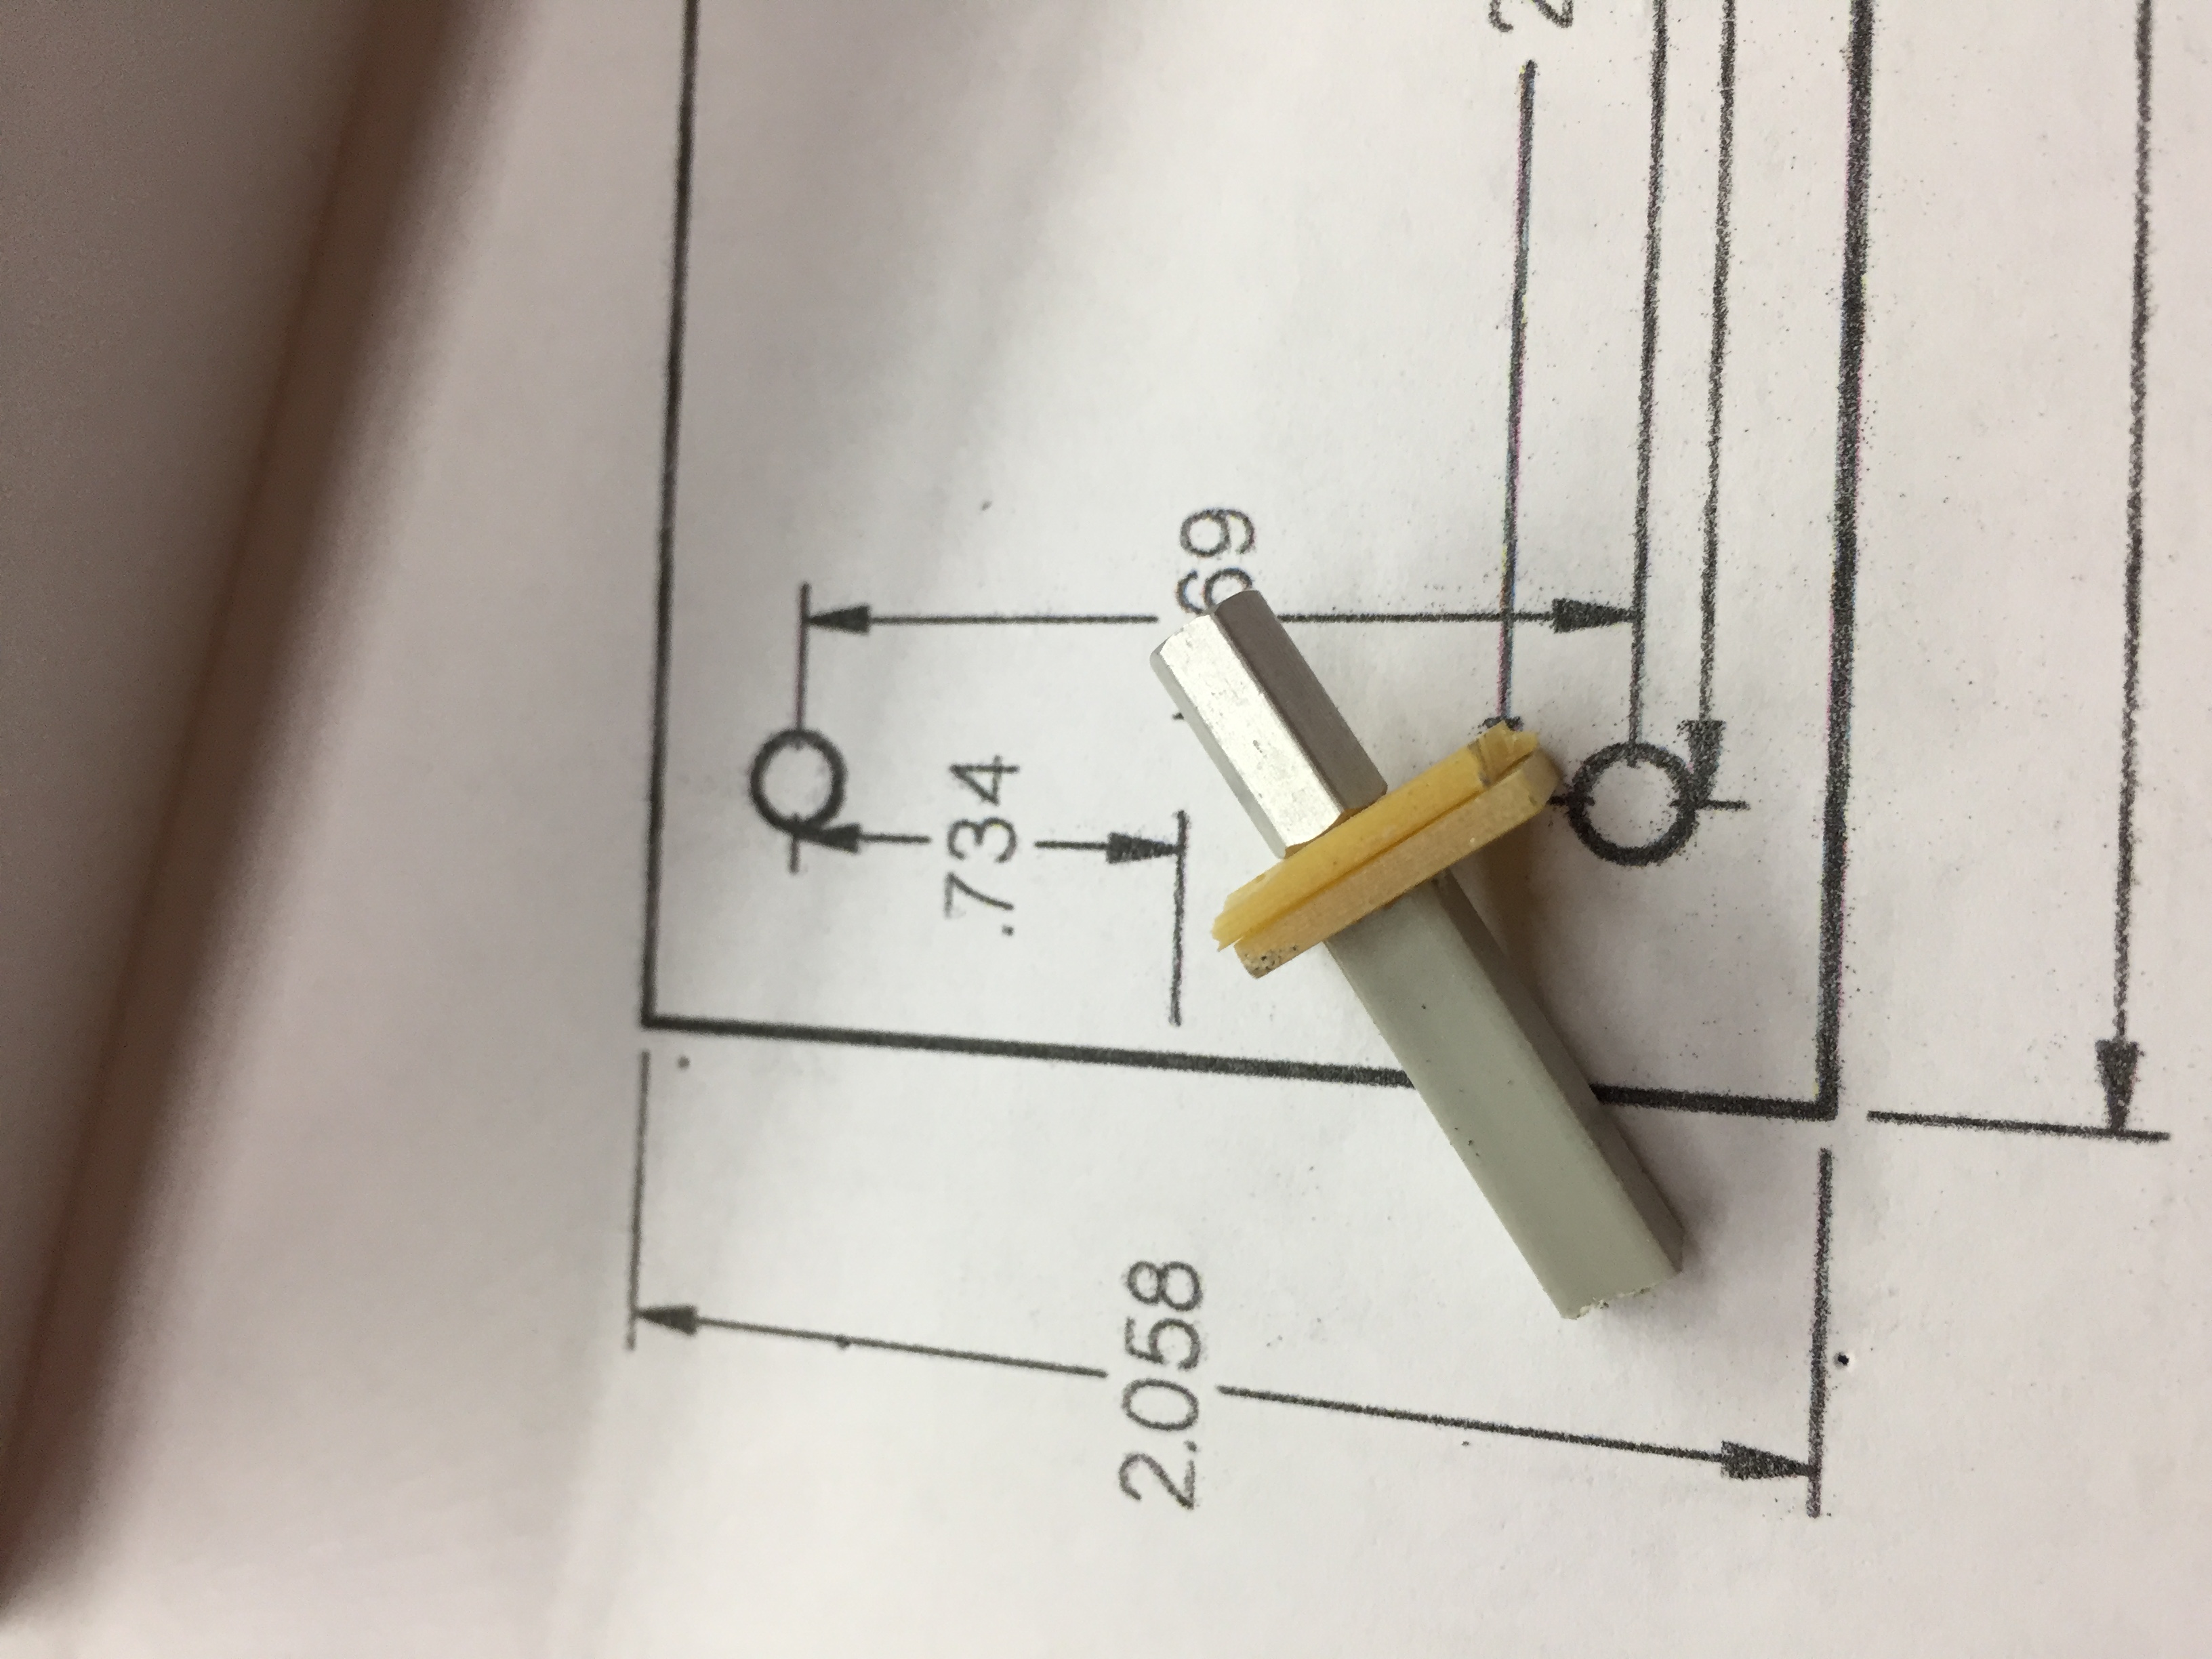
And then it suddenly occurred to me that I could drill pilot holes in the rod, and use self-tapping screws to fix the sides of the case to the rod. I tested it on some aluminum sheet I had, and it worked really well. So now all I had to do was CAD it up and get it made by Big Blue Saw. Here is a shot of the end result:
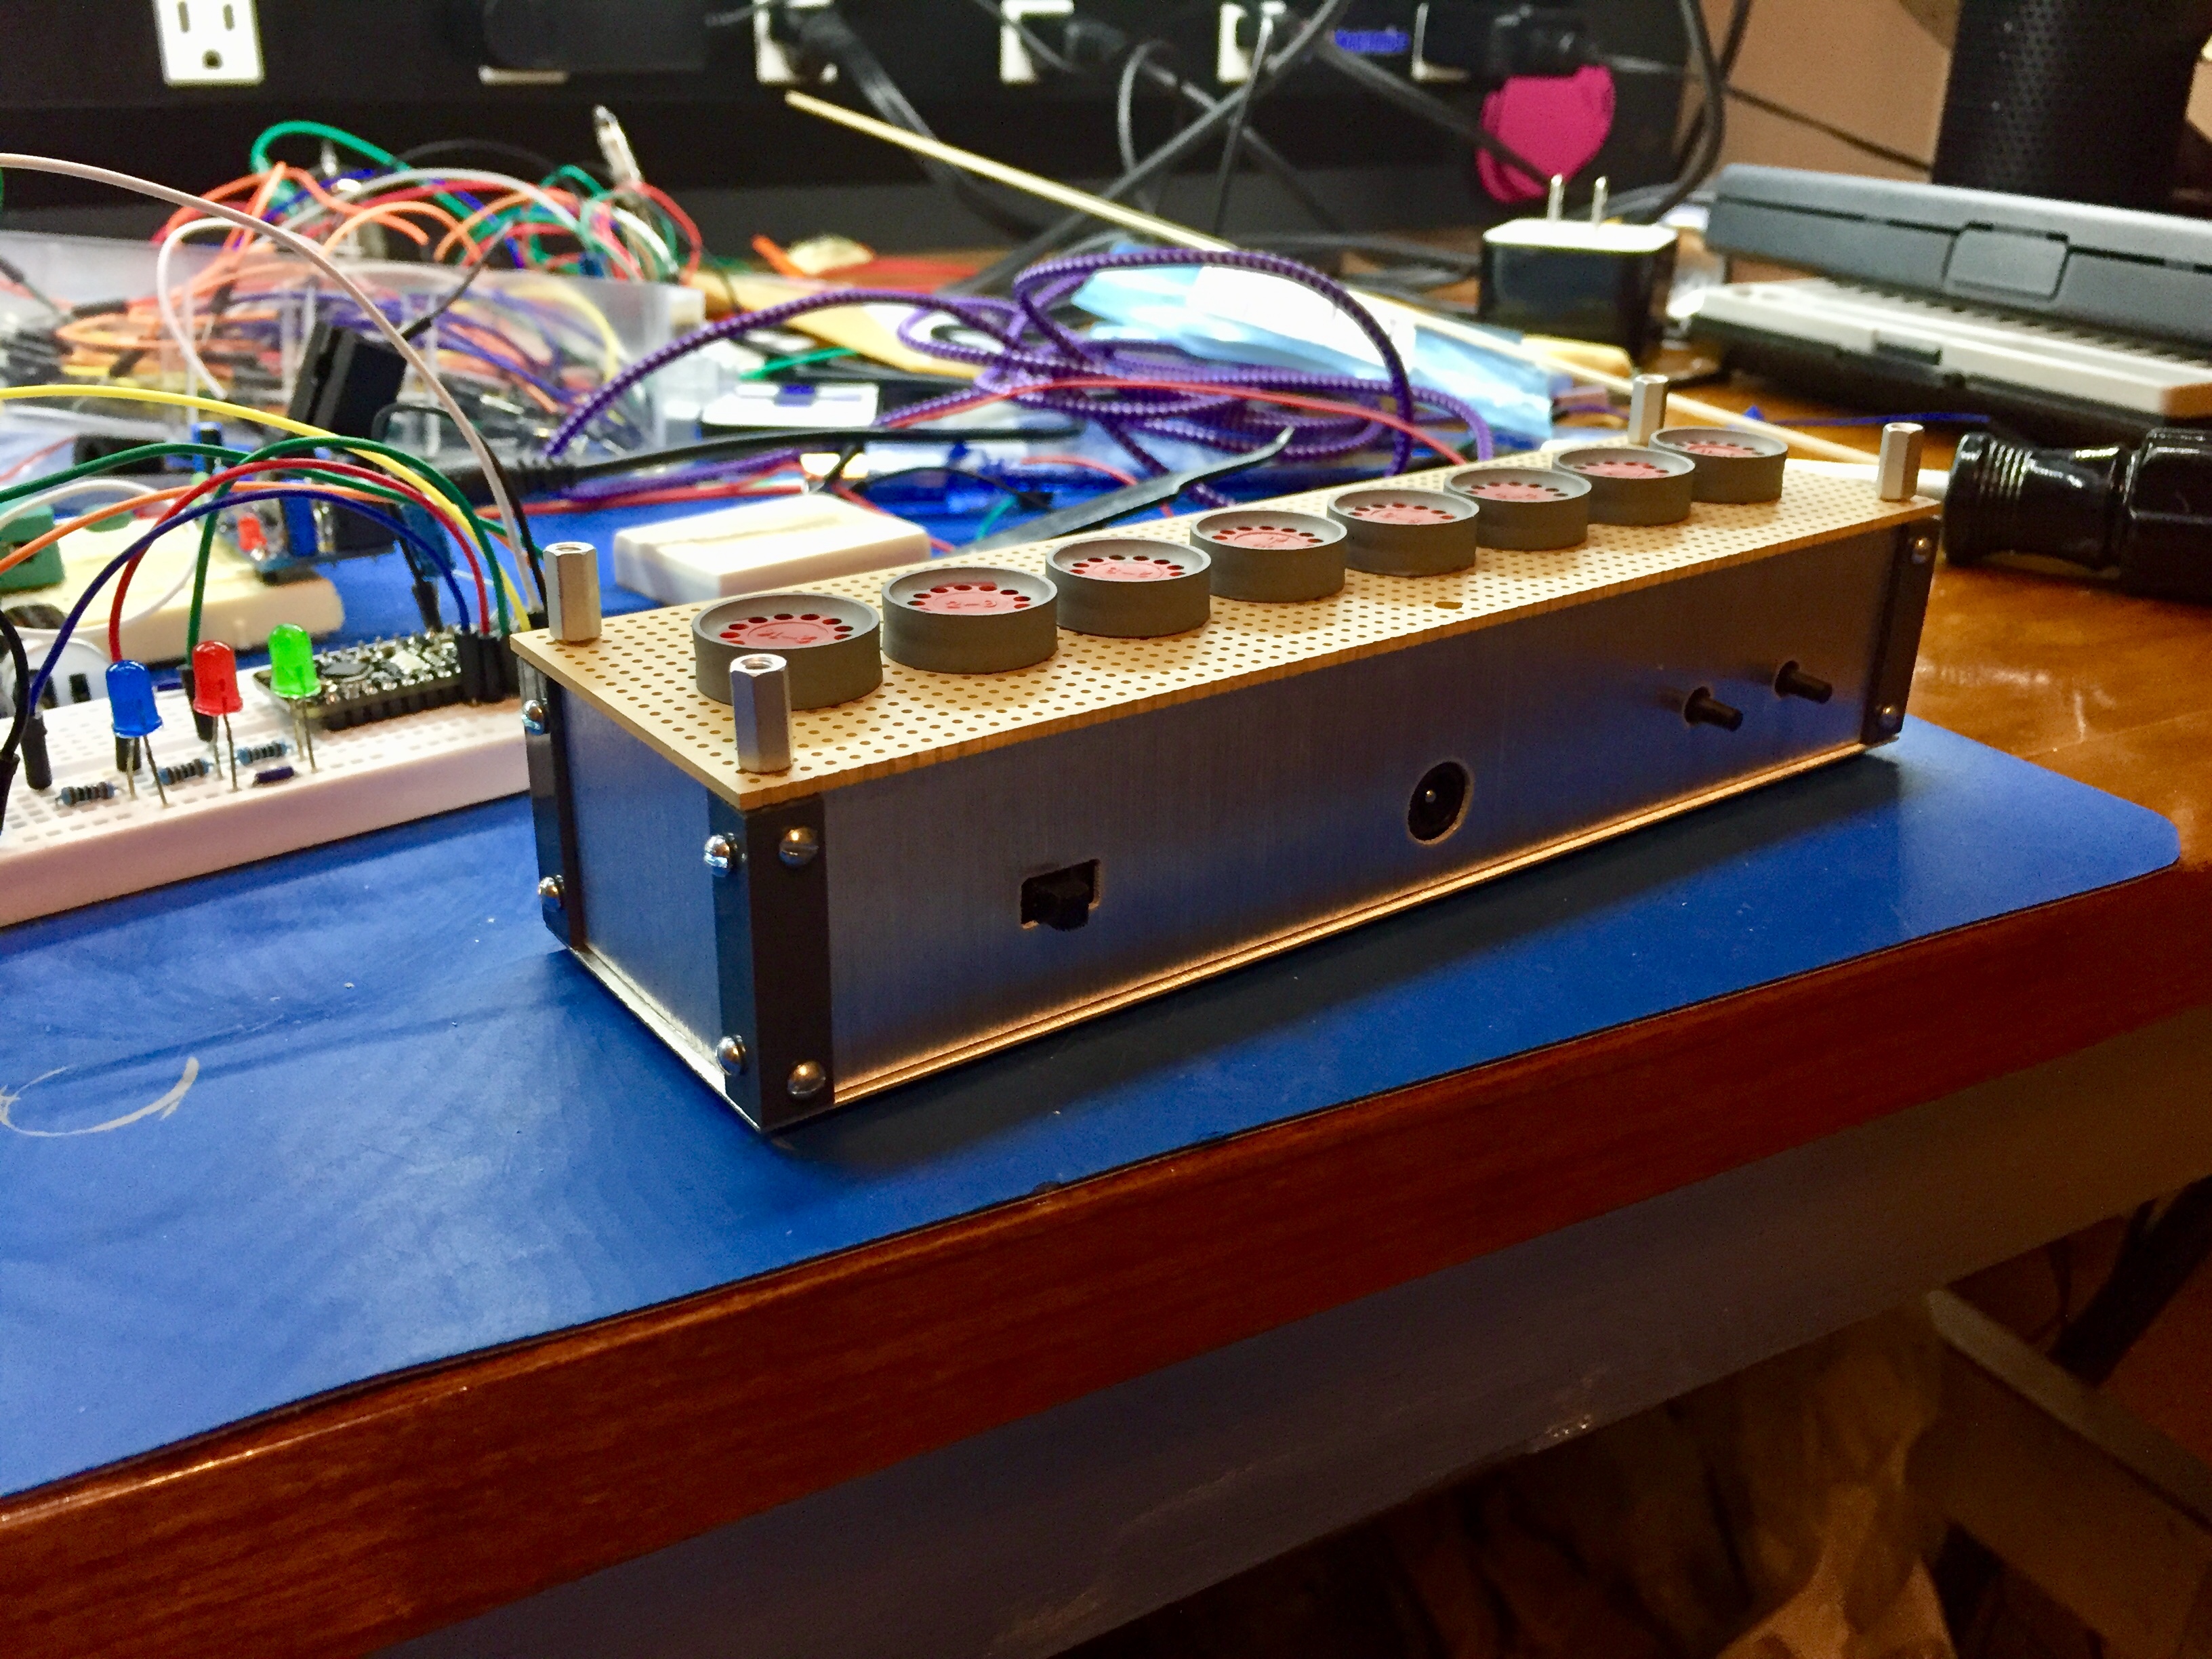
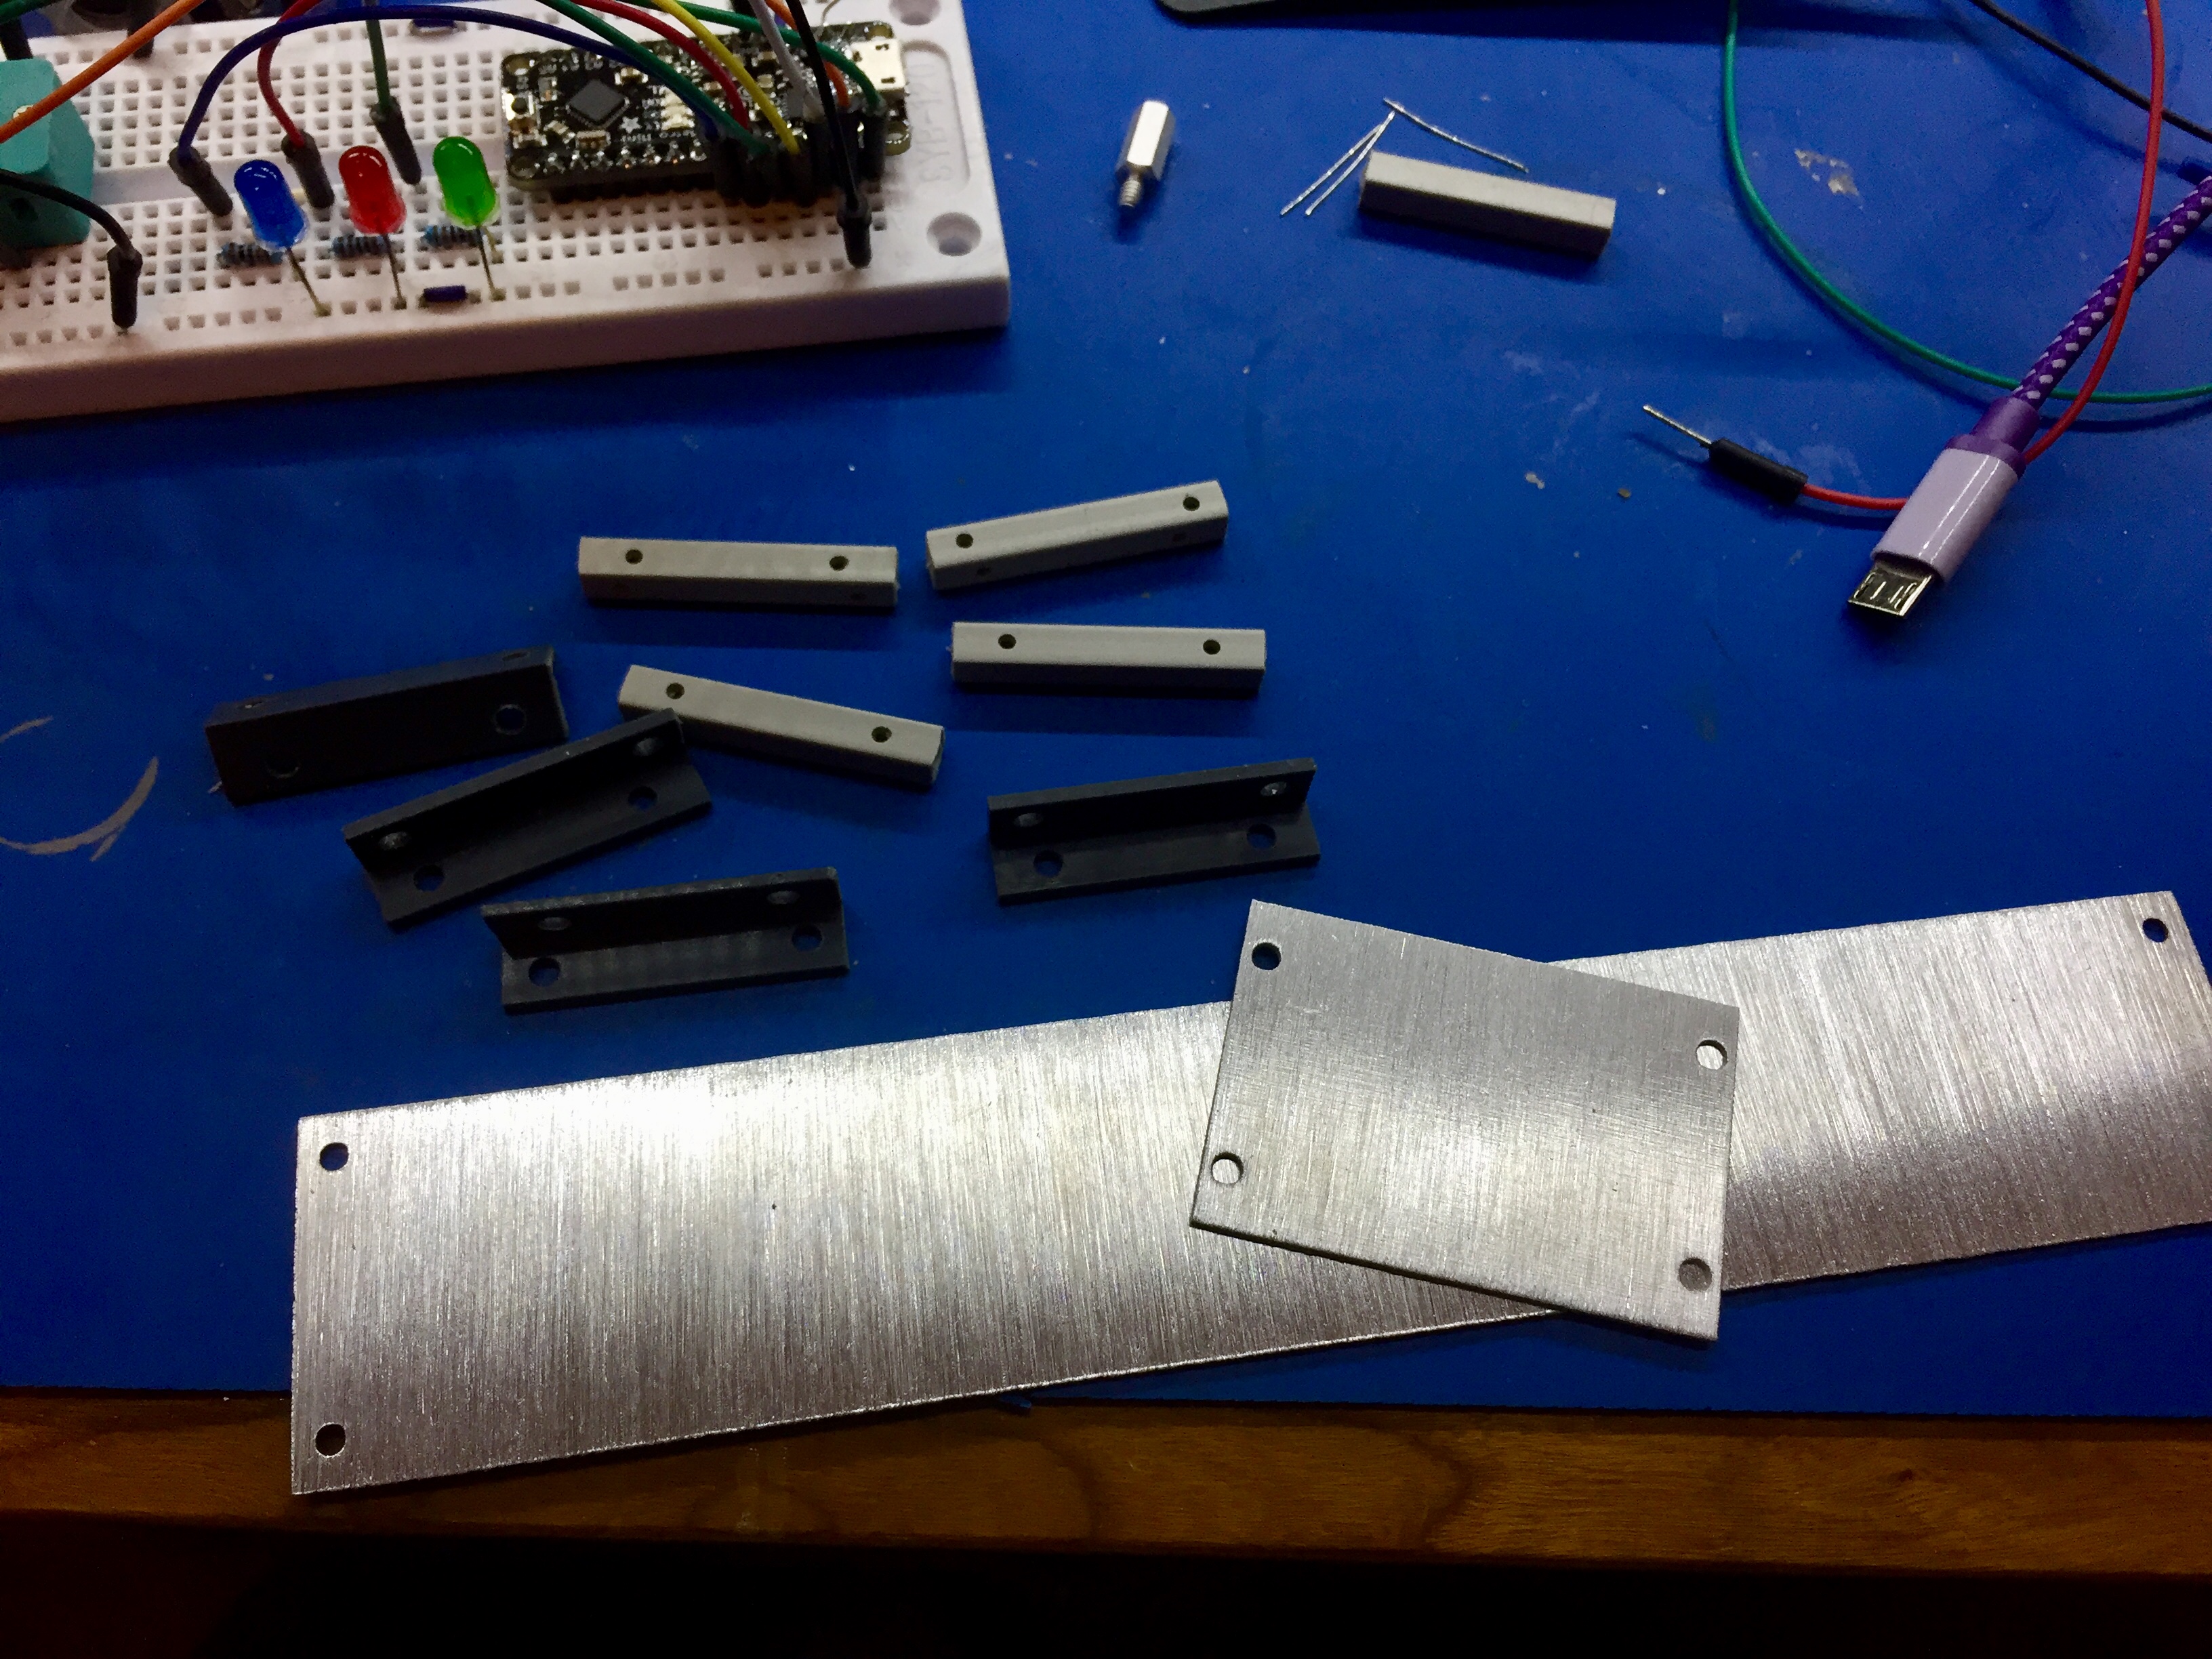
I had also decided that the PCBs inside the case needed some good support, so I used 11/16″ plastic standoffs to mount the main board to the case. It needs to be this length to accommodate a 9V battery. By my calculations that meant I also had to increase the height of the case slightly, so I did.
Construction
Now I knew everything would go together I could get on with the rest of the construction. Here are a few progress shots:
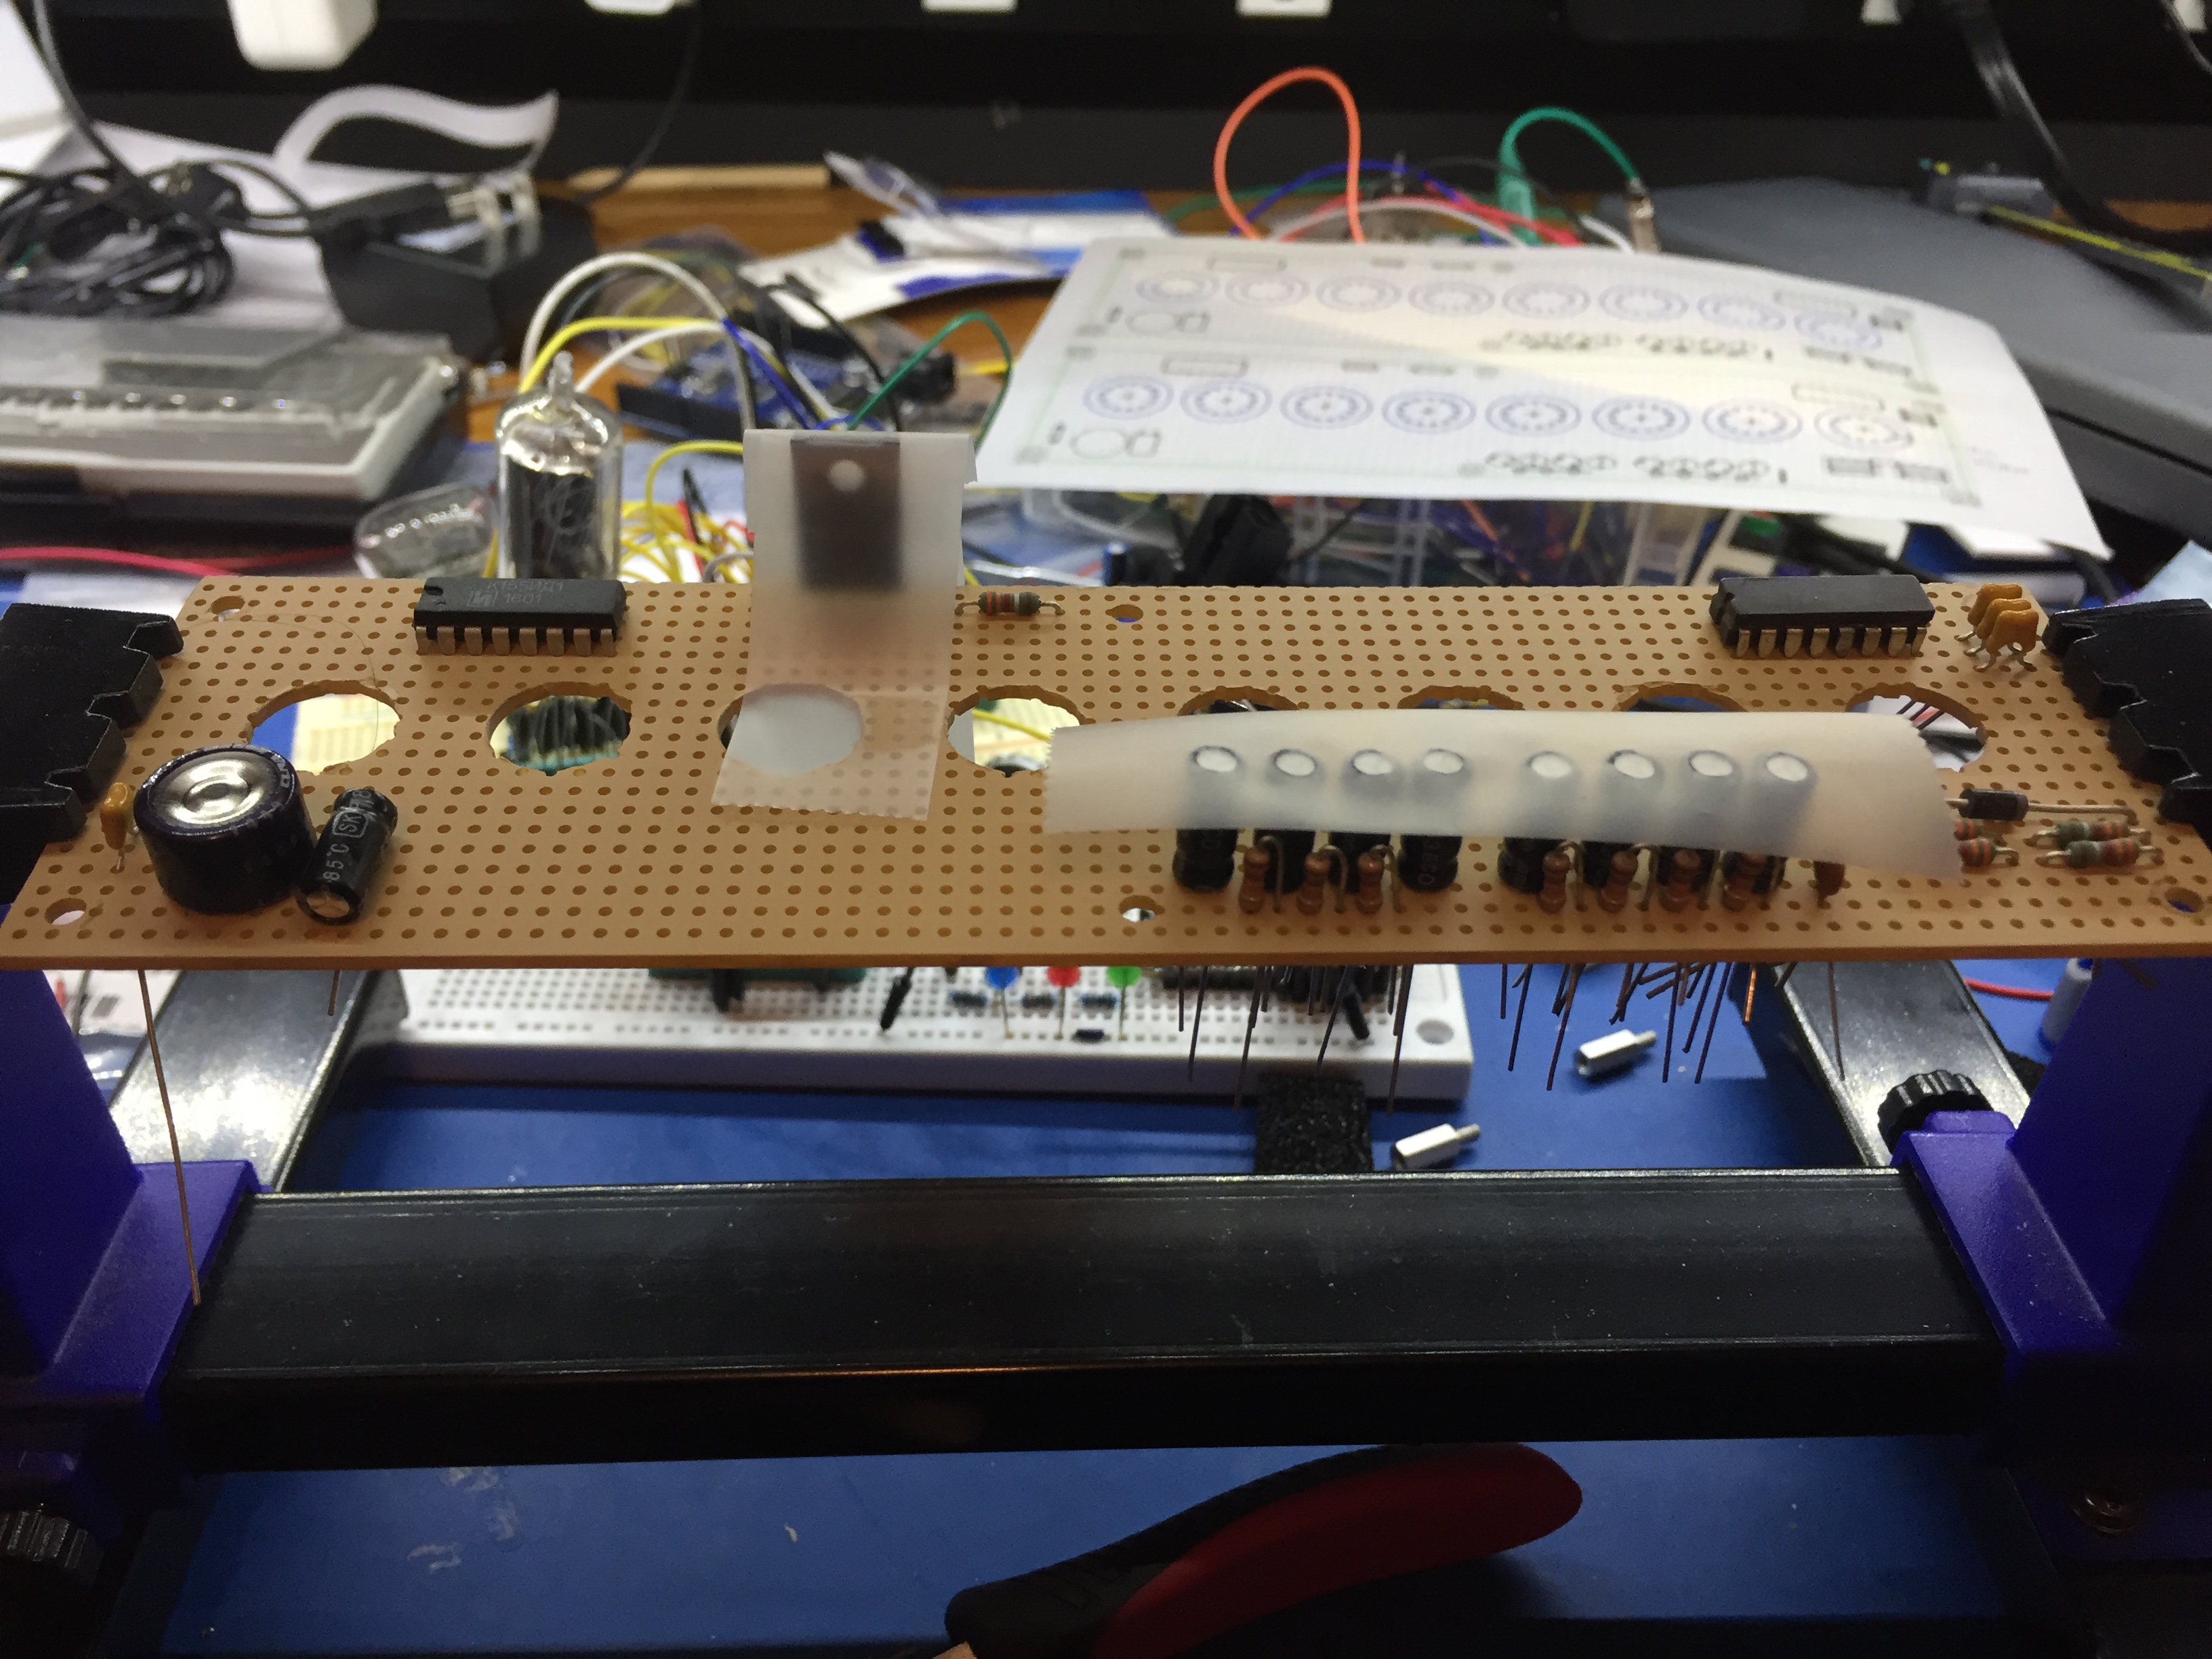
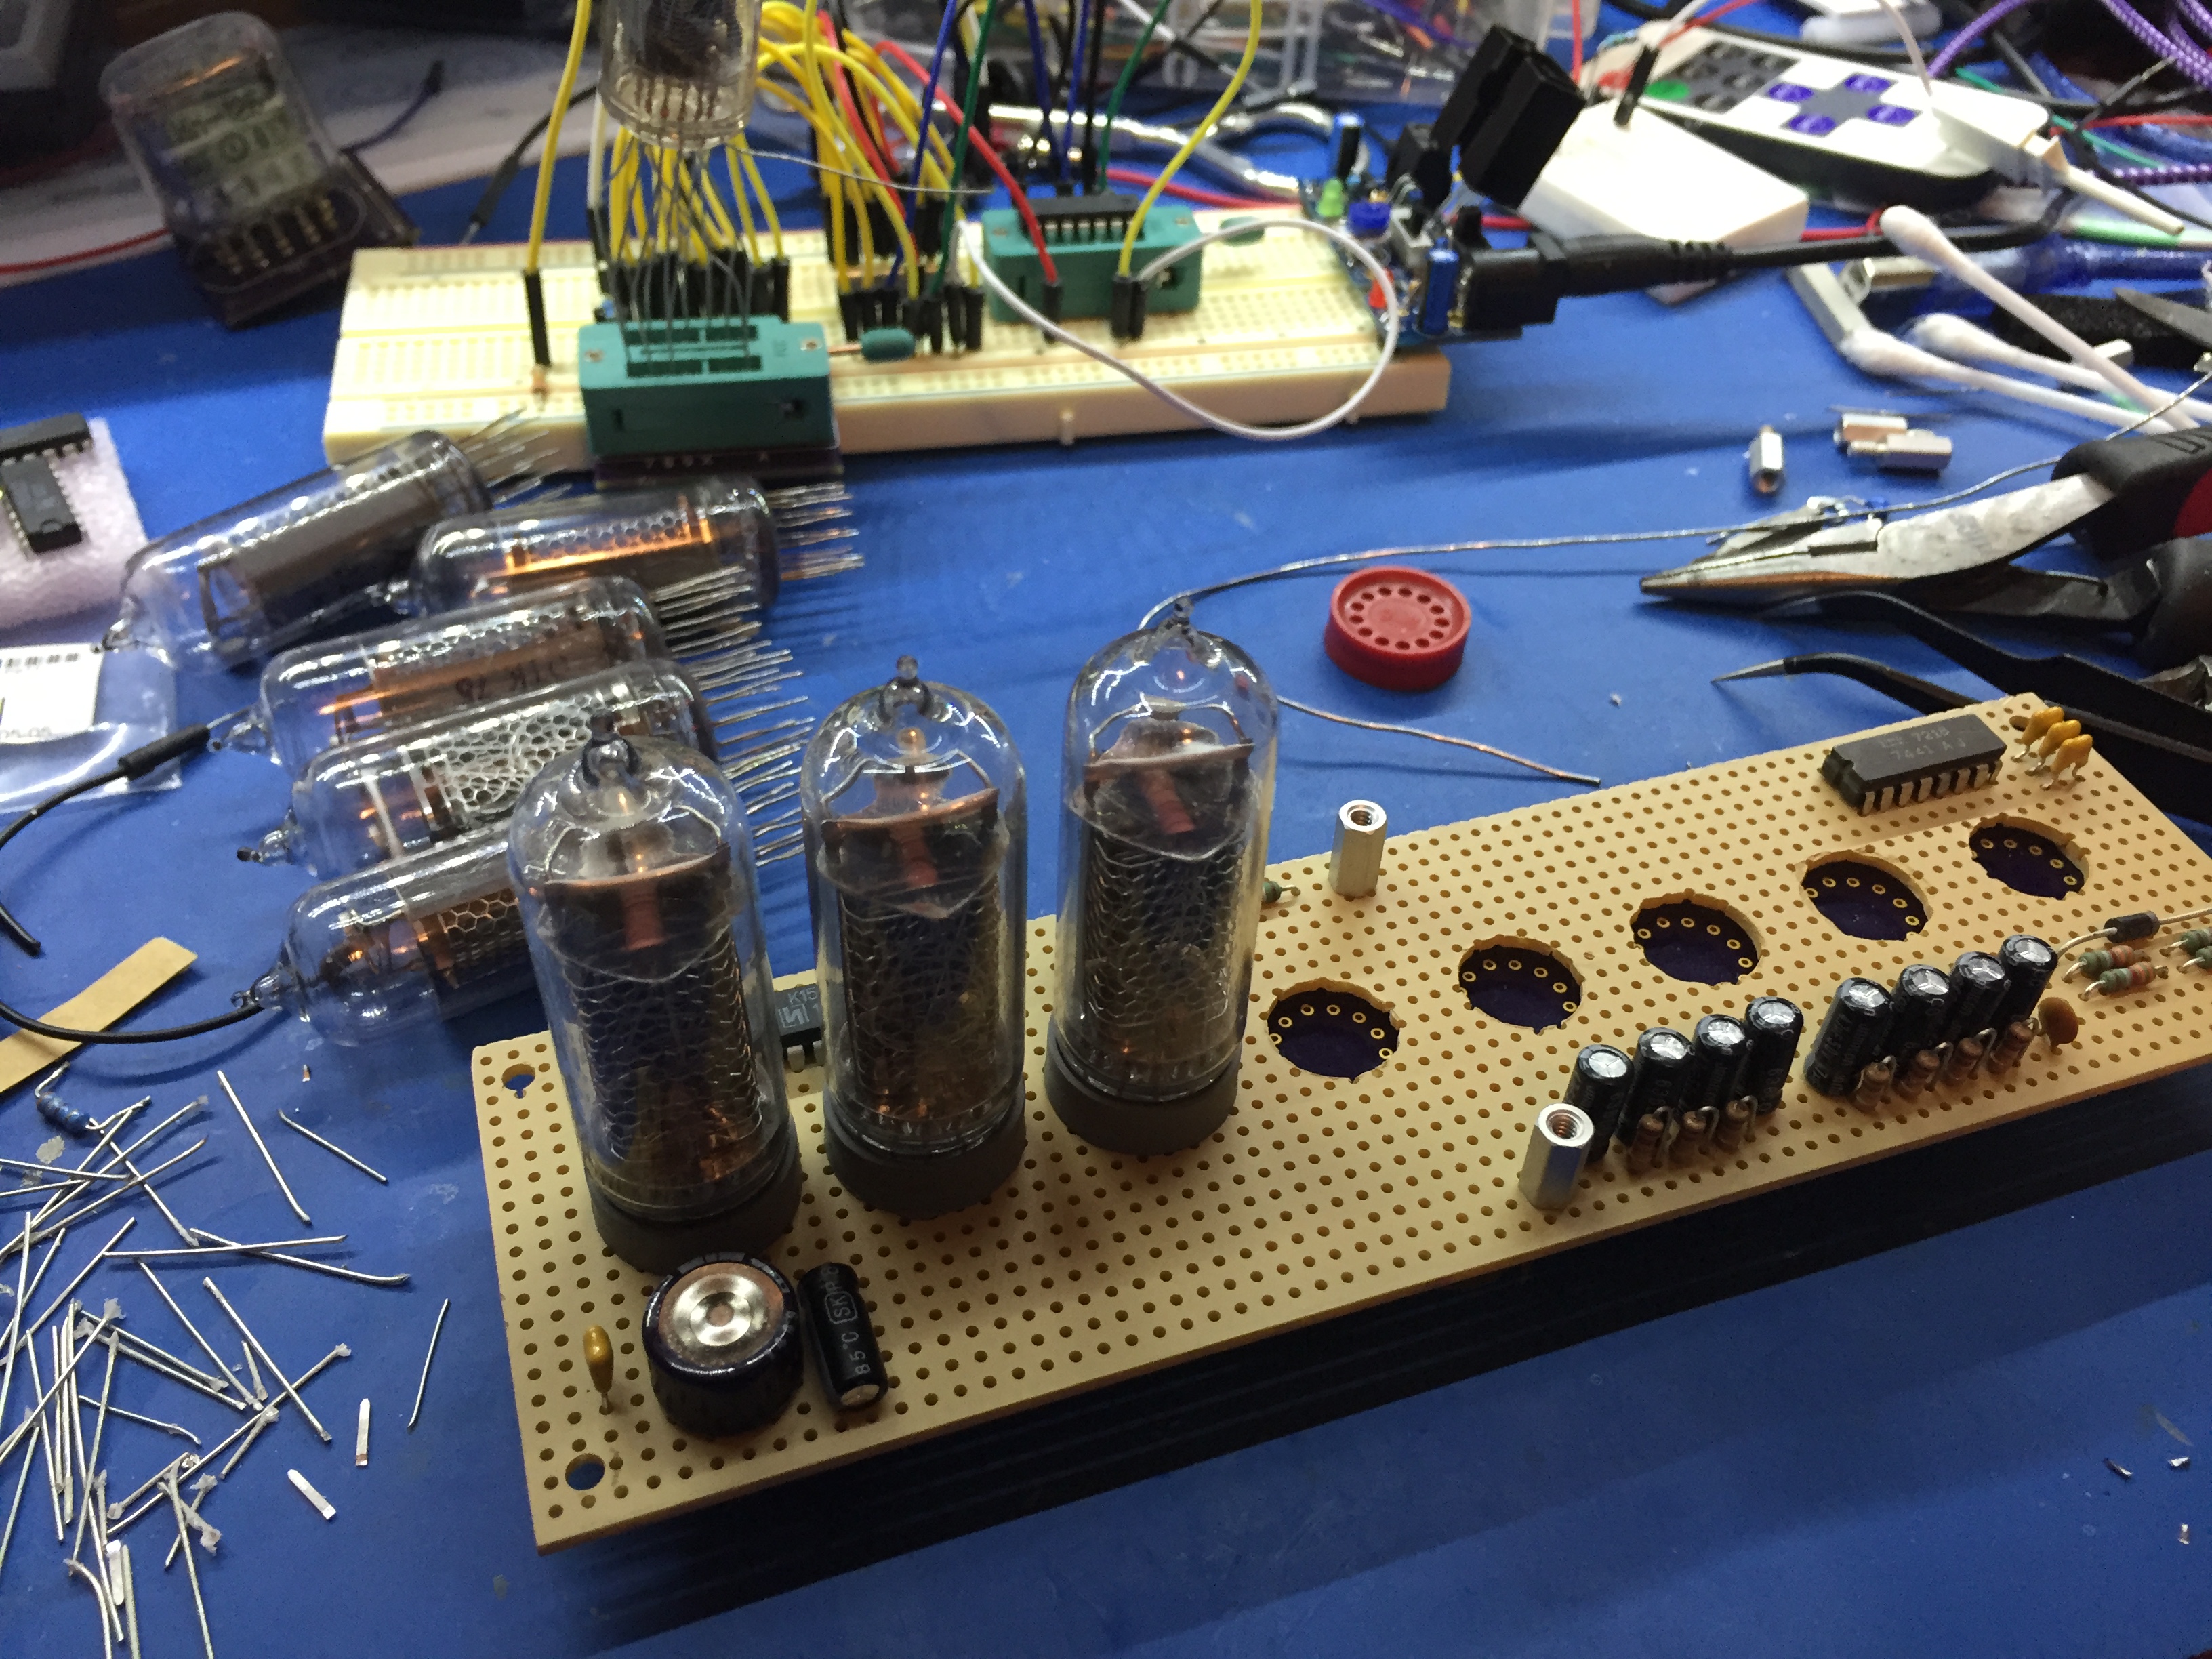
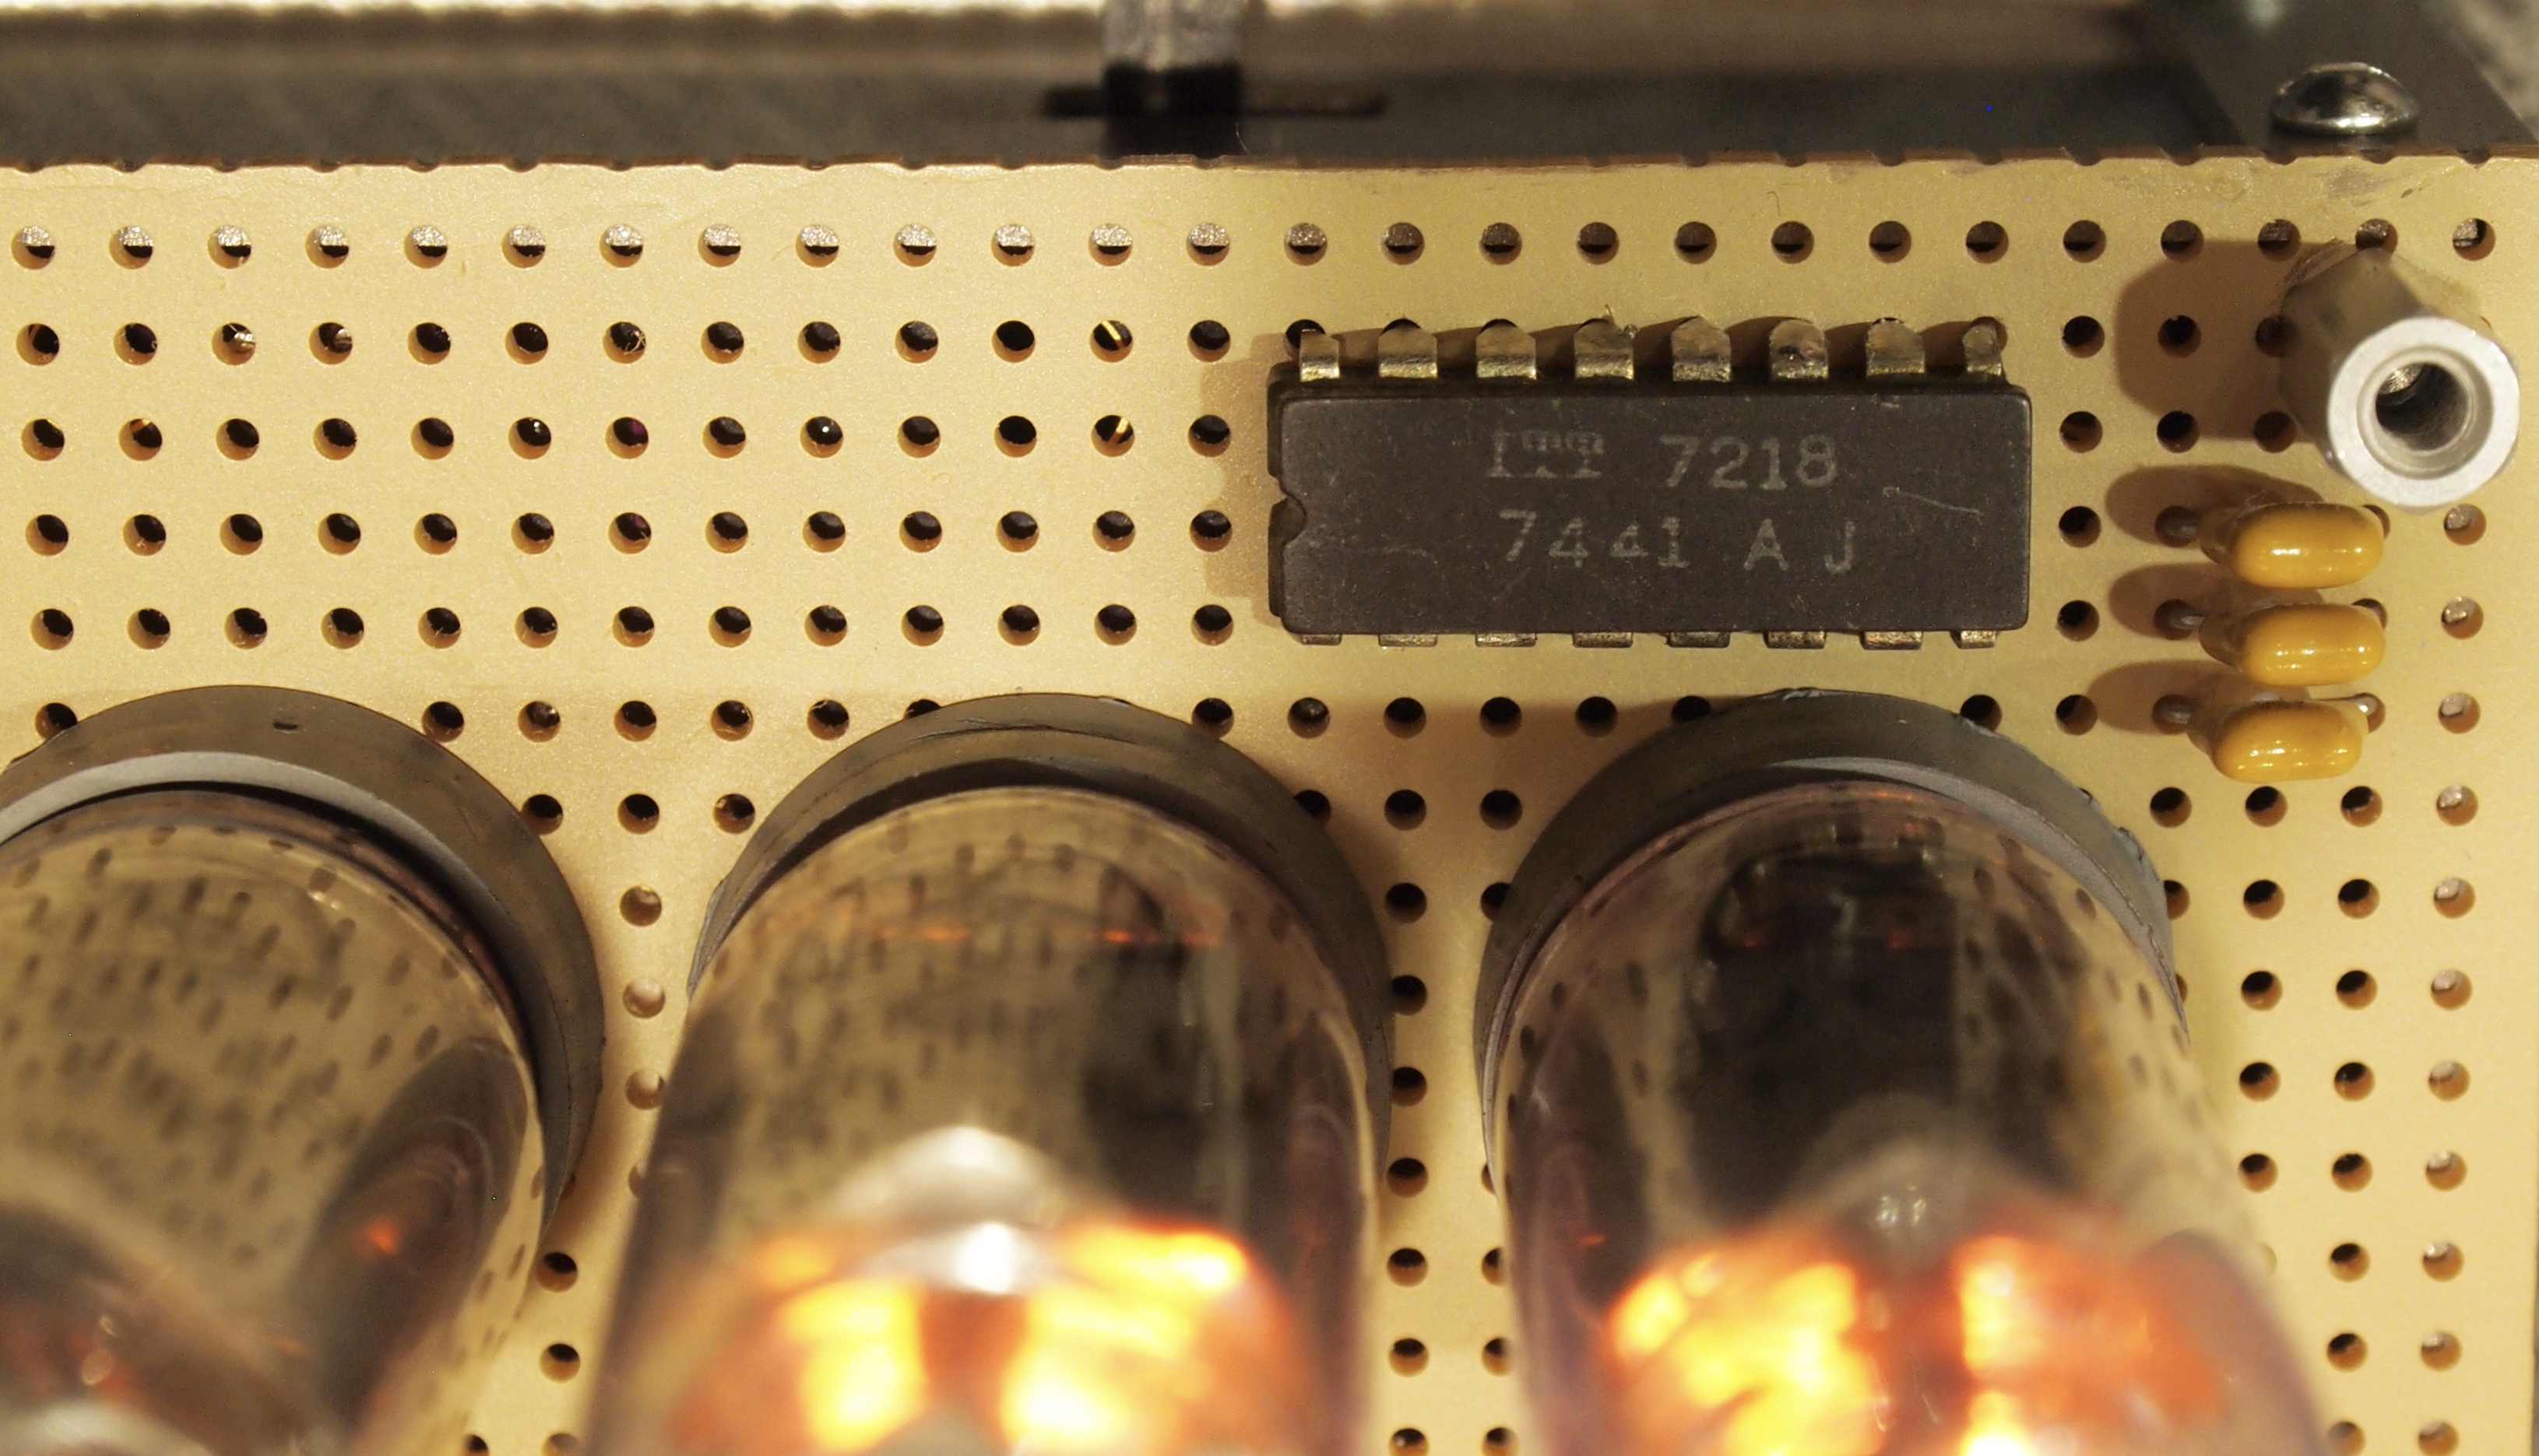
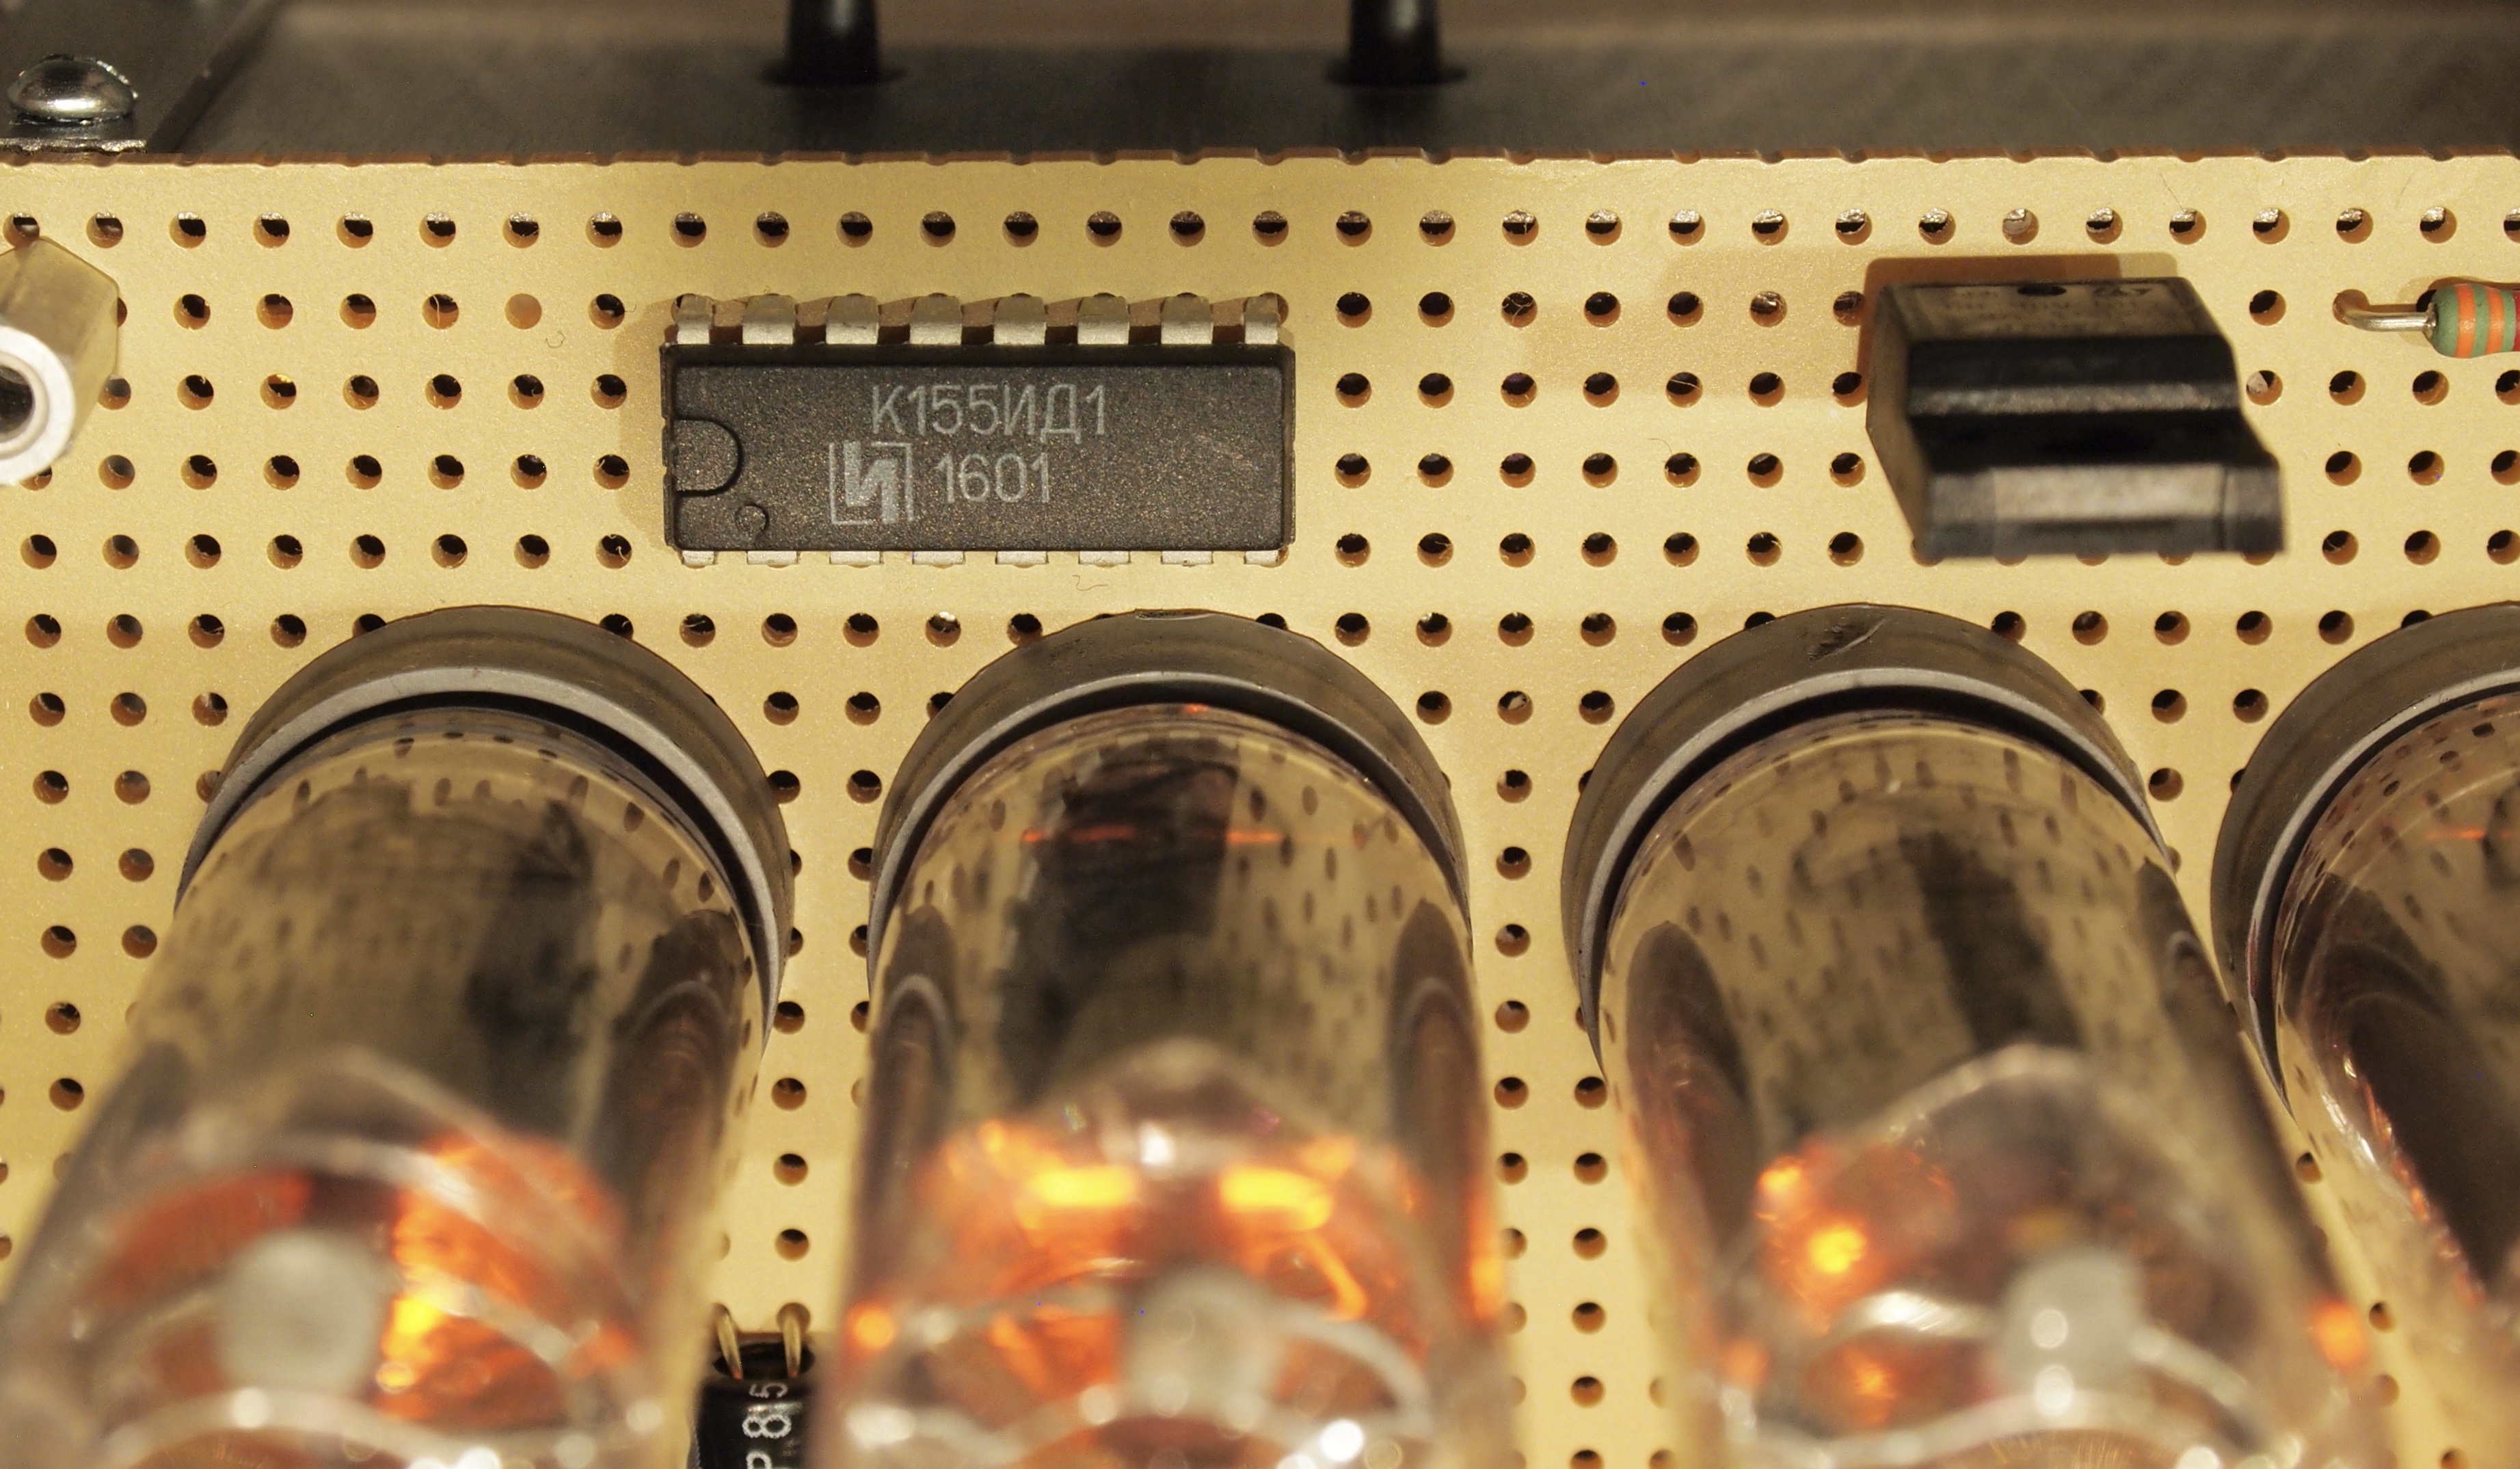
For some extra veracity, I used a busted 7441 chip and a busted К155ИД1 chip for the dummy ICs:
I discovered that the gloopy super glue I was using (aka CA Adhesive), really didn’t want to cure. Tom had mentioned that it would be useful to have some accelerant, and I guess it is. Googling CA glue accelerator shows it is just a mild alkaline solution that neutralizes the acid used in the glue, to slow down curing. I found this article about how to make your own, so I did and it worked great.
Software
The programmer in me couldn’t leave the code alone, so I modified it a little. There are two main changes:
- The wordline modes will automatically go on to the next wordline after about 9s, unless a button is pressed.
- In clock mode, it will display a random world line twice an hour.
I uploaded the source and a hex file to GitHub.
Finished Clock
Finally, here’s a shot of the finished clock:
