This is the fourth post about a nixie clock project that is powered by a vacuum tube power supply, rather than the more common 12V or 5V wall wart. The previous part can be found here. I’m going to take a break from talking about the power supply and veer off into talking about the controller hardware.
One of the features I had wanted to add to a nixie clock for some time was to simulate the ticking noise of a mechanical clock. To that end, I had previously bought an ESP32 Pico dev kit (because it support I2S), but then done nothing with it. It was time to resurrect that idea. By the way, the reason for choosing the Pico was that the chip itself requires the minimum of additional hardware to build my own PCB using the chip.
Now that I was seriously developing for the ESP32, I actually delved deeper into the software platform and discovered that it is running RTOS. This is a real time operating system with support for multiple prioritized tasks. In fact, the ESP32 arduino platform uses a single RTOS task to implement the loop() callback. My code for the ESP8266 basically split the work in the loop() method into multiple tasks, so I figured I could drop all the scaffolding I had written to do that, and just use one RTOS task on the ESP32 for each task that I wanted the ESP32 to complete (the clue is in the name!), rather than stuffing a bunch of calls into the loop() method.
The first thing I wanted to play with was playing sounds – that was the whole point of considering the ESP32 for the core processing. I started by looking around for libraries that I could use to play sounds and settled on ESP8266Audio which, despite the name, has good support for the ESP32. For it to be useful, I also needed to buy a SD Card reader module and an I2S amplifier module, both of which are available from Adafruit.
One advantage of the ESP8266Audio library is that it uses DMA to feed the data to the I2S pins of the ESP32. So theoretically, user code just has to keep the DMA buffer full, and then the data is pushed out of the pins via interrupts. It seemed like this would be the right thing to do as I was going to be loading up the processing to handle more and more tasks. I initially had trouble with the sound glitching. It was difficult to tell if this was because of the software or the breadboarding I was doing. As I added more tasks the glitching got worse. In the end it was easily fixed by increasing the DMA buffer count from 8 to 64!
The next task I wanted to add was driving neopixels. I had tried this before on the ESP32 with little success. It tended to be very glitchy. Looking around I discovered another library called NeoPixelBus which, like ESP8266Audio, could use DMA to feed data to the NeoPixels. Fortunately there are two DMA channels on the ESP32 and also fortunately, I could tell the libraries which one I wanted them to use. However, the neopixels would still occasionally glitch. At this point I wasn’t sure if this was because of my breadboarding or the software, so I chose to ignore it. It turns out that there is a bug in the ESP32 DMA firmware. NeoPixelBus changed their default support to use the IR remote support, but I still found that it glitched occasionally. Finally, when I upgraded the Arduino platform to v1.0.4, the glitching stopped.
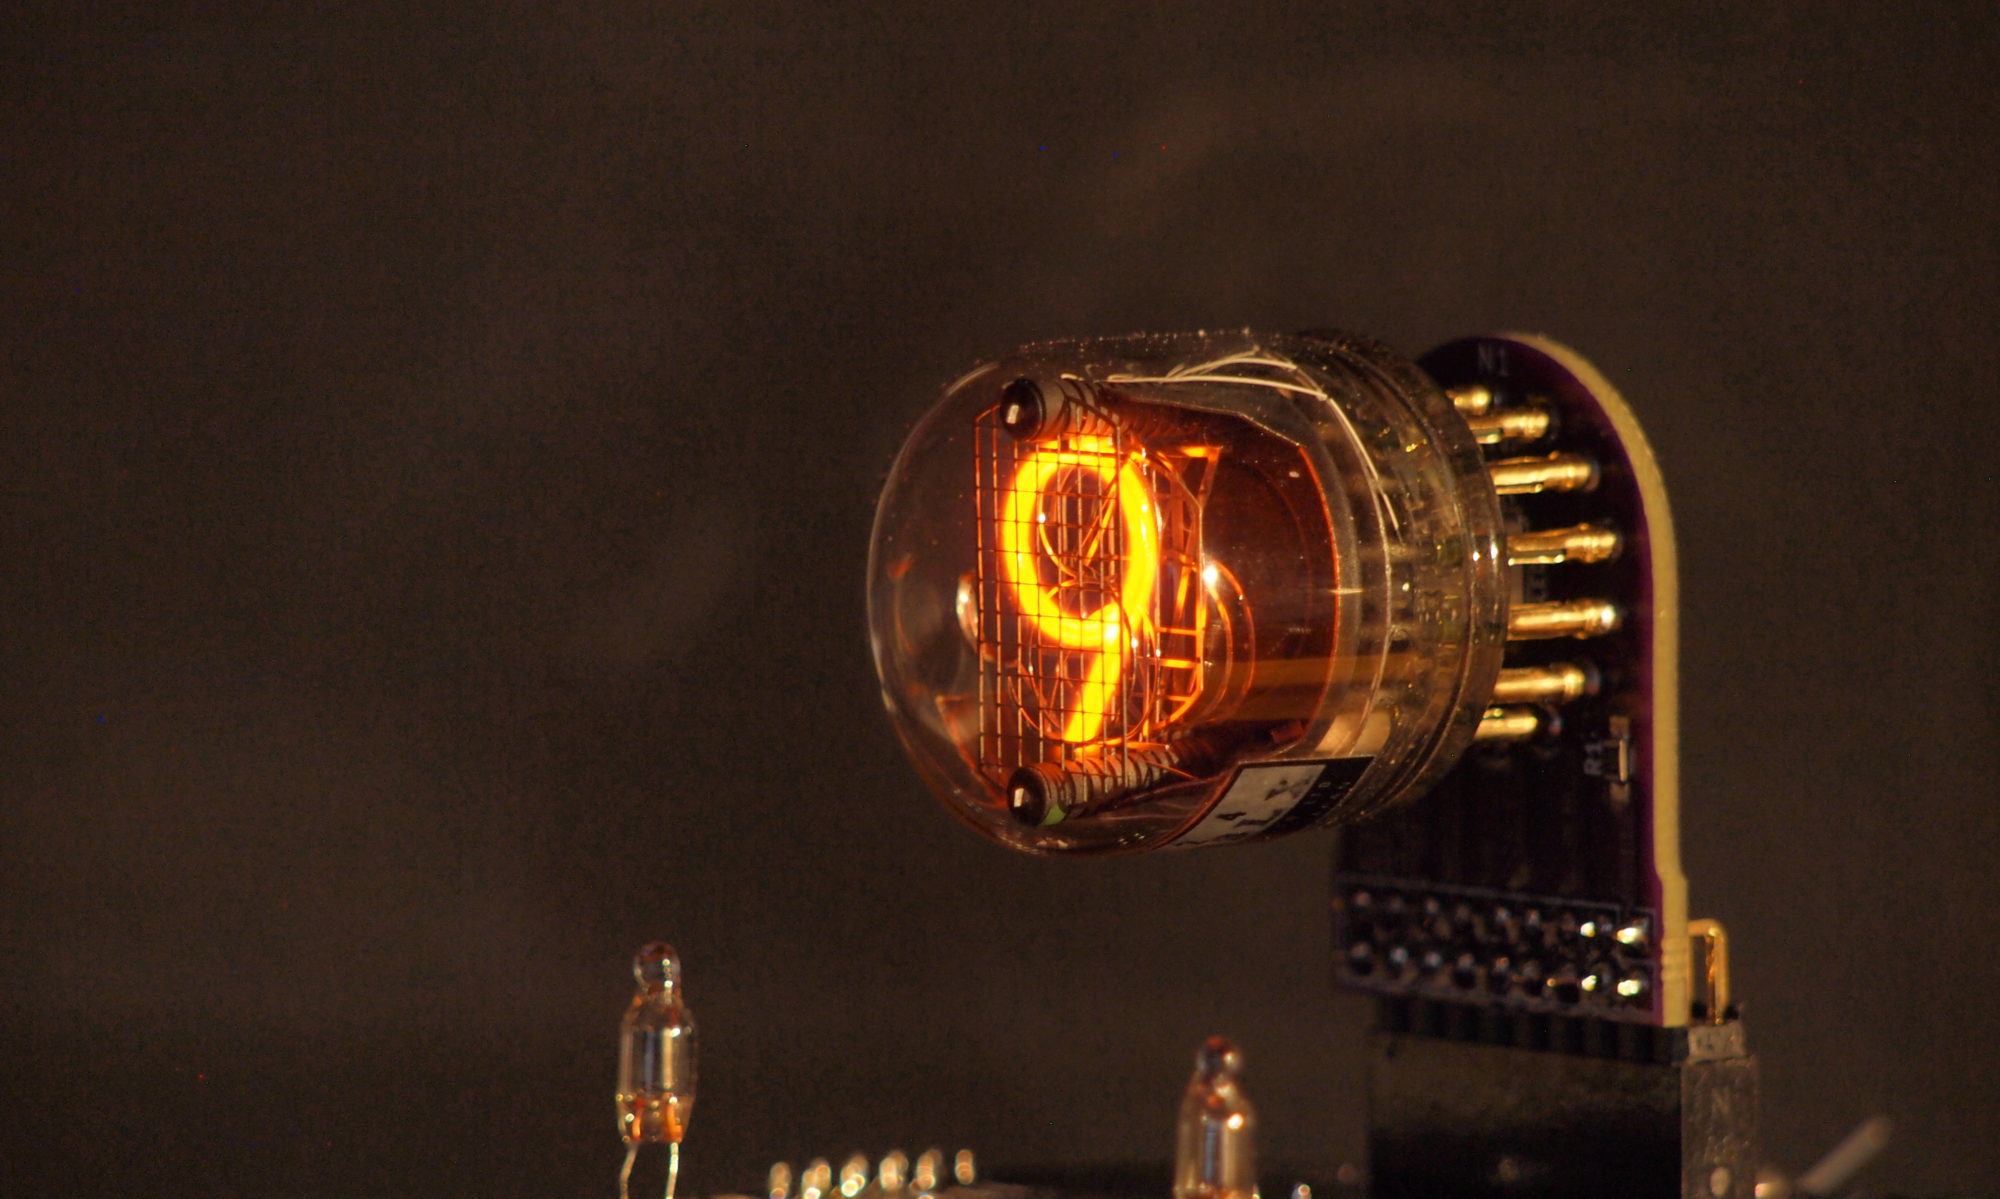
Next I needed to drive the Nixie tubes. I implement fading and cross fading all in software, so I need better timer resolution than can be provided by the task manager. So I implemented this in an interrupt routine. I had already done this for the ESP8266, so I was familiar with the need to decorate all interrupt methods so that they would reside in IRAM. However it turns out that that wasn’t enough.
Firstly, my interrupt code is in C++ and uses virtual functions. It turns out that for the ESP32, the compiler is putting the v-tables in flash, so I had to resort to copy/paste and get rid of all of the virtual functions. BTW, the version of the ESP8266 platform I was using was storing the v-tables on the heap. Later versions allow you to specify where the v-tables are stored. It would be nice if the ESP32 platform did the same.
It still crashed, and I eventually discovered that g++ was generating function calls to do long division. That function is not in IRAM. The millis() function (which is in IRAM) uses long division. I guess no one had ever called it from an interrupt routine before? Thankfully the developers changed the default compiler flags to inline the code instead. So all was good.
Next I wanted to use a WiFi manager library to handle setting up the connection to a router. Thankfully, the one I prefer to use – ASyncWiFiManager was also the only one that had been ported to the ESP32. However, my iPhone simply would not connect to the access point – my laptop had no problem. Turns out that there was a bug in the ESP32 core which was fixed just after I discovered the issue. An aside: this is interesting, I am pretty sure the ESP8266 core has a similar problem, as connecting to the AP from an iPhone is patchy on the ESP8266.
So then I was implementing my Web GUI, which uses the SPIFFS library to store the assets. That’s when I discovered that the SPIFFs library on ESP32 was broken. So I fixed that and the fix was incorporated into the Arduino core.
So finally, everything that I needed (software wise) worked great and has, in fact, been extremely stable.


